
Achieving clean, precise cuts is the ultimate hallmark of a professional finish when installing architectural acoustic treatments. Whether you are trimming perimeter edges to fit a tight architectural niche, carefully navigating around complex electrical outlets, or engineering bespoke geometric shapes to satisfy a demanding interior design brief, having the right tools and mastering the appropriate cutting techniques makes all the difference.
EcoScapes Acoustic Panels have rapidly become an industry standard for sustainable architectural acoustics, prized by contractors, interior designers, and do-it-yourself (DIY) enthusiasts alike. However, improper handling during the preparation and cutting phases can lead to frayed edges, uneven joints, and compromised aesthetic results. This comprehensive guide covers everything you need to know to achieve flawless results every single time, including essential tool recommendations, thorough material preparation tips, a step-by-step cutting methodology, crucial safety precautions, and expert insights into avoiding common pitfalls.
1. What Are EcoScapes Acoustic Panels?
Before diving into the mechanics of cutting and installation, it is vital to understand the structural composition of the material you are working with. EcoScapes PET (Polyethylene Terephthalate) Acoustic Panels are engineered from densely compressed, recycled plastic fibers—predominantly sourced from post-consumer water bottles. This innovative manufacturing process transforms waste into high-performance architectural materials that boast exceptional sound-absorption capabilities.
Key material characteristics include:
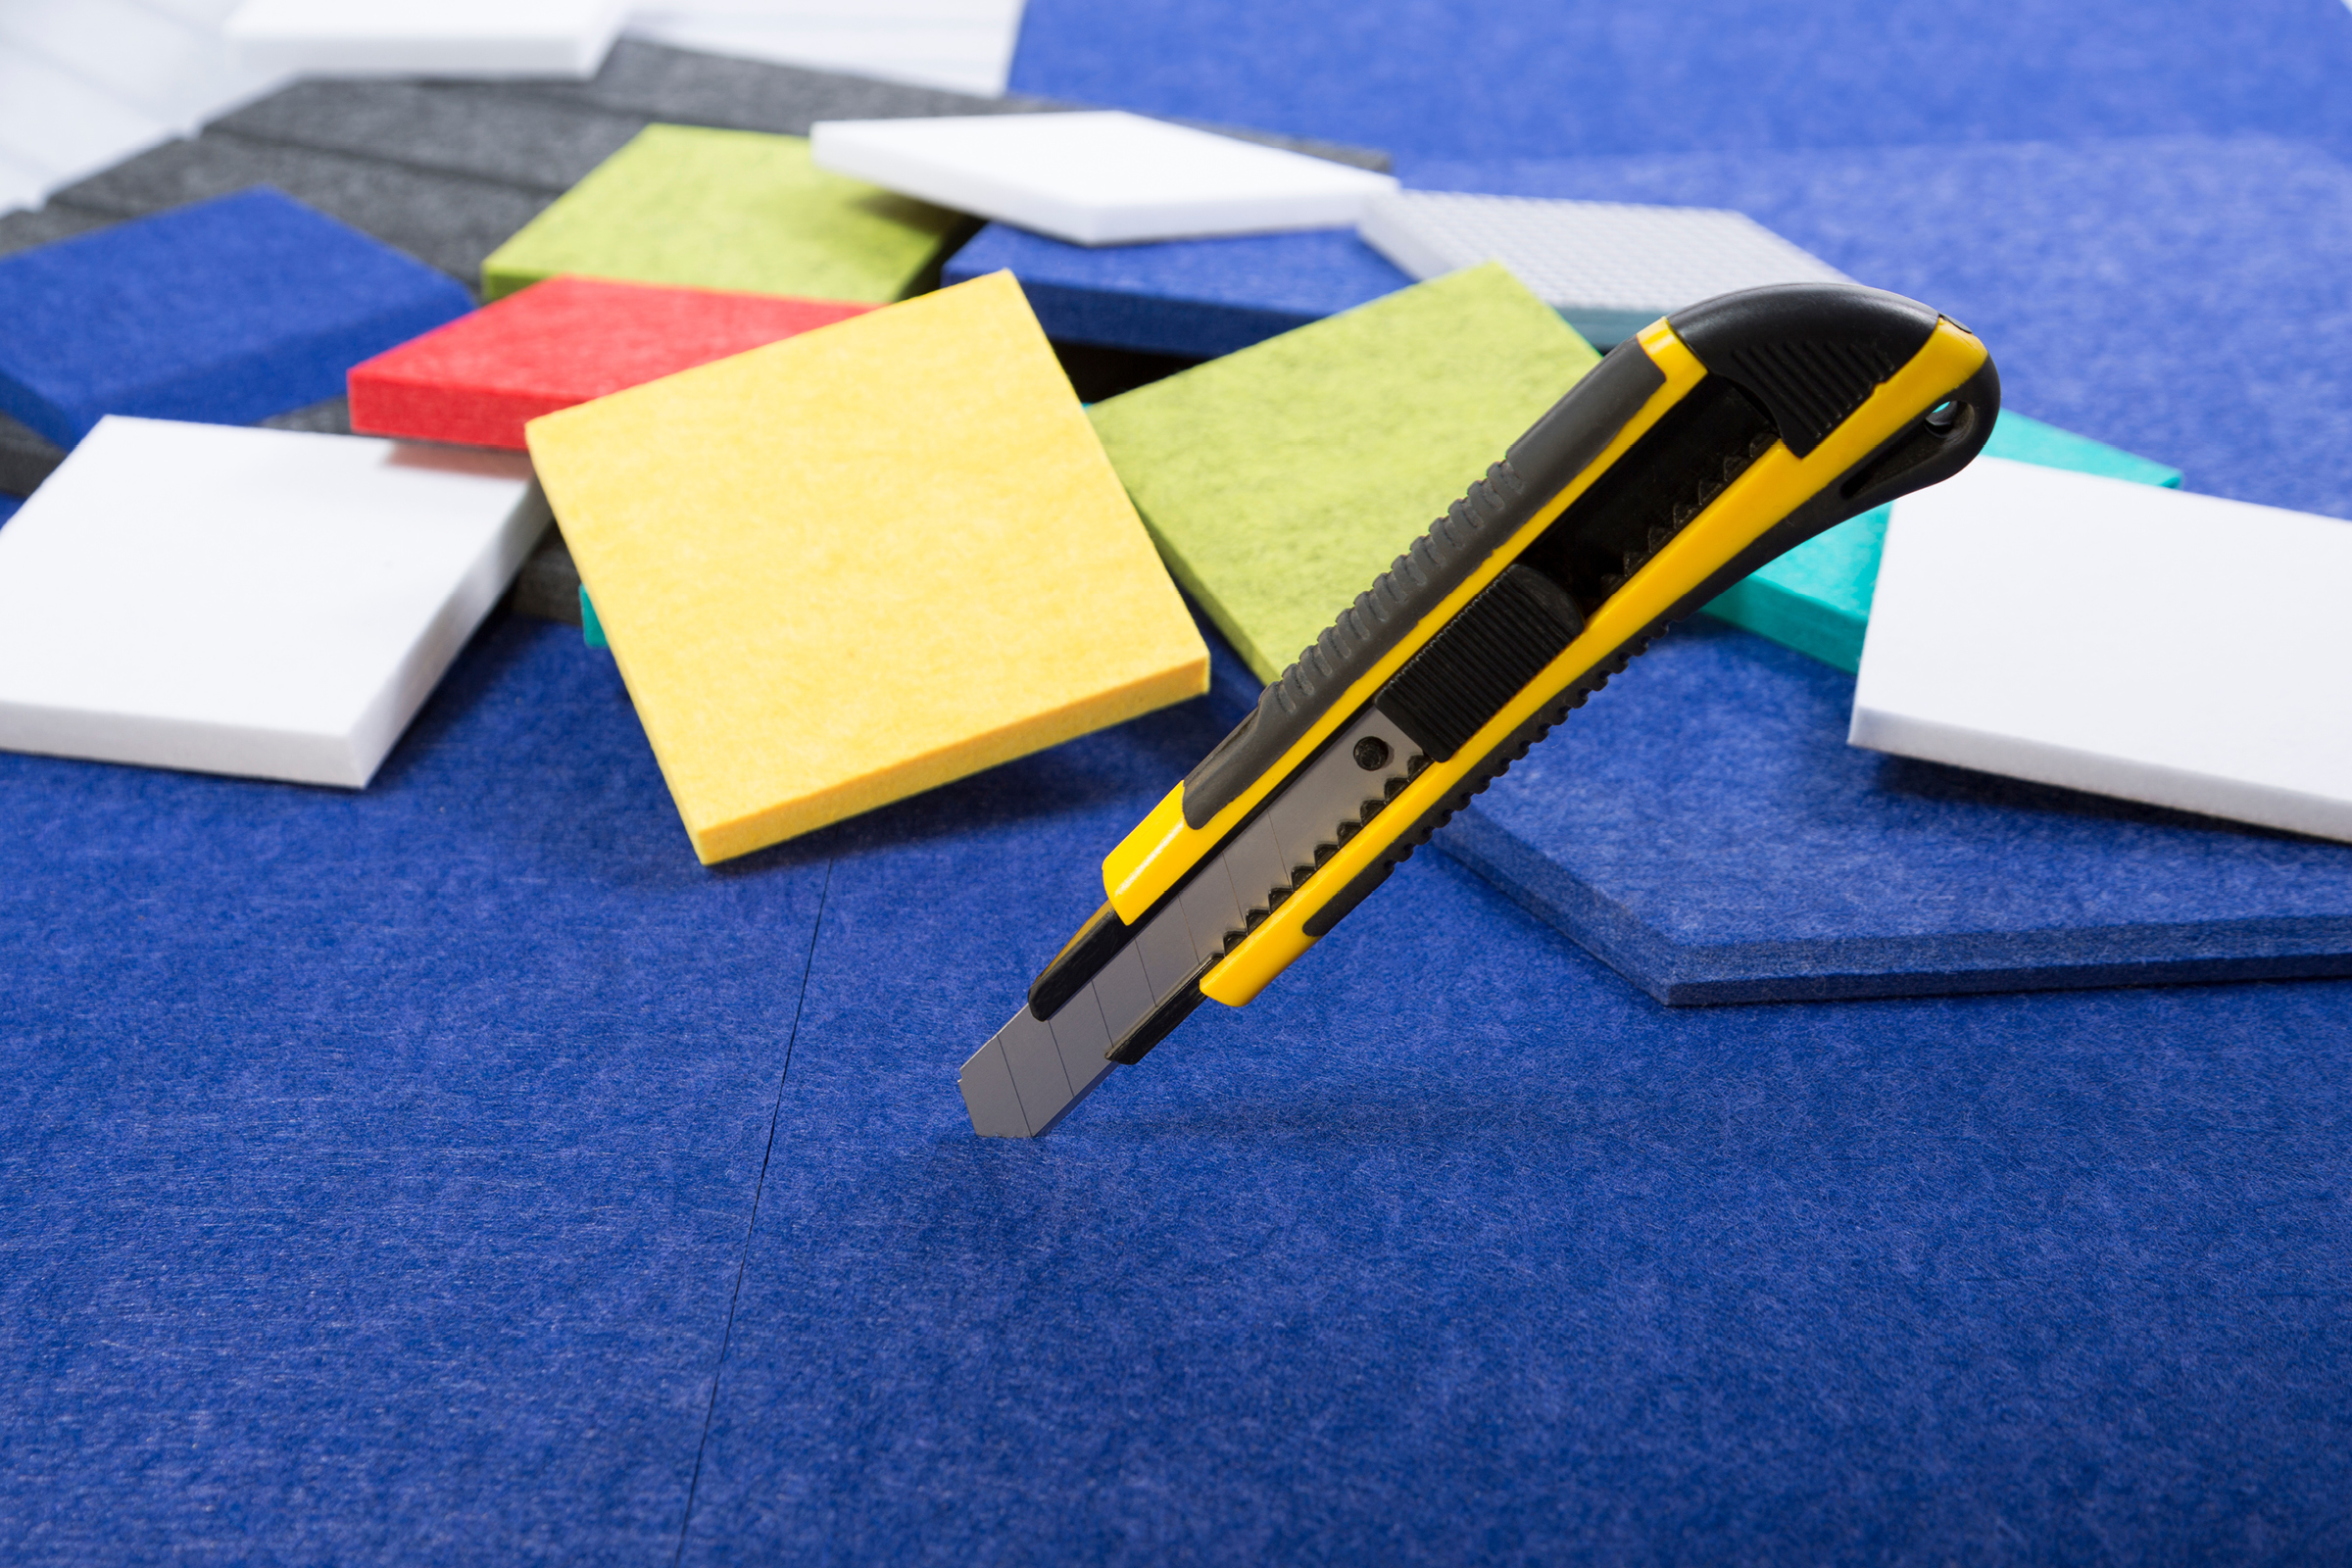
- Eco-Friendly Composition: Crafted from sustainable, recycled polymers that actively divert plastic waste from landfills and oceans.
- Exceptional Durability: The compressed fiber matrix resists impact, moisture, and degradation over time, ensuring long-term structural integrity.
- Acoustic Efficiency: Designed to trap and dissipate sound waves effectively, significantly reducing reverberation, echo, and ambient noise in residential, commercial, and industrial spaces.
- Versatility: Lightweight yet rigid, the panels can be easily mounted to walls and ceilings, painted, or customized into intricate geometric layouts.
2. Chronology of an Acoustic Panel Installation Project
To understand where the cutting phase fits into the broader lifecycle of an architectural acoustics project, it helps to review the standard chronologic workflow recommended by industry professionals. Rph-hazard rushing through these phases often leads to costly measuring errors and wasted material.
- Phase 1: Acoustic Assessment and Planning (Weeks 1–2): The project begins with a comprehensive evaluation of the room’s acoustical profile. Designers calculate the required Sabins of absorption, determine panel coverage percentages, and map out the aesthetic layout.
- Phase 2: Material Acquisition and Acclimatization (Week 3): EcoScapes panels are ordered and delivered to the job site. Professionals recommend letting the panels sit flat in the installation room for at least 24 to 48 hours to acclimatize to the ambient temperature and humidity levels.
- Phase 3: Precise Measuring and Layout (Day of Installation – Morning): Installers take exact field measurements of walls, corners, light switches, and architectural obstacles. Chalk lines and laser levels are established.
- Phase 4: Cutting and Fabrication (Day of Installation – Midday): Using the techniques detailed in this guide, technicians score, saw, and shape panels to match the precise architectural dimensions of the space.
- Phase 5: Mounting and Finishing (Day of Installation – Afternoon): Panels are adhered or mechanically fastened to the substrate. Final inspections, edge trims, and cleanup complete the project.
3. Recommended Cutting Tools and Equipment
The choice of cutting tool depends heavily on the scale of the installation, the thickness of the panels, and the complexity of the cuts required. Selecting the incorrect tool can result in ragged edges or unnecessary physical strain.
| Tool | Best For | Professional Tips and Considerations |
|---|---|---|
| Utility Knife / Box Cutter | Straight cuts, minor dimensional adjustments, on-site trimming | Always use a brand-new, ultra-sharp snap-off blade. Never attempt to cut through the entire thickness in one pass; instead, score multiple times along a heavy-duty metal ruler. |
| Carpenter’s Knife | Small-scale projects, residential DIY applications | Works exceptionally well for standard 9 mm to 12 mm thick panels. Provides excellent ergonomic control for detailed hand-cutting. |
| Electric Cutter | Large-scale commercial installations, high-volume projects | Rotary or reciprocating electric fabric cutters produce exceptionally smooth edges with minimal fiber fraying, drastically reducing installation time. |
| Jigsaw or Circular Saw | Complex geometric shapes, bulk cutting, notches | Equip the saw with a fine-tooth blade (such as a metal-cutting or high-count woodworking blade) and operate at a medium speed to prevent melting or tearing the PET fibers. |
| CNC Cutting Machine | Custom designs, corporate logos, intricate architectural patterns | Ideal for industrial-level precision and mass-producing identical custom shapes for high-end commercial spaces. |
4. Step-by-Step Cutting Guide
Mastering the physical act of cutting EcoScapes panels requires patience, precision, and adherence to a strict workflow. Follow these four essential steps to ensure professional results.
[Measure & Mark] ---> [Secure Panel] ---> [Make the Cut] ---> [Smooth & Finish]Step 1: Measure and Mark
Accuracy at this stage dictates the success of the entire installation.
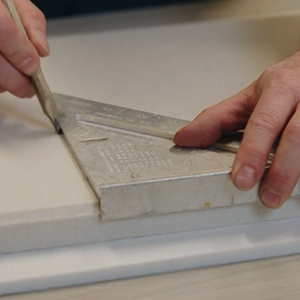
- Always measure twice and transfer your dimensions to the back (unseen side) of the acoustic panel using a chalk pencil, fine-tip marker, or a specialized fabric marker.
- Double-check diagonal measurements to ensure squareness when cutting rectangular panels.
- For complex cuts around outlets or light switches, create a cardboard template first to test the fit before committing to cutting the acoustic panel.
Step 2: Secure the Panel
Movement during the cutting process is the primary cause of crooked lines and jagged edges.
- Place the EcoScapes panel on a clean, flat, stable workbench or large cutting table. Avoid cutting directly on concrete floors or abrasive surfaces that could damage the front face of the panel.
- Clamp down a heavy-duty straight edge (such as a T-square or an aluminum framing rule) directly over your marked cut line using C-clamps. This provides both a physical guide for your blade and clamps the fibers tightly together to prevent fraying.
Step 3: Make the Cut
Depending on the tool you selected in Phase 3, execute the cut with steady, controlled pressure.
- For Manual Knives: Hold the utility knife at a slight angle against your straightedge. Make 3 to 5 light, progressive scoring passes rather than forcing the blade through in a single stroke. Pushing too hard on the first pass causes the blade to wander and dulls the tip prematurely.
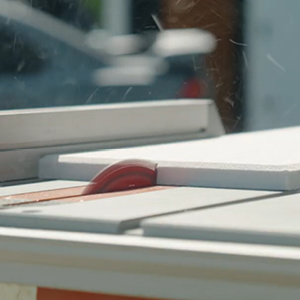
- For Power Saws: Guide the jigsaw or circular saw smoothly along your guide rail at a moderate, consistent feed rate. Do not force the blade, as overheating can cause the recycled PET fibers to melt and clump together along the cut line.
Step 4: Smooth and Finish
Even with the sharpest blades, minor imperfections or loose surface fibers may remain along the cut edges.
- Inspect all freshly cut edges immediately.
- Use a fine-grit sanding block (120-grit to 220-grit) or a sharp utility razor held at a 45-degree angle to gently deburr and chamfer the edge. This creates a clean, factory-fresh appearance and ensures tight, seamless butt joints when panels are installed side-by-side.
5. Supporting Data: The Impact of Proper Installation on Acoustic Performance
Acoustic engineering is an exact science. Data compiled from independent laboratory testing facilities indicates that the physical installation quality—specifically edge alignment and gap minimization—directly impacts the Noise Reduction Coefficient (NRC) of PET acoustic treatments.

- Seamless Butt Joints: When panels are precision-cut and installed with gaps measuring less than 0.5 mm, sound wave diffraction is minimized, allowing the installation to achieve its maximum laboratory-rated NRC (typically ranging from 0.75 to 0.85 depending on panel thickness).
- Frayed Edge Degradation: Installations featuring ragged, poorly cut edges suffer from acoustic leakage and visual degradation. Sound waves tend to scatter unevenly across frayed perimeters, reducing high-frequency absorption efficiency by up to 12%.
- Material Efficiency: Utilizing the recommended cutting methods and templates reduces scrap waste by an average of 18% on commercial job sites, translating to substantial material cost savings.
6. Official Responses and Industry Best Practices
Leading acoustic consultants and commercial interior contractors emphasize that preparation and tool maintenance are the ultimate differentiators between amateur installations and professional masterworks.
"When working with high-density PET acoustic panels, contractors often make the mistake of treating them like standard drywall or soft fiberglass," notes Thomas Vance, Senior Acoustic Systems Engineer. "EcoScapes material has a resilient, fibrous memory. If your blade is dull, you aren’t cutting the material—you’re tearing it. Investing in fresh blades and taking the time to score properly guarantees an invisible seam."
Furthermore, architectural firms specializing in open-plan corporate offices stress that custom perimeter fitting around HVAC vents, sprinkler heads, and linear lighting channels requires meticulous template work. Rushing the layout phase inevitably leads to field modifications that compromise the acoustic harmony of the room.
7. Common Mistakes to Avoid
To ensure your installation proceeds without costly errors, watch out for these frequent pitfalls:
- Rushing the First Pass: Forcing a utility knife through a 12mm panel in a single stroke invariably causes the blade to slip, ruining the panel and posing a safety hazard to your hands.
- Neglecting Blade Maintenance: Dull blades pull and fray the recycled polyester fibers rather than slicing through them cleanly. Change your utility blades frequently—sometimes after every 3 to 4 panels on large commercial jobs.
- Failing to Acclimatize Panels: Cutting panels immediately after unboxing them in a cold warehouse and installing them in a climate-controlled room can lead to thermal expansion or contraction gaps later.
- Cutting on Contaminated Surfaces: Placing panels face-down on dirty workbenches transfers dust, oils, and grit into the fabric matrix, permanently staining the acoustic material.
8. Safety Tips and Personal Protective Equipment (PPE)
While EcoScapes Acoustic Panels are certified non-toxic, formaldehyde-free, and hypoallergenic (making them safe for schools, hospitals, and residential spaces), the physical act of cutting synthetic fibers still requires standard workshop safety protocols.
- Eye Protection: Always wear ANSI-approved safety glasses or goggles when operating power saws, electric cutters, or when forcefully scoring materials with hand knives.
- Respiratory Protection: Although PET fibers do not pose the severe respiratory hazards associated with legacy mineral wool or fiberglass insulation, generating fine dust during high-speed sawing warrants the use of a basic N95 dust mask.
- Hand Protection: Consider wearing cut-resistant work gloves when handling sharp utility knives or guiding panels through heavy-duty saws.
- Workspace Ventilation: Ensure your cutting area is well-lit and well-ventilated, particularly if power tools are generating friction heat and minor synthetic odors.
9. Implications for the Future of Sustainable Interior Design
The growing adoption of materials like EcoScapes Acoustic Panels signifies a broader paradigm shift in the construction and interior design industries. As building codes increasingly prioritize indoor environmental quality (IEQ), circular economy principles, and low-VOC emissions, the tools and techniques required to install these sustainable products are evolving rapidly.
Architects no longer have to choose between acoustic performance, visual elegance, and environmental responsibility. By mastering precise fabrication and cutting techniques, installers can deliver bespoke, high-performance acoustic environments that reduce building carbon footprints while transforming everyday commercial and residential spaces into quiet, acoustically balanced sanctuaries. Whether you are outfitting a sprawling corporate boardroom or a high-end residential home theater, precision cutting is the key to unlocking the full potential of modern architectural acoustics.