
Achieving a professional-grade finish in interior acoustics is as much about the installation process as it is about the product itself. When working with EcoScapes Acoustic Panels, the difference between a functional sound-dampening setup and a high-end architectural feature lies in the precision of the cuts. Whether you are navigating around complex electrical outlets, trimming panels for edge-to-edge wall coverage, or creating bespoke geometric shapes, mastering the art of cutting PET (Polyethylene Terephthalate) panels is essential. This comprehensive guide details the industry-standard tools, expert-level preparation tips, and step-by-step methodologies required to transform these sustainable materials into a seamless acoustic masterpiece.
1. Understanding EcoScapes: The Material Advantage
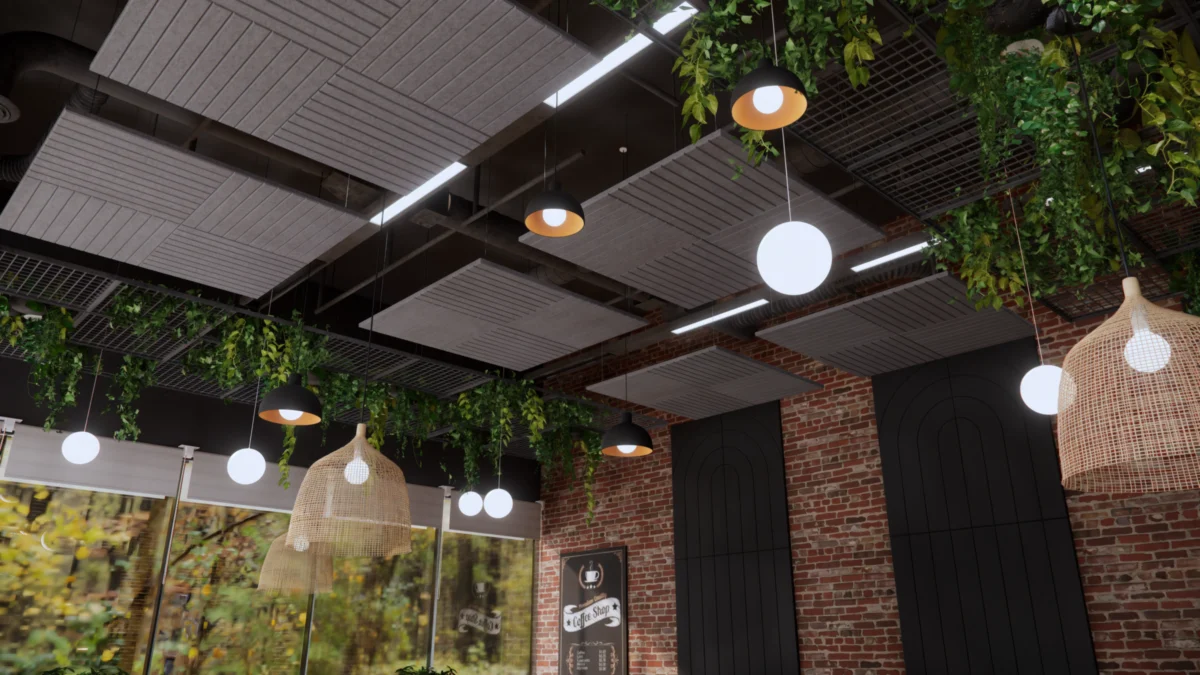
Before picking up a blade, it is vital to understand the substrate. EcoScapes PET Acoustic Panels are engineered from high-density, compressed, recycled plastic fibers. Unlike traditional acoustic foams or heavy mineral wool, these panels offer a unique combination of structural rigidity and flexibility.
- Sustainability: Made from recycled content, they represent a circular economy approach to interior design.
- Acoustic Performance: The high-density fiber structure excels at absorbing mid-to-high frequency reflections.
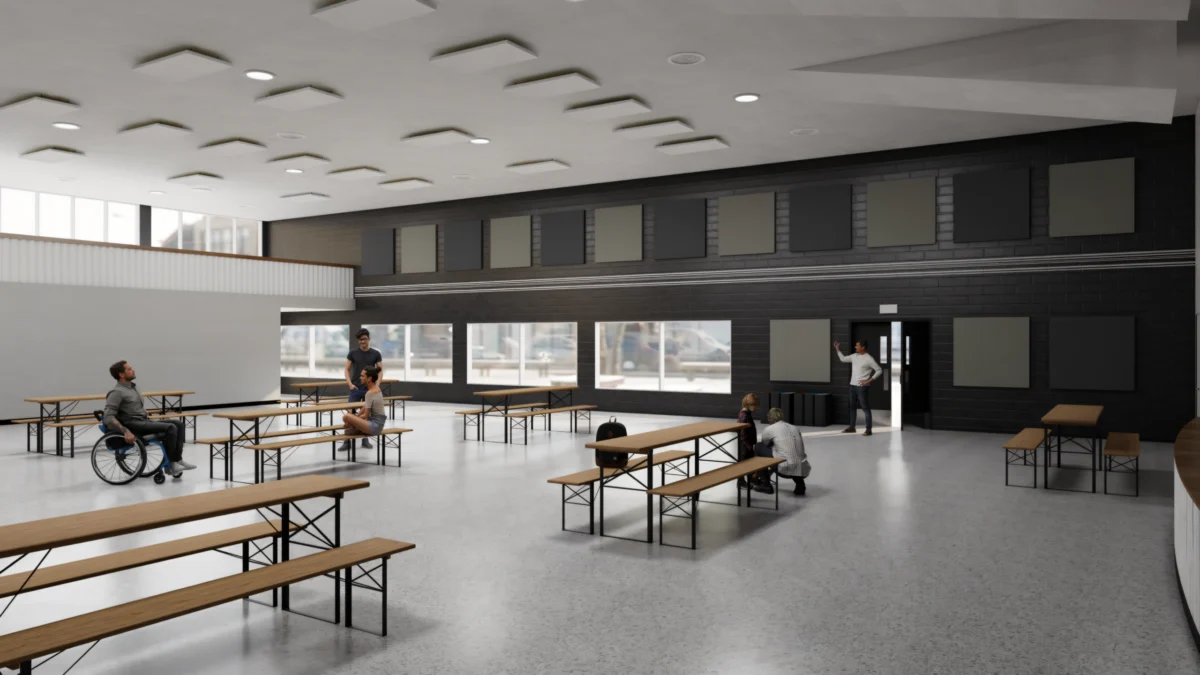
- Durability: Because they are made from recycled PET, they are inherently resistant to moisture, mold, and impact, making them ideal for high-traffic environments.
- Safety: They are non-toxic and formaldehyde-free, ensuring a safe indoor air quality profile for homes, offices, and recording studios.
2. Essential Toolset: Choosing the Right Instrument
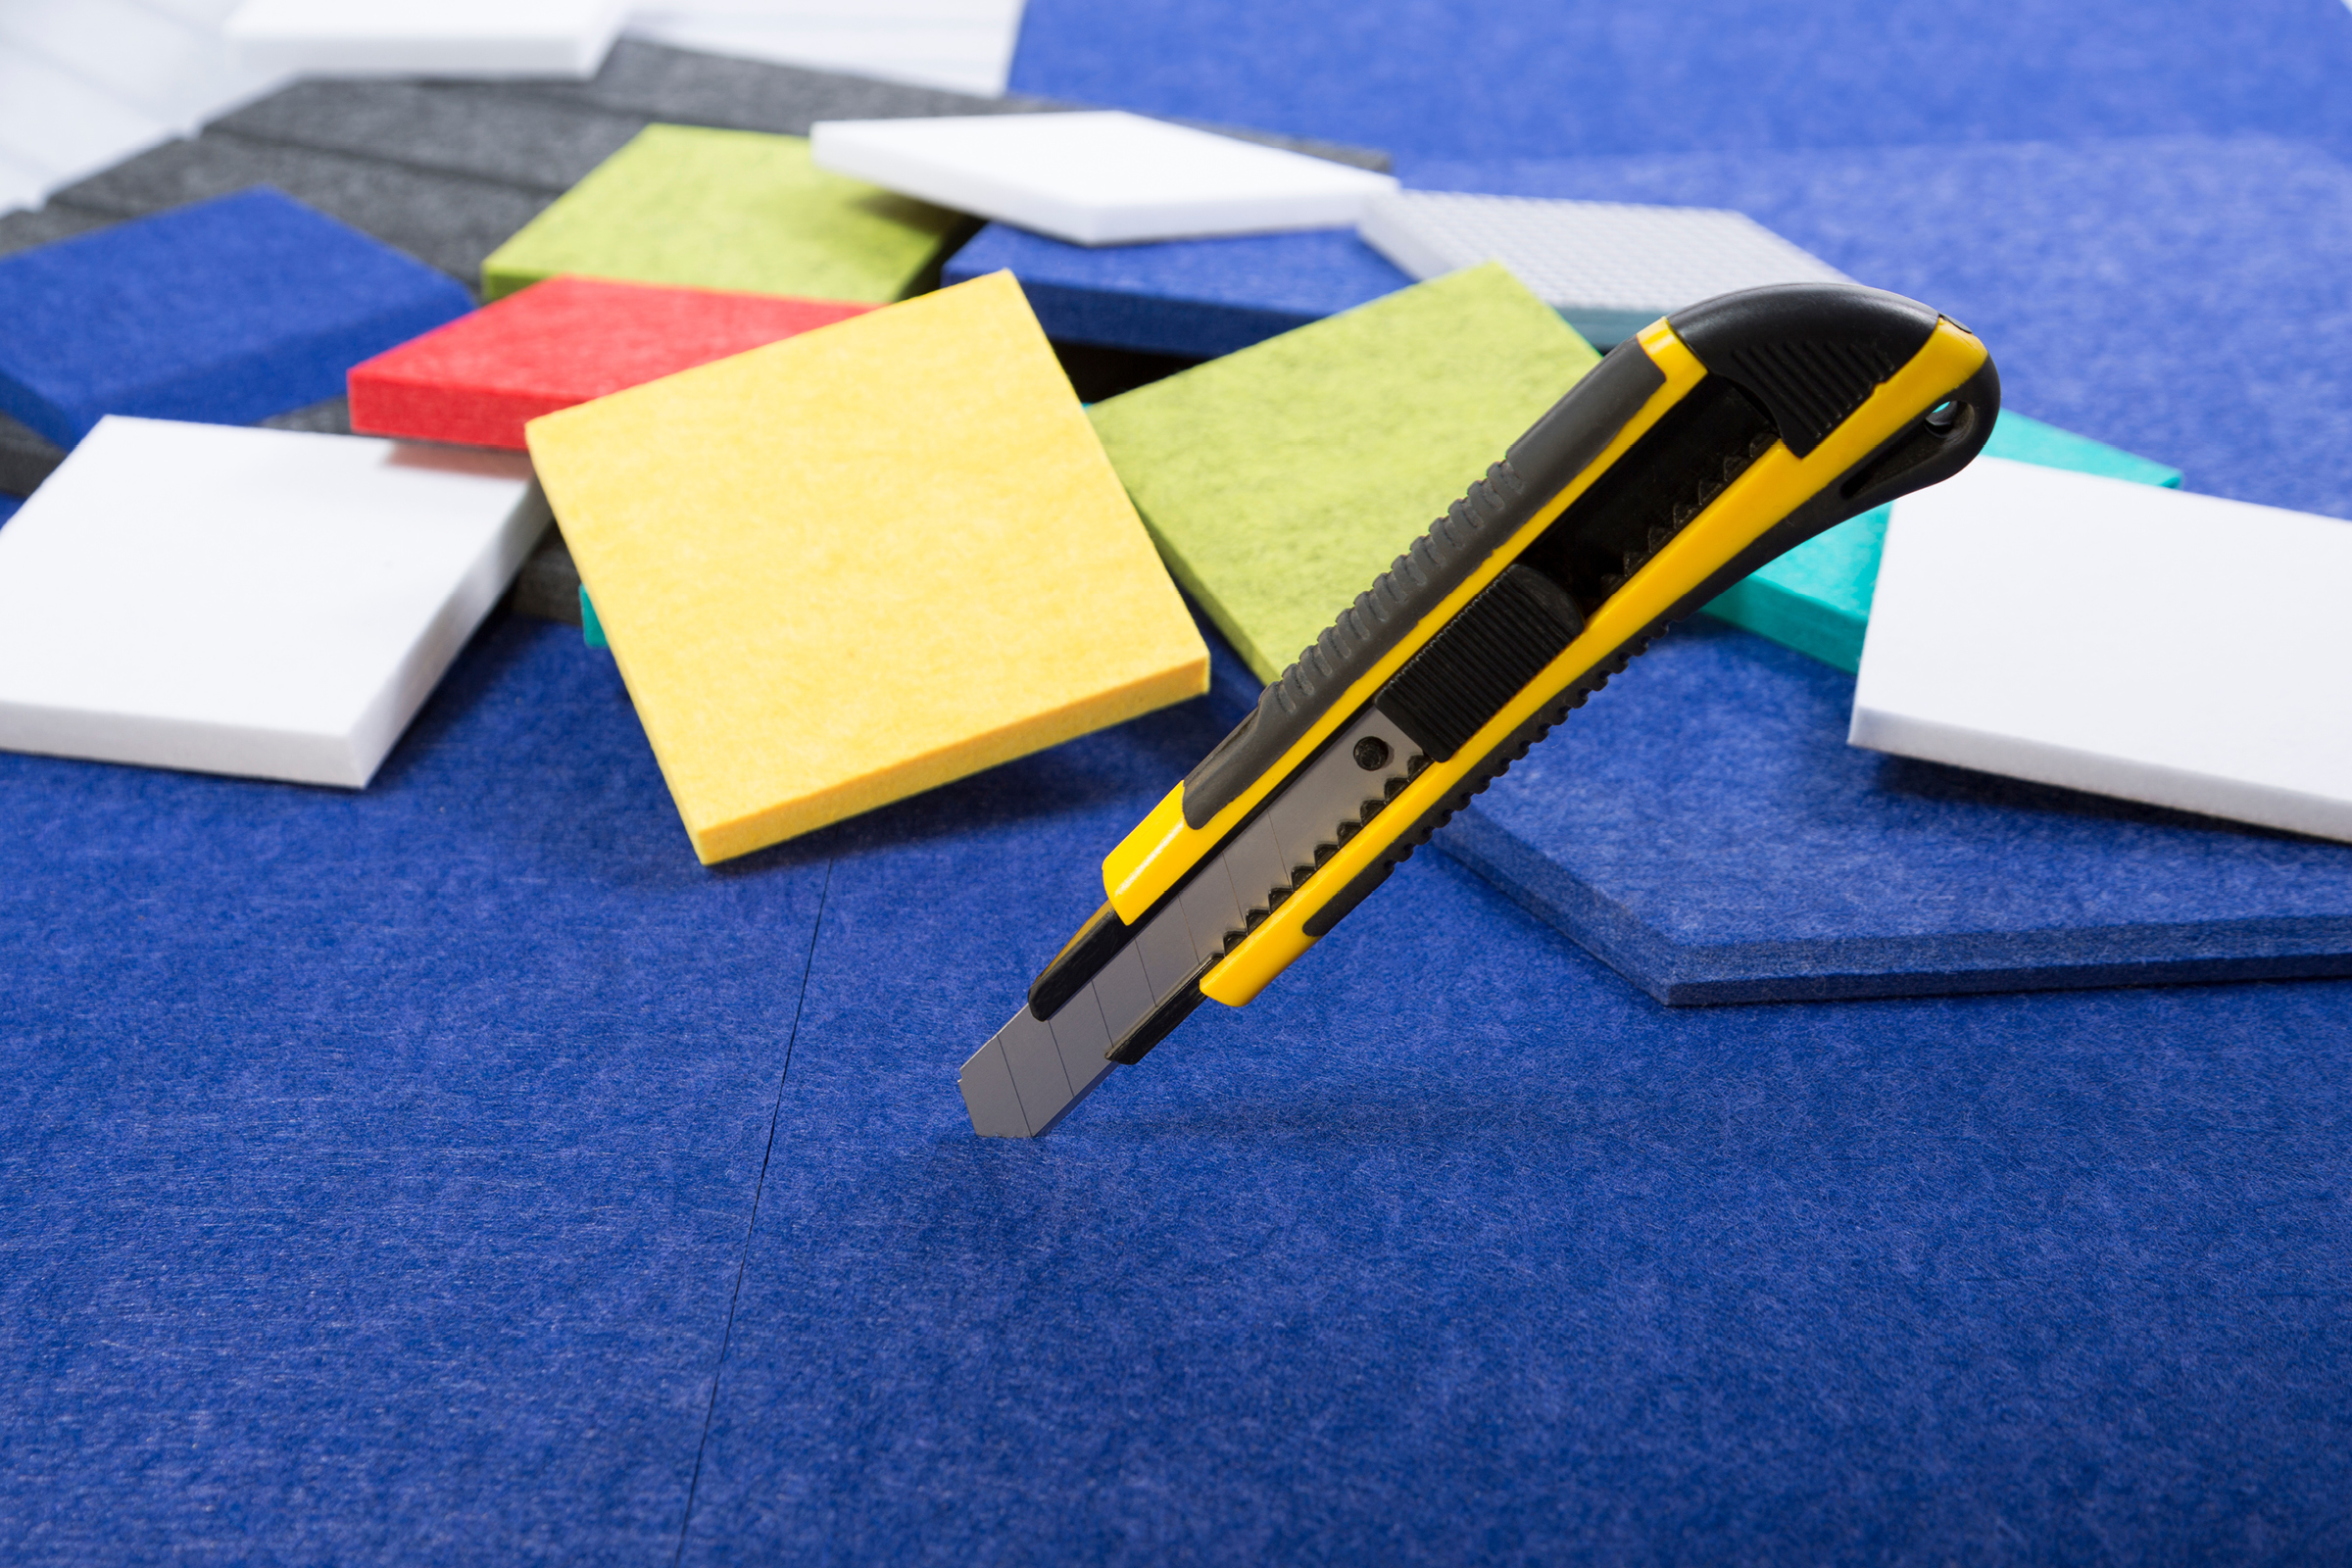
The choice of tool dictates the quality of the finish. Using a dull blade on PET panels often results in "dragging" or jagged edges, while the wrong power tool can melt the plastic fibers rather than slicing through them.
| Tool | Ideal Application | Expert Tips |
|---|---|---|
| Utility Knife | Straight lines, corner trimming | Always use a fresh snap-off blade. Score multiple times rather than forcing one deep cut. |
| Carpenter’s Knife | General DIY projects | Excellent for 9–12 mm panels; provides greater control for fine adjustments. |
| Electric Cutter | High-volume/Large installs | Reduces hand fatigue and ensures smooth, consistent edges with minimal fraying. |
| Jigsaw/Circular Saw | Complex, organic, or bulk cuts | Utilize a fine-tooth, high-speed steel blade to prevent fiber snagging. |
| CNC Machine | Industrial/Custom designs | The gold standard for precision; necessary for complex logos or intricate geometric patterns. |
3. Step-by-Step Installation Methodology
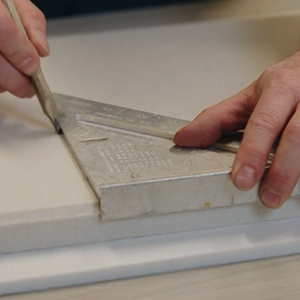
Step 1: Meticulous Measurement and Marking
The adage "measure twice, cut once" is the cornerstone of professional installation. Use a high-quality metal straight edge and a fine-tip chalk marker or grease pencil to delineate your cut lines. If you are working on a multi-panel installation, ensure your reference lines are perfectly level. Small errors at the start of a wall will be compounded as you move across the room.
Step 2: Securing the Workpiece
Stability is the enemy of error. Ensure your panel is placed on a clean, flat surface—preferably a sacrificial work table covered in cardboard to prevent scratching the face of the panel. Clamp the panel down using non-marring clamps if you are using power tools. If the panel shifts during a cut, the resulting edge will be uneven, making it difficult to achieve a seamless butt joint with the next panel.
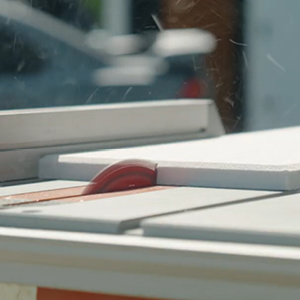
Step 3: Executing the Cut
For manual cutting, position your metal straight edge along your mark. Press firmly—the goal is to score the surface of the PET fiber deeply with the first pass. Do not attempt to cut through the entire thickness of the material in one go. Instead, perform 3–4 steady, controlled passes. This prevents the blade from wandering and keeps the cut edge clean. If using a jigsaw, maintain a steady, medium speed; moving too slowly can cause friction-induced melting, while too fast can result in a rough, "bitten" edge.
Step 4: Smoothing and Finishing
Even with the sharpest blade, you may encounter minor burrs or fuzzy fibers at the cut edge. Use a fine-grit sanding block (120–180 grit) to lightly buff the edge. This process cleans up the fibers and creates a crisp, professional line that will sit flush against adjacent panels.
4. Common Pitfalls and How to Avoid Them
Even experienced installers can fall victim to common errors. By identifying these early, you can protect the integrity of your acoustic installation.
- Using Dull Blades: This is the primary cause of poor results. A dull blade pushes the fibers rather than cutting them, leading to visible fraying. Change your blade every 2–3 linear meters of cutting.
- Forcing the Blade: Letting the tool do the work is vital. If you feel resistance, do not increase force; increase the number of passes.
- Ignoring Expansion Gaps: While PET panels are stable, they should not be jammed into tight corners. Allow for a microscopic gap at the edges, which can be covered with a bead of acoustic sealant or a decorative trim if necessary.
- Inconsistent Pressure: Ensure your pressure remains uniform along the entire length of the cut to prevent "wavy" edges.
5. Professional Safety Protocols
Safety should never be compromised for efficiency. Although EcoScapes panels are non-toxic, the act of cutting them creates fine dust and potential sharp edges.
- Personal Protective Equipment (PPE): Always wear safety glasses to protect against flying debris, especially when using power tools. A dust mask is recommended to prevent inhalation of microscopic fiber particles.
- Workspace Ventilation: While the material is safe, maintaining a well-ventilated area ensures that any dust generated during cutting is cleared quickly.
- Blade Handling: Always retract utility blades immediately after use. Store spare blades in a designated container rather than loose in a toolbox.
- Ergonomics: When performing bulk cuts, take regular breaks to avoid fatigue, which can lead to lapses in focus and potential injury.
6. Chronology of a Successful Installation
To manage a large-scale project, follow this chronological sequence:
- Phase 1 (Planning): Calculate panel quantities, account for waste, and map out the layout on the wall.
- Phase 2 (Preparation): Prepare the substrate (the wall) by ensuring it is clean, dry, and primed.
- Phase 3 (Dry Fitting): Lay out the panels on the floor to verify the pattern and check for any necessary edge-trimming.
- Phase 4 (Cutting): Execute all required cuts based on the dry-fit measurements.
- Phase 5 (Adhesion): Apply the recommended adhesive according to the manufacturer’s specifications, pressing firmly to ensure a strong bond.
- Phase 6 (Finishing): Perform final edge checks and clean the surface of the panels with a vacuum brush attachment.
7. Supporting Data: The Impact of Precision
Industry data suggests that the acoustic efficiency of a panel system is directly correlated to the quality of the seams. When panels are cut with precision, they form a near-hermetic seal against sound leakage. Conversely, gaps caused by jagged, poorly cut edges can reduce the overall Noise Reduction Coefficient (NRC) of an installation by as much as 10–15% due to sound diffraction at the joints. By adhering to the guidelines provided in this guide, installers can ensure that the panels perform at their maximum advertised rating.
8. Official Perspectives and Implications
Industry experts and architectural acoustic consultants emphasize that the "finish" of an installation is the primary indicator of professional competency. "EcoScapes panels offer a unique aesthetic," notes a lead interior architect. "However, the material is unforgiving to those who do not respect its density. Precision cutting isn’t just about appearance; it’s about the technical integrity of the sound barrier."
The implications of improper cutting are significant:
- Aesthetic Failure: Poorly cut edges are highly visible under grazing light, which is common in modern office designs.
- Structural Failure: If edges are not cut square, panels may shift or buckle over time, leading to gaps that require costly repairs.
- Performance Degradation: As noted, air gaps allow sound energy to bypass the absorption material, undermining the purpose of the acoustic installation.
Conclusion
Cutting EcoScapes Acoustic Panels is a skill that rewards patience, the right equipment, and an attention to detail. Whether you are a homeowner tackling a DIY home cinema or a professional contractor outfitting a commercial office space, the principles outlined here—proper measurement, the use of sharp tools, and a methodical approach to finishing—will ensure that your project stands the test of time. By treating the installation as a precise craft rather than a mere construction task, you guarantee not only a beautiful, modern aesthetic but also the superior acoustic performance that these recycled PET panels were designed to deliver.