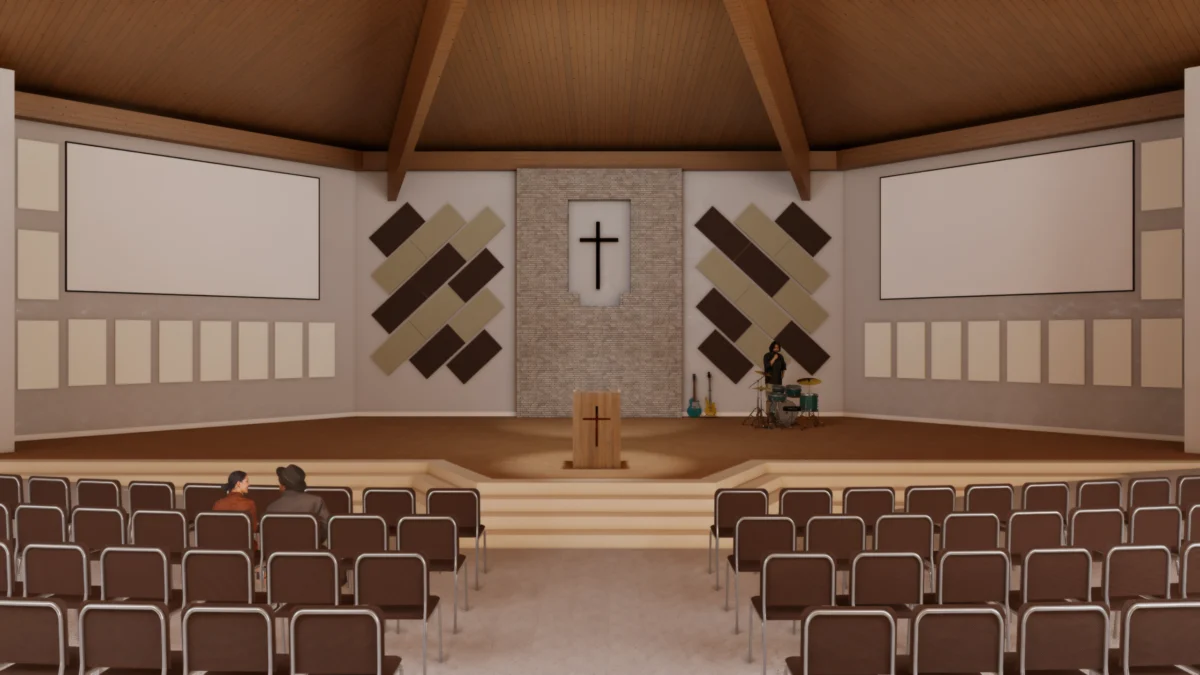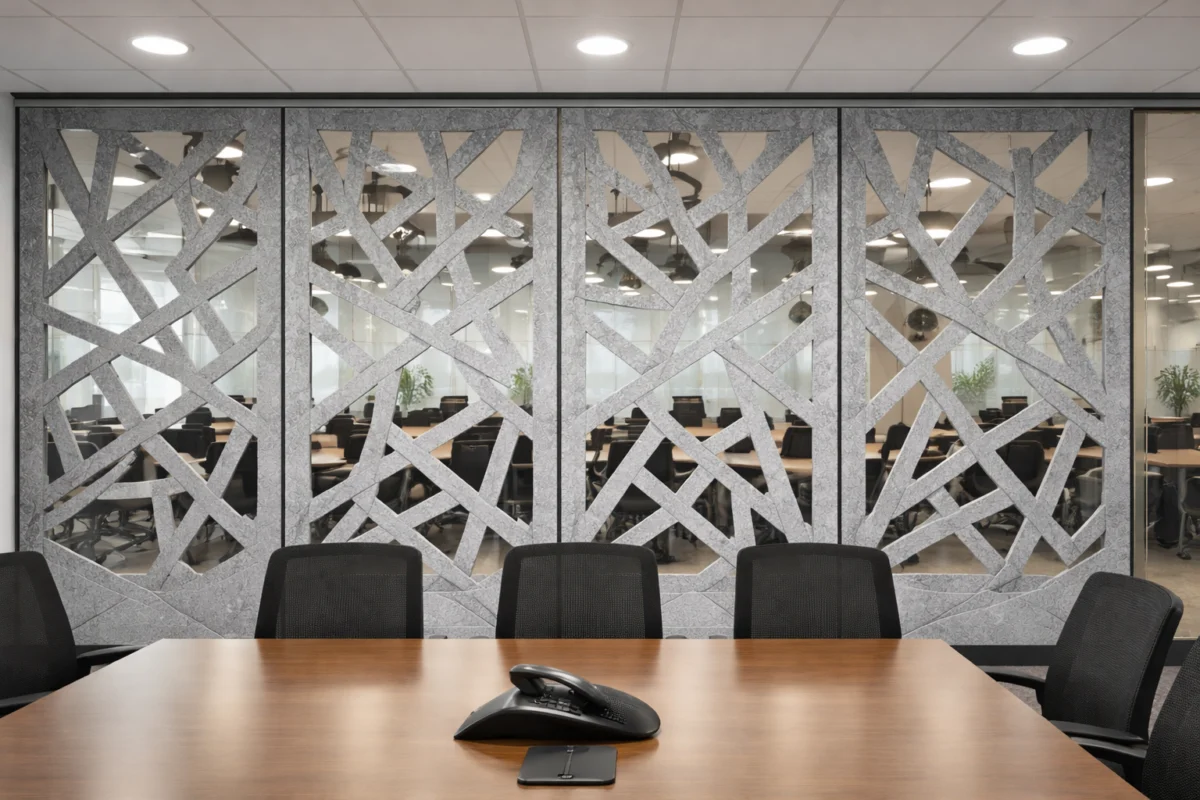

Achieving a professional-grade finish in interior acoustics is no longer the exclusive domain of high-end recording studios. As residential and commercial spaces increasingly prioritize sound management, EcoScapes PET (Polyethylene Terephthalate) Acoustic Panels have emerged as the industry standard for combining aesthetics with functionality. However, the success of any installation—whether you are retrofitting a home office or designing a massive corporate atrium—hinges on one critical skill: the ability to execute clean, precise cuts.
Whether you are trimming edges for a flush mount, navigating around complex electrical outlets, or fabricating bespoke geometric shapes to enhance a room’s visual rhythm, the difference between a amateur-looking DIY project and a masterfully installed system lies in your tool selection and technical approach.
1. Understanding EcoScapes: The Material Science
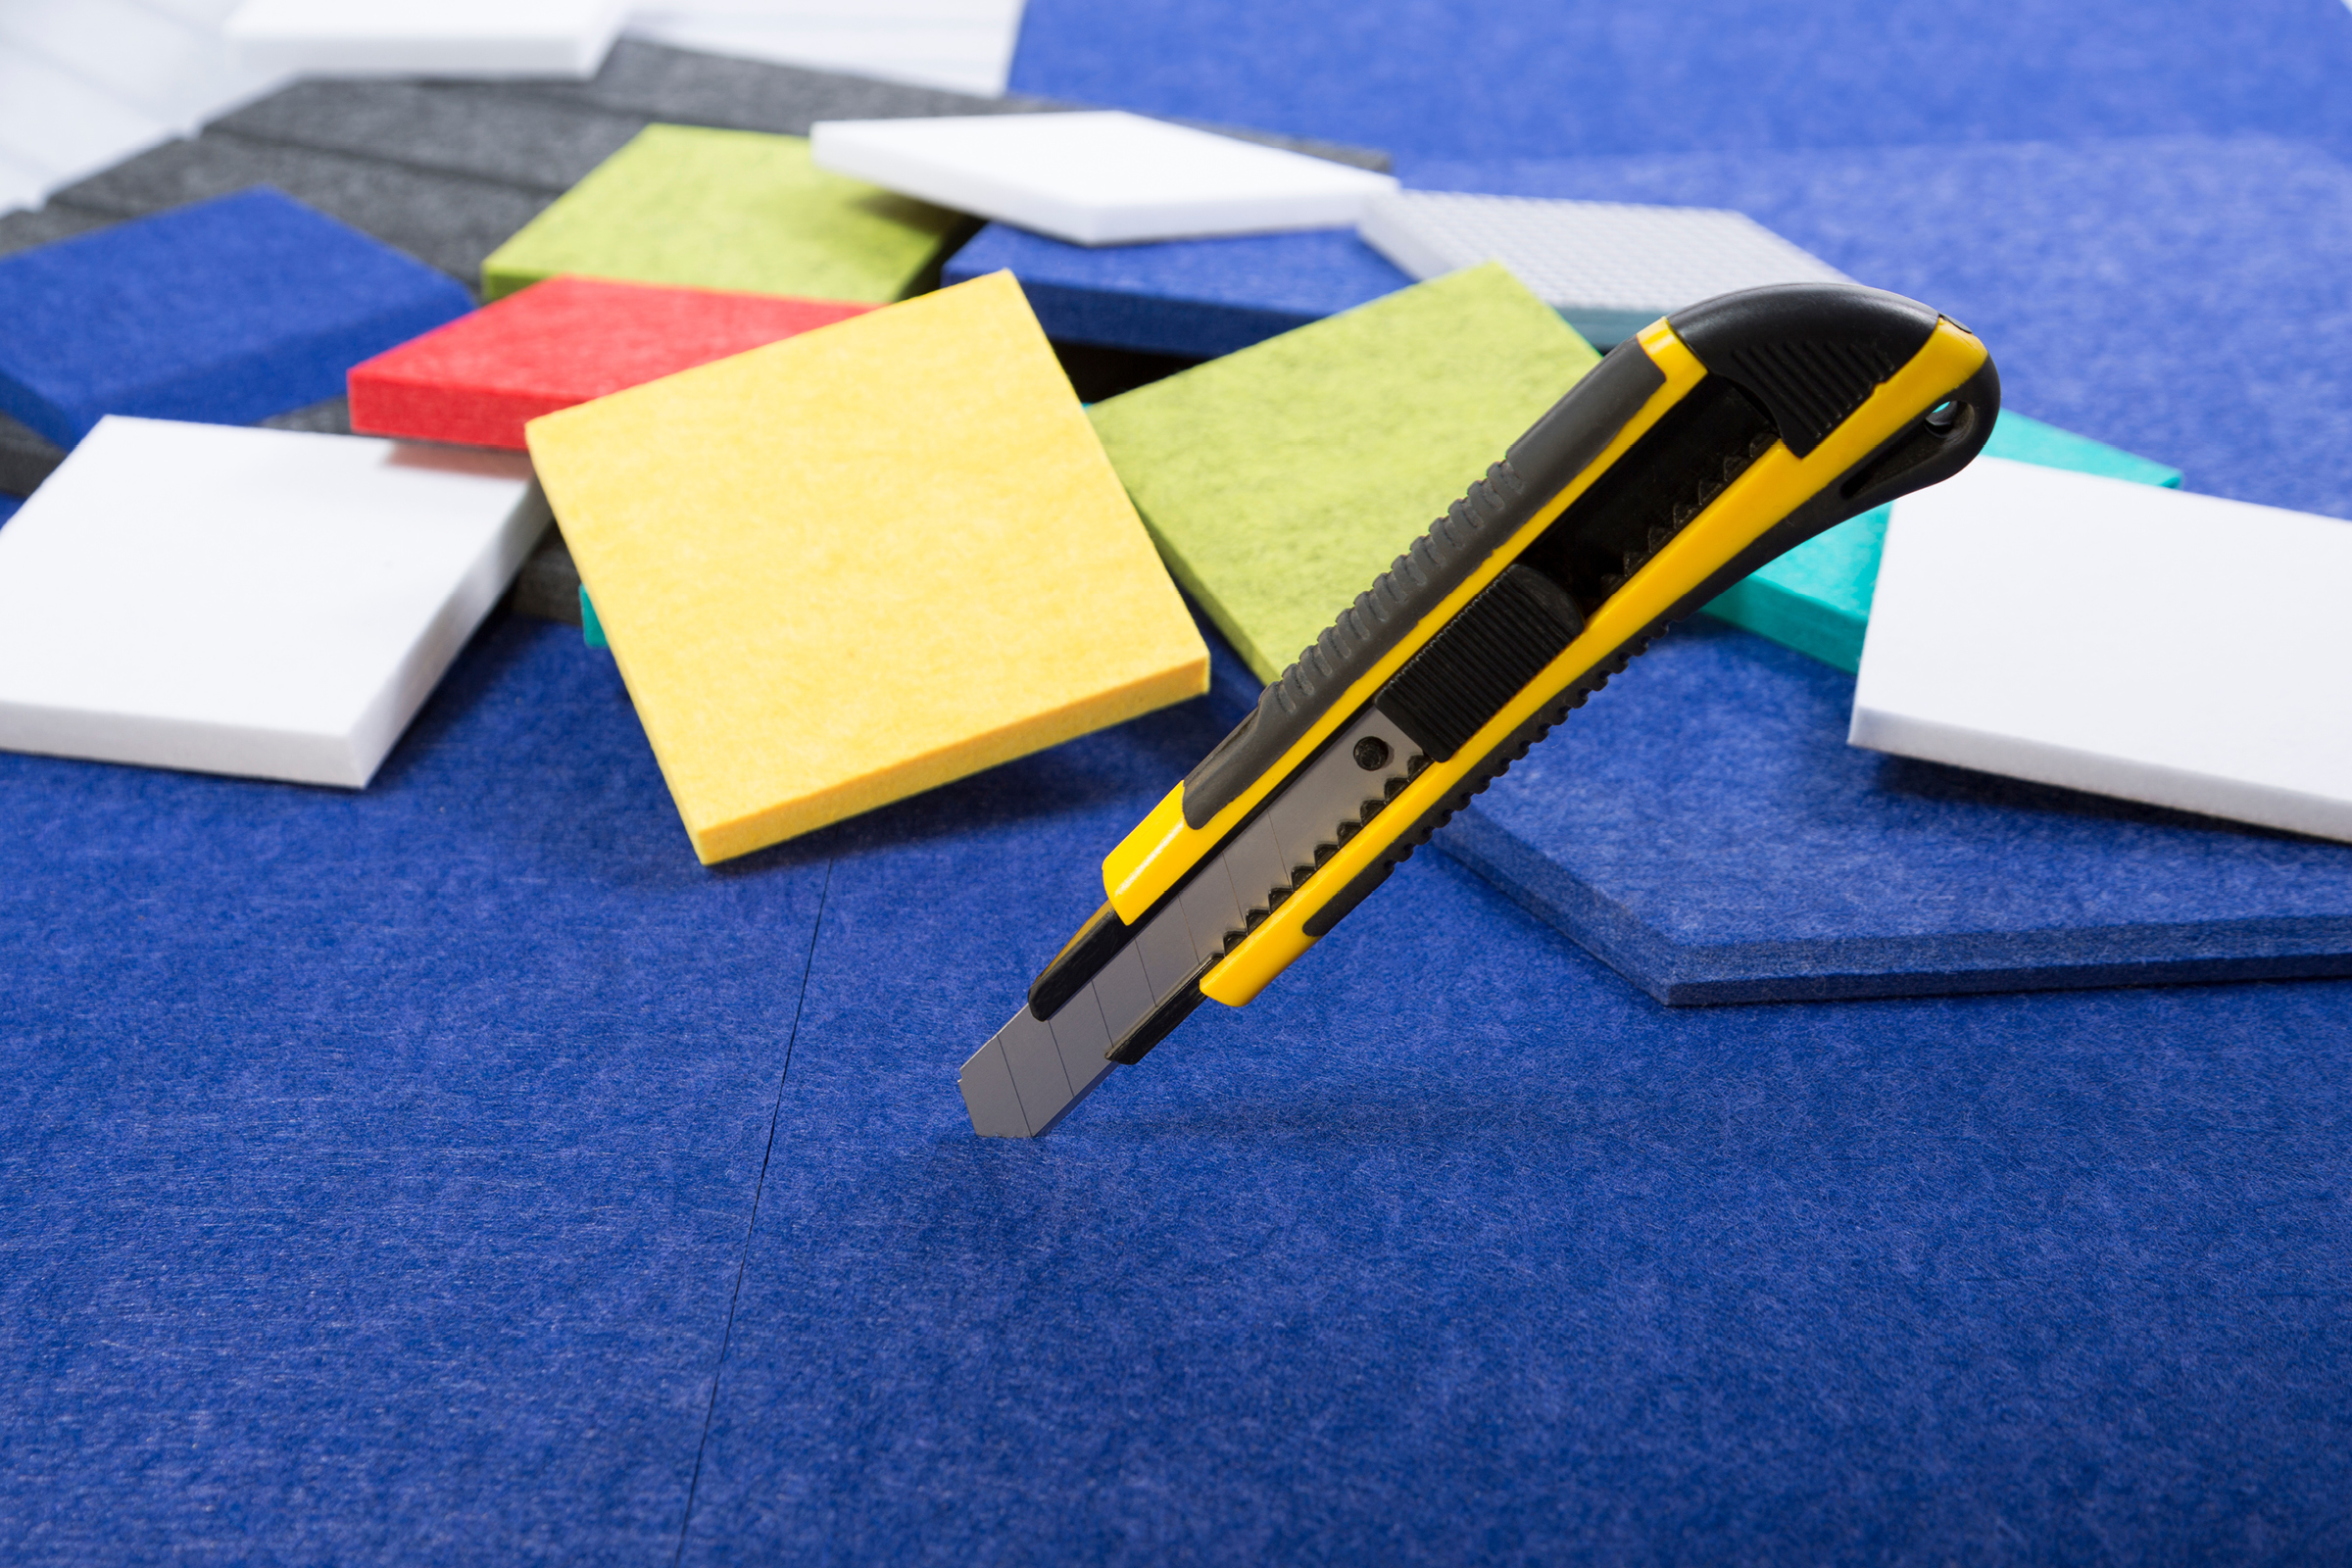
EcoScapes Acoustic Panels are engineered from high-density, compressed recycled plastic fibers. By repurposing PET materials, these panels serve a dual purpose: they divert waste from landfills while providing superior sound absorption.
- Sustainability: Made from 100% recycled PET, these panels are a cornerstone of modern eco-conscious architecture.
- Acoustic Performance: The material’s porous nature allows it to trap sound waves, significantly reducing reverberation and echo in any environment.
- Durability: Unlike foam alternatives, PET panels are semi-rigid, resistant to impact, and do not degrade over time, making them a long-term investment for sound control.
Because of their dense, fibrous composition, they require specific handling techniques that differ significantly from cutting drywall or wood.
2. Chronology of a Professional Installation
A successful installation follows a deliberate, logical flow. Rushing the preparation phase is the most common cause of installation errors.
Phase I: Planning and Templating (Hours 1–2)
Before the first blade touches the material, a thorough site survey is required. Measure the wall surface, account for every electrical outlet, and verify the squareness of the corners. If you are creating custom patterns, use cardboard templates to map out the cuts on the panels before committing to the final material.
Phase II: The Cutting Process (Hours 2–4)
Once the measurements are finalized, the cutting phase begins. This is where the choice of equipment dictates the speed and quality of the finish.
Phase III: Integration and Finishing (Hours 4+)
After the panels are cut, they are mounted to the wall surface. Finally, edge trimming or caulking is applied to ensure a seamless, gap-free appearance that looks as if it were integrated into the architecture from the building’s inception.
3. Tool Selection: Matching the Tool to the Task
The density of PET panels necessitates sharp, high-quality cutting instruments. Using a dull blade will pull the fibers, resulting in jagged, “fuzzy” edges that are difficult to correct.
| Tool | Best Application | Professional Pro-Tip |
|---|---|---|
| Utility Knife | Straight cuts, trim work | Always use a fresh snap-off blade; change it every 3–4 cuts. |
| Carpenter’s Knife | Small-scale projects | Ideal for 9–12 mm panels; use a steel straight-edge guide. |
| Electric Cutter | Large-scale, repetitive cuts | Minimizes fraying by vibrating at high frequencies through the fibers. |
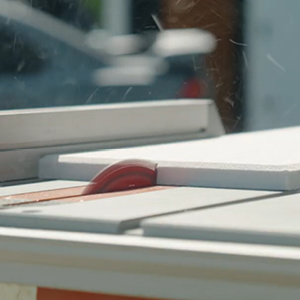
| Jigsaw / Circular Saw | Complex curves, bulk cuts | Use a fine-tooth blade; move at a moderate, consistent speed. |
| CNC Machine | Industrial/Custom logos | Essential for repeatable, high-precision geometry. |
4. Step-by-Step Cutting Guide: Expert Techniques
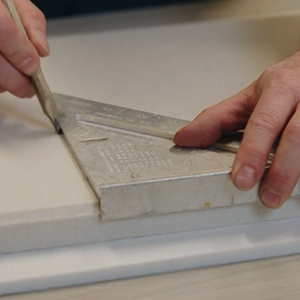
Step 1: Measure and Mark
Precision begins with the mark. Use a soft-lead pencil or a white chalk marker to ensure your lines are visible against the panel color. Double-check all measurements against the wall; remember the adage, "Measure twice, cut once." If cutting around outlets, trace the plate onto the panel and subtract 2mm for the cover plate overlap.
Step 2: Secure the Panel
Never attempt to cut a panel while holding it in the air. Place the EcoScapes panel on a sacrificial work surface—such as a large sheet of plywood or a clean, flat floor protected by cardboard. Use heavy weights or clamps to ensure the panel does not shift during the cutting process.
Step 3: Making the Cut
For straight lines, utilize a heavy-duty metal straight edge. When using a manual blade, do not attempt to cut through the entire thickness in one pass. Instead, perform three to four "scoring" passes, gradually increasing pressure. This prevents the blade from wandering and ensures a square, professional edge.
Step 4: Smoothing and Finishing
After the cut, you may notice minor fiber "whiskers." A light pass with a high-grit sanding block or a quick touch with a heat gun can singe and smooth any stray fibers, resulting in a pristine, factory-finished look.
5. Supporting Data: The Impact of Proper Installation
Field reports from acoustic engineers indicate that poorly cut panels—those with large gaps or frayed edges—can lose up to 15% of their intended noise reduction coefficient (NRC). Gaps between panels allow sound waves to bounce off the hard wall surface behind the acoustic treatment, creating "flutter echo" at the joints.
Furthermore, data suggests that projects utilizing CNC-cut edges for corner transitions show a 20% increase in aesthetic satisfaction among clients compared to those where edges were trimmed manually on-site. The lesson is clear: the physical integrity of the panel’s edge is as important as the panel’s material density.
6. Official Perspectives and Best Practices
Industry leaders in acoustic design emphasize that the environment in which you cut the panels is just as important as the tool.
"The most common mistake we see," says a lead installer for a major studio design firm, "is the failure to account for thermal expansion. While PET is stable, leaving a microscopic gap—about 1mm—at the corners allows the material to settle without buckling."
Official recommendations from the manufacturer suggest that for commercial installations, cutting should always be performed in a clean, dust-free environment. Using a vacuum attachment while using power tools not only keeps the workspace tidy but prevents fine PET dust from settling into the fabric face of the panels, which can be difficult to remove later.
7. Common Mistakes to Avoid
- Over-reliance on Force: If you find yourself pushing hard to get the blade through, your blade is dull. Force leads to uneven lines and personal injury.
- Ignoring Grain: While PET panels are generally isotropic, some high-end finishes have a directional weave. Ensure all panels are oriented in the same direction before cutting.
- Lack of Sacrificial Layer: Cutting directly onto concrete or hard surfaces will instantly dull your blades. Always place a sacrificial sheet of high-density foam or plywood beneath your work.
8. Safety Protocols
EcoScapes panels are non-toxic, formaldehyde-free, and generally safe to handle. However, the process of cutting them creates fine airborne particulates.
- Respiratory Protection: Always wear an N95-rated dust mask when using power saws to prevent inhalation of micro-fibers.
- Eye Protection: Safety goggles are mandatory. The fiber fragments can be sharp and irritating to the eyes.
- Ergonomics: When cutting large volumes of panels, ensure your work table is at waist height to prevent back strain and improve the steadiness of your cutting hand.
Conclusion: Achieving the Professional Finish
The installation of EcoScapes Acoustic Panels is a marriage of art and engineering. By respecting the material, investing in the correct cutting tools, and adhering to the methodical steps outlined in this guide, you ensure that your acoustic environment is not only effective but visually stunning. Whether you are a weekend DIY warrior or a seasoned interior contractor, the path to a high-fidelity space begins with the precision of your very first cut.
Remember, a professional finish is not achieved by chance; it is the result of patience, proper preparation, and a commitment to detail. With these techniques, you are well-equipped to transform any room into an acoustic sanctuary.