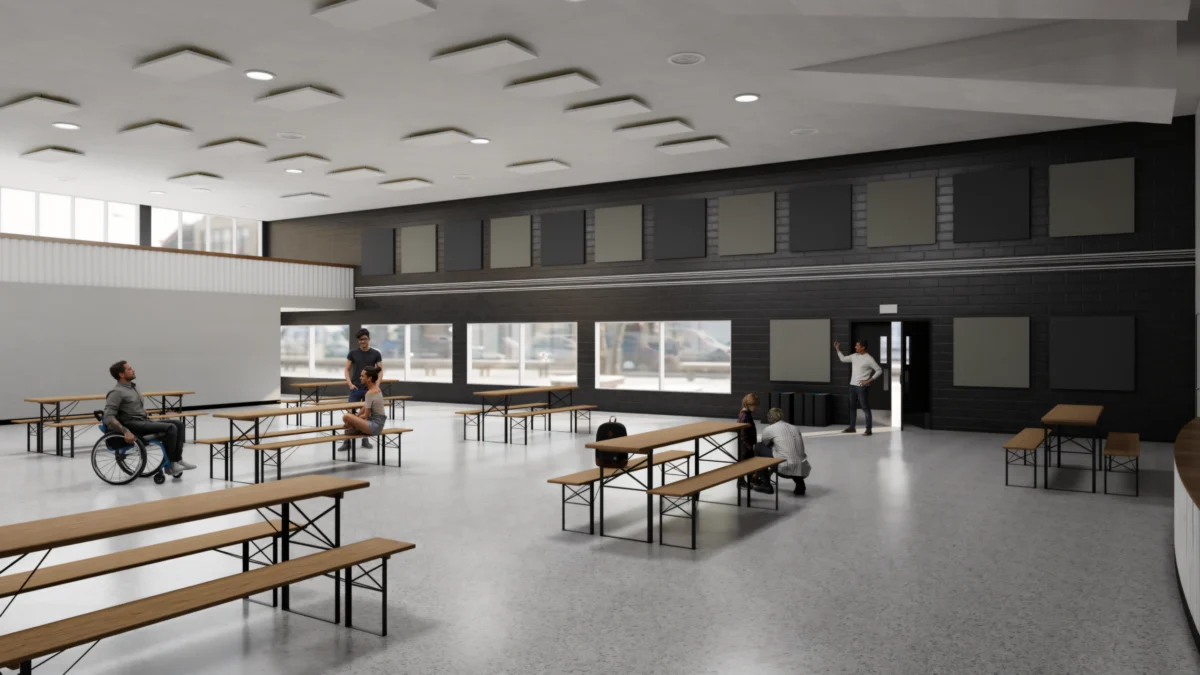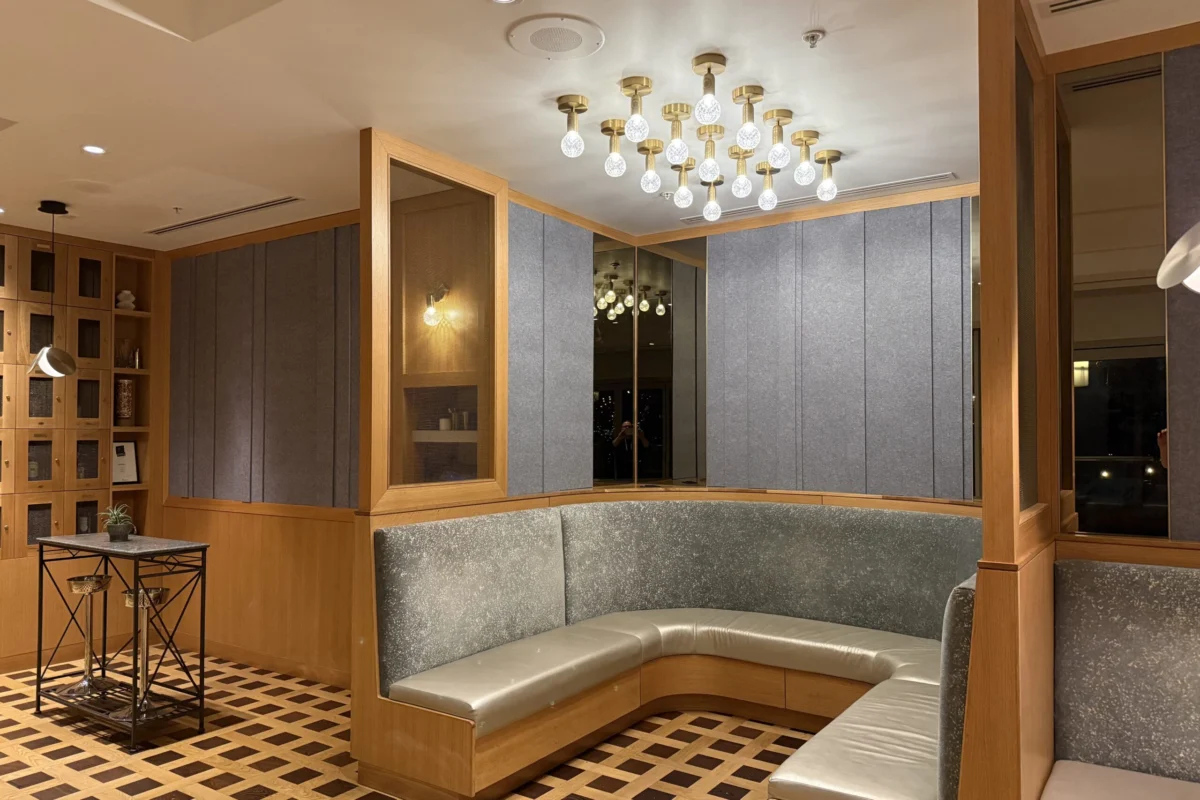

Achieving a professional-grade finish in interior acoustics is no longer the sole domain of specialized contractors. With the rise of EcoScapes PET (Polyethylene Terephthalate) acoustic panels, architects, interior designers, and DIY enthusiasts now have access to high-performance sound-dampening materials that are as sustainable as they are aesthetically pleasing. However, the beauty of a finished wall installation—whether in a home theater, a high-end office, or a commercial studio—depends entirely on the precision of the cuts.
This guide provides an exhaustive look into the material properties of EcoScapes, the essential toolkits required for success, and a rigorous step-by-step methodology for executing flawless installations.
1. Understanding EcoScapes: The Material Science
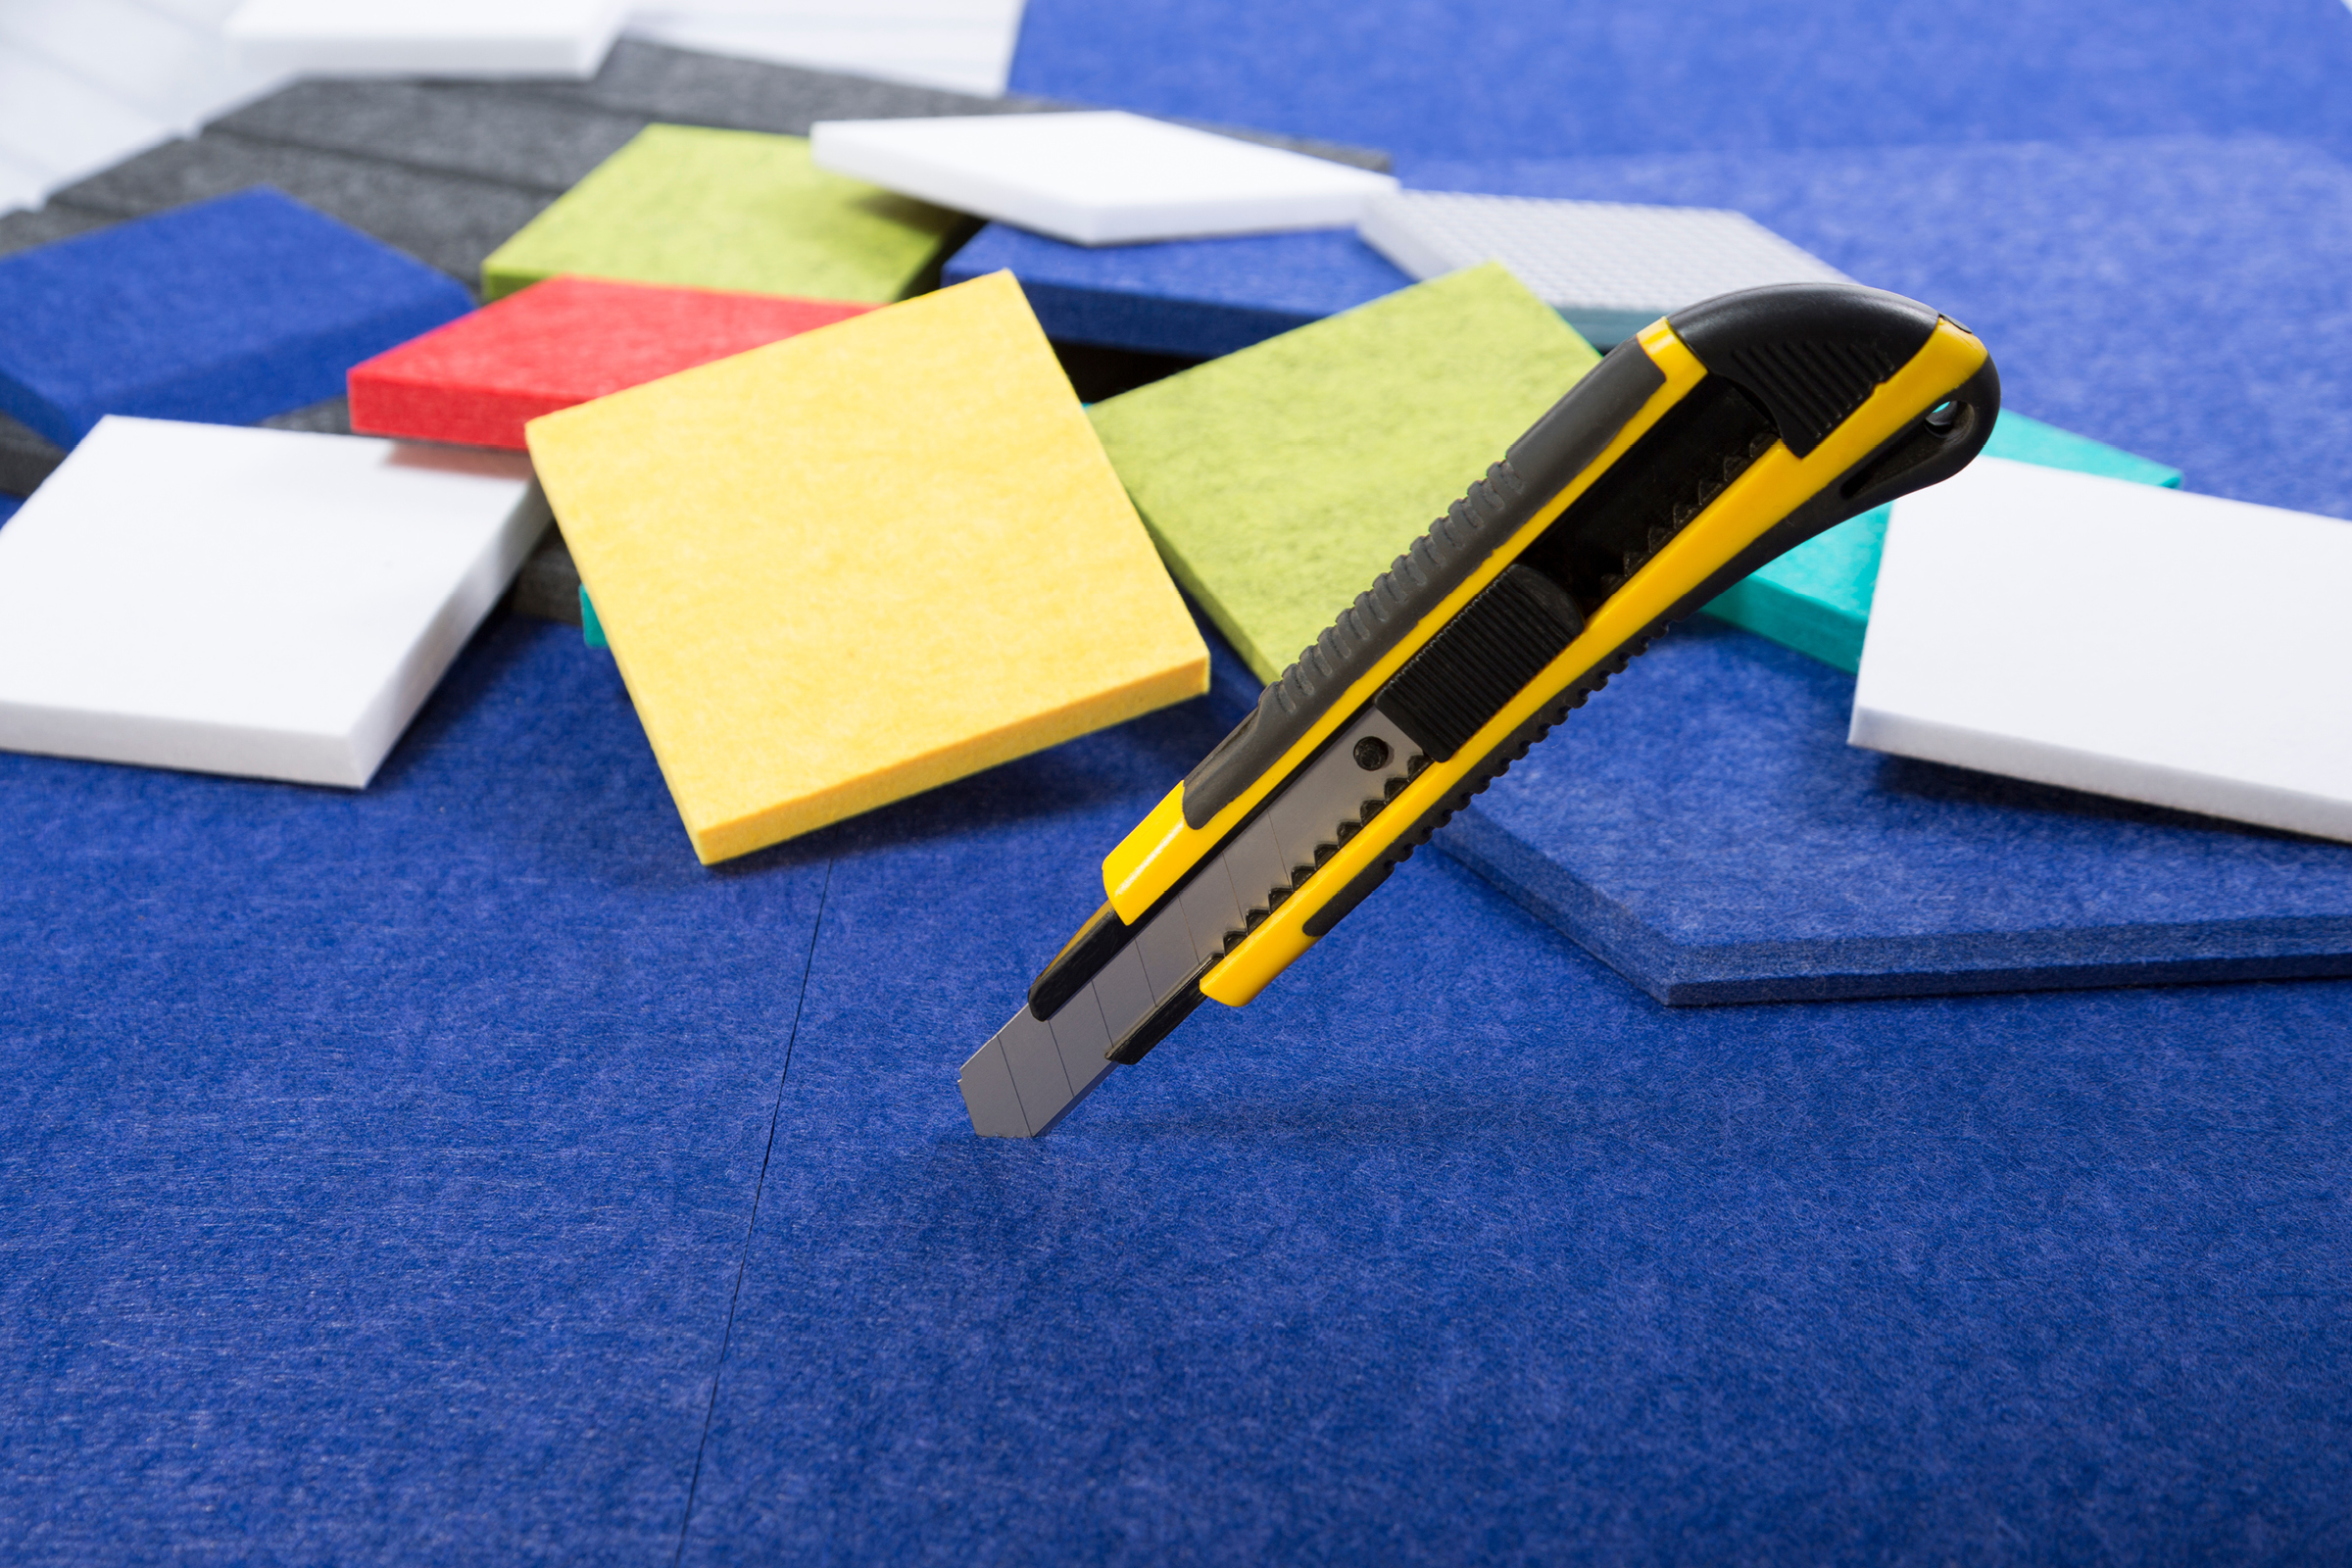
EcoScapes acoustic panels are engineered from high-density, compressed recycled PET fibers. This material is not merely a design choice; it is a sophisticated acoustic solution. By repurposing plastic fibers into a felt-like, semi-rigid structure, EcoScapes provides excellent sound absorption coefficients, effectively reducing reverberation and echo in any environment.
Key Material Attributes:
- Sustainability: Manufactured from recycled post-consumer plastics, these panels contribute to LEED certification and green building initiatives.
- Durability: The compressed nature of the PET fiber ensures that the panels maintain their shape and acoustic properties over years of use.
- Versatility: Unlike traditional foam panels, PET panels are rigid enough to be cut, routed, and shaped, allowing for bespoke wall patterns and seamless coverage around structural obstructions.
- Safety: The material is non-toxic, formaldehyde-free, and contains no harmful volatile organic compounds (VOCs), making it ideal for schools, healthcare facilities, and residential bedrooms.
2. Strategic Preparation: Selecting the Right Tools
The "measure twice, cut once" mantra is never more relevant than when working with acoustic textiles. The density of the material requires specific cutting instruments to avoid "fraying" or "furring" of the cut edges.
The Professional’s Tool Arsenal
| Tool | Best For | Technical Tips |
|---|---|---|
| Utility Knife | Straight lines & small adjustments | Always use a fresh, snap-off blade for every 5 feet of material to maintain sharpness. |
| Carpenter’s Knife | General DIY projects | Ideal for 9–12 mm thicknesses; requires a firm, steady hand and a metal guide rail. |
| Electric Cutter | Large-scale installations | Prevents hand fatigue during long, continuous cuts; ensures consistent edge quality. |
| Jigsaw / Circular Saw | Complex shapes / bulk work | Utilize a fine-tooth blade and set to a medium orbital speed to prevent melting the PET fibers. |
| CNC Machine | Custom logos / patterns | Provides industrial-level precision for high-end, complex architectural installations. |
3. Chronology of a Perfect Installation: A Step-by-Step Guide
Executing a professional installation requires a methodical approach. Follow these four phases to ensure your EcoScapes panels remain pristine.
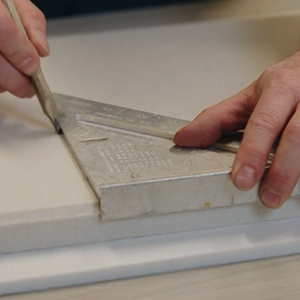
Phase 1: Precision Measurement and Marking
Before a blade ever touches the material, accuracy must be established. Use a laser level to ensure your reference lines are perfectly plumb. When marking the panel, use a chalk line or a high-visibility marker that can be easily wiped away. If you are working around an outlet, create a paper template of the electrical box, transfer it to the panel, and double-check your orientation before marking.
Phase 2: Securing the Panel
Movement is the enemy of a clean cut. For smaller pieces, use high-quality painter’s tape to secure the panel to your work surface. For larger sheets, use a heavy-duty cutting mat and clamps. Ensure your work surface is clean—any debris trapped under the panel can cause indentations in the felt surface that are difficult to remove.
Phase 3: The Cutting Technique
When using a utility knife, do not attempt to cut through the entire thickness of the panel in a single pass. Instead, perform three to four light, controlled passes. The first pass acts as a guide, the second deepens the cut, and the third completes it. This method prevents the blade from wandering and ensures the edge remains straight. If using a power tool, always push the tool through the material at a constant, moderate speed. Stopping midway can cause heat buildup, which may fuse or "burn" the PET fibers.
Phase 4: Smoothing and Finishing
Even with the sharpest blade, minor "hairs" or stray fibers may appear. Use a high-quality sanding block with fine-grit sandpaper (around 220 grit) to lightly buff the edges. For more stubborn fraying, a handheld garment steamer can be used to gently heat the fibers, allowing them to be smoothed back into the edge profile.
4. Supporting Data and Industry Standards
In the field of architectural acoustics, the integrity of a joint is not merely aesthetic—it is functional. When gaps occur between panels due to poor cutting, sound energy can penetrate behind the panel, vibrating the wall structure and causing "buzzing" or reduced absorption performance.
Professional installers note that a gap of more than 1mm can result in a noticeable drop in the NRC (Noise Reduction Coefficient) rating of an installation. By maintaining a tight butt-joint through precise cutting, installers ensure the wall functions as a continuous acoustic membrane, maximizing the absorption of mid-to-high-frequency sounds.
5. Official Perspectives: Why Technique Matters
According to lead installation technicians at major acoustic design firms, the most common error is the "force-cut" mentality. "Many installers believe that because the material is soft to the touch, it is easy to cut," says a lead representative from the EcoScapes technical support team. "In reality, the high density required for acoustic performance makes it a challenge. If you force the knife, you lose control of the blade trajectory. A controlled, multi-pass approach is the only way to achieve the seamless look our clients expect."
6. Avoiding Common Pitfalls
To ensure your project reaches a professional finish, avoid these common mistakes:
- The "Dull Blade" Trap: Using a blade for too long will result in jagged, uneven edges. If you feel resistance, change the blade.
- Ignoring Grain Direction: While PET panels are largely isotropic, some variations in fiber density exist. Always test your cutting direction on a scrap piece.
- Measuring Errors: Never measure and cut in segments. Always measure the full distance of the wall and account for the thickness of your blade (the "kerf").
- Improper Storage: Keep panels flat. If panels are stored leaning against a wall, they may warp, making it impossible to achieve straight cuts.
7. Implications: Safety and Health
EcoScapes panels are designed with indoor air quality in mind. Unlike traditional mineral wool or fiberglass insulation, PET fibers are non-irritant. However, during the cutting process, fine micro-fibers may become airborne.
Safety Best Practices:
- Respiratory Protection: Wear an N95 mask when cutting large quantities to avoid inhaling fine fibers.
- Eye Protection: Safety goggles are essential, especially when using high-speed power tools that can eject particles.
- Ventilation: Work in a well-ventilated space. While the material is non-toxic, the dust generated by cutting can cause minor respiratory irritation if inhaled in large quantities.
- Waste Management: PET panels are 100% recyclable. Collect your off-cuts and scraps and place them in a recycling stream rather than the general trash.
Conclusion
The installation of EcoScapes Acoustic Panels is a marriage of art and engineering. By respecting the material, investing in the proper cutting implements, and adhering to the rigorous steps outlined in this guide, you can transform any space into an acoustically balanced environment. Whether you are aiming for a crisp, industrial look or a seamless, minimalist aesthetic, precision is your most valuable asset. With the right technique, the transition from raw material to finished installation will be as smooth as the final, perfectly trimmed edge of your panel.