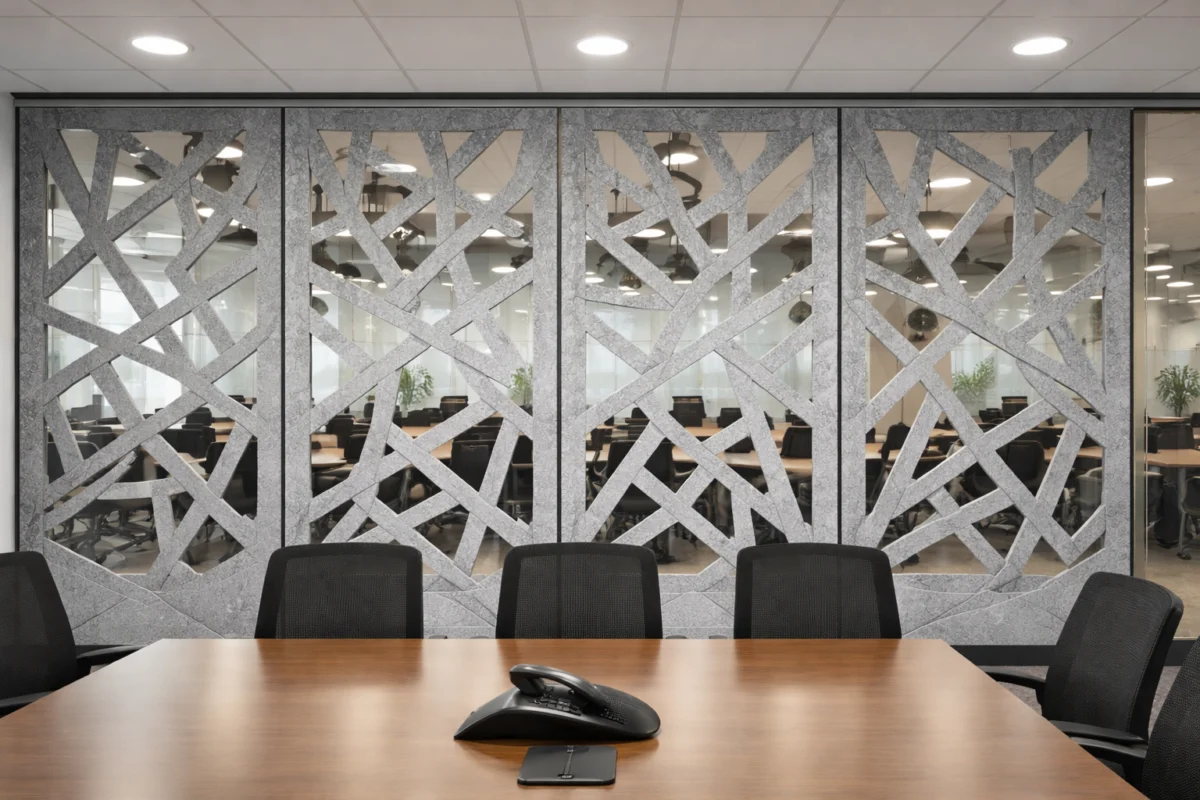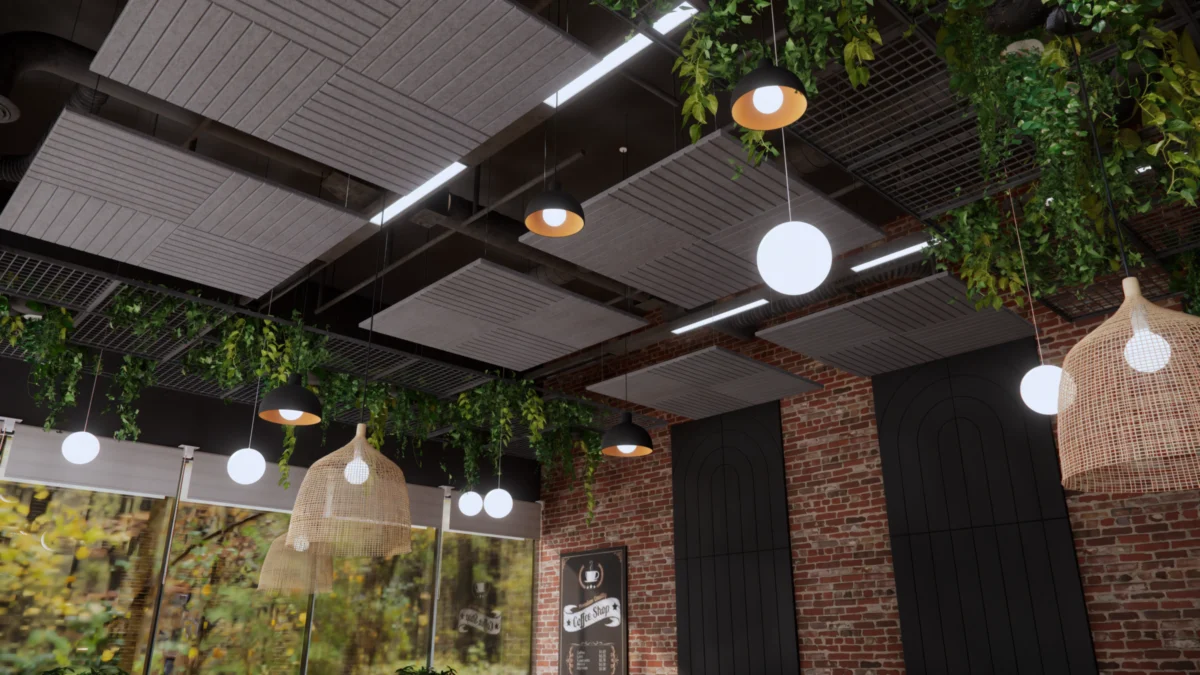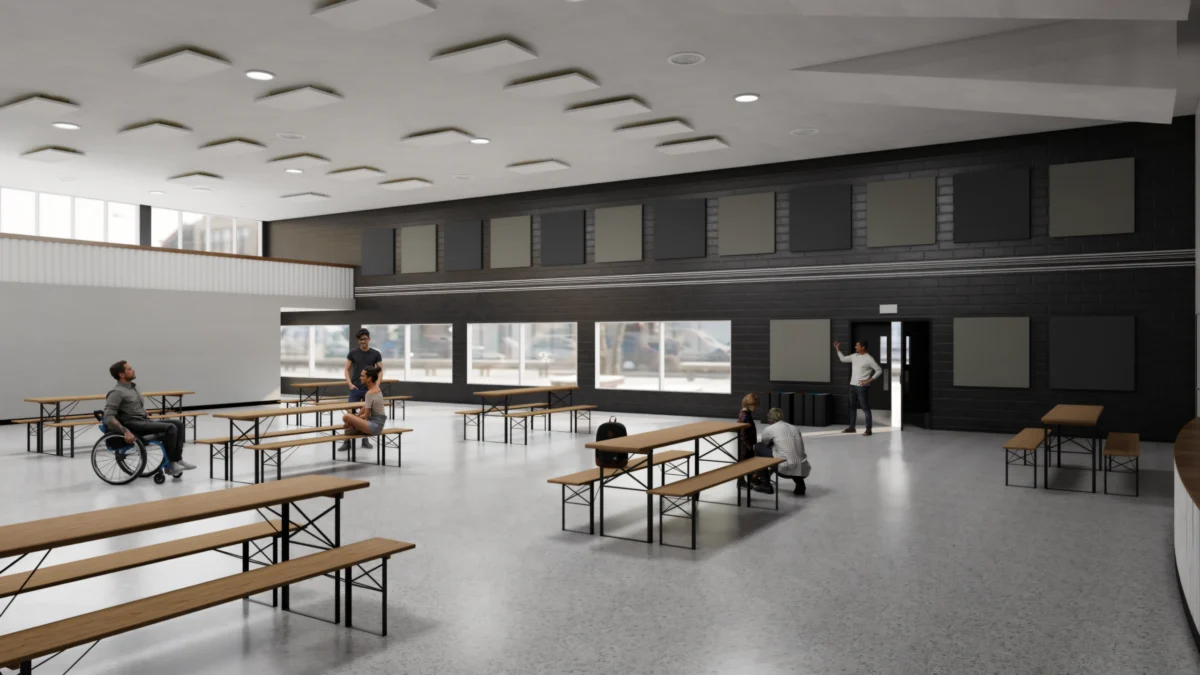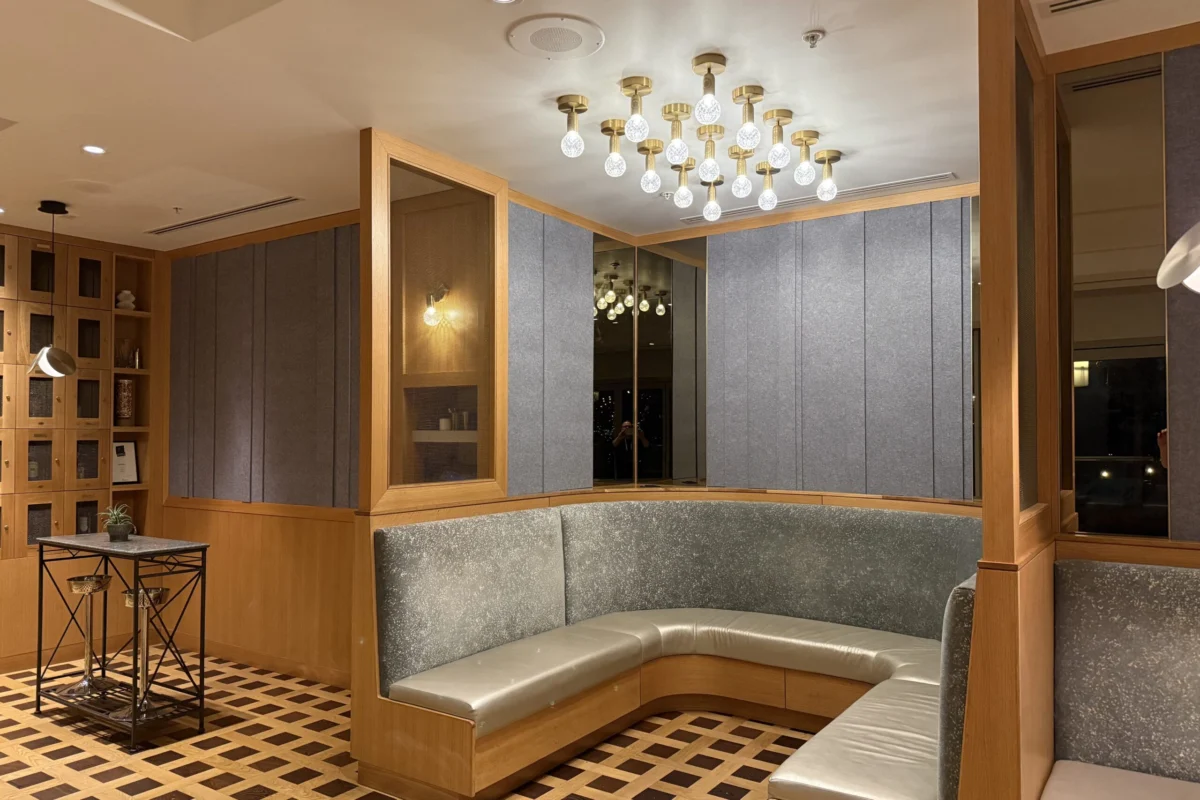
Achieving clean, precise cuts is the foundational difference between a run-of-the-mill amateur acoustic treatment and a high-end, professional architectural installation. Whether you are trimming perimeter edges to fit tightly against a corner, carefully carving out pathways around electrical outlets and light switches, or designing intricate, custom geometric shapes for a statement wall, having the right tools and mastering the correct cutting techniques makes all the difference.
This comprehensive installation guide covers everything architects, interior designers, contractors, and DIY enthusiasts need to know to achieve flawless results. From understanding the unique material composition of EcoScapes panels to tool recommendations, step-by-step cutting methods, common pitfalls to avoid, and essential safety guidelines, this manual serves as your ultimate resource.
Main Facts: What Are EcoScapes Acoustic Panels?
To cut a material effectively, one must first understand what it is made of. EcoScapes PET (Polyethylene Terephthalate) Acoustic Panels are engineered from compressed, recycled plastic fibers. Designed to marry environmental sustainability with top-tier acoustic performance, these panels trap sound waves effectively while repurposing post-consumer plastics that would otherwise end up in landfills.
EcoScapes panels are renowned for several core properties:
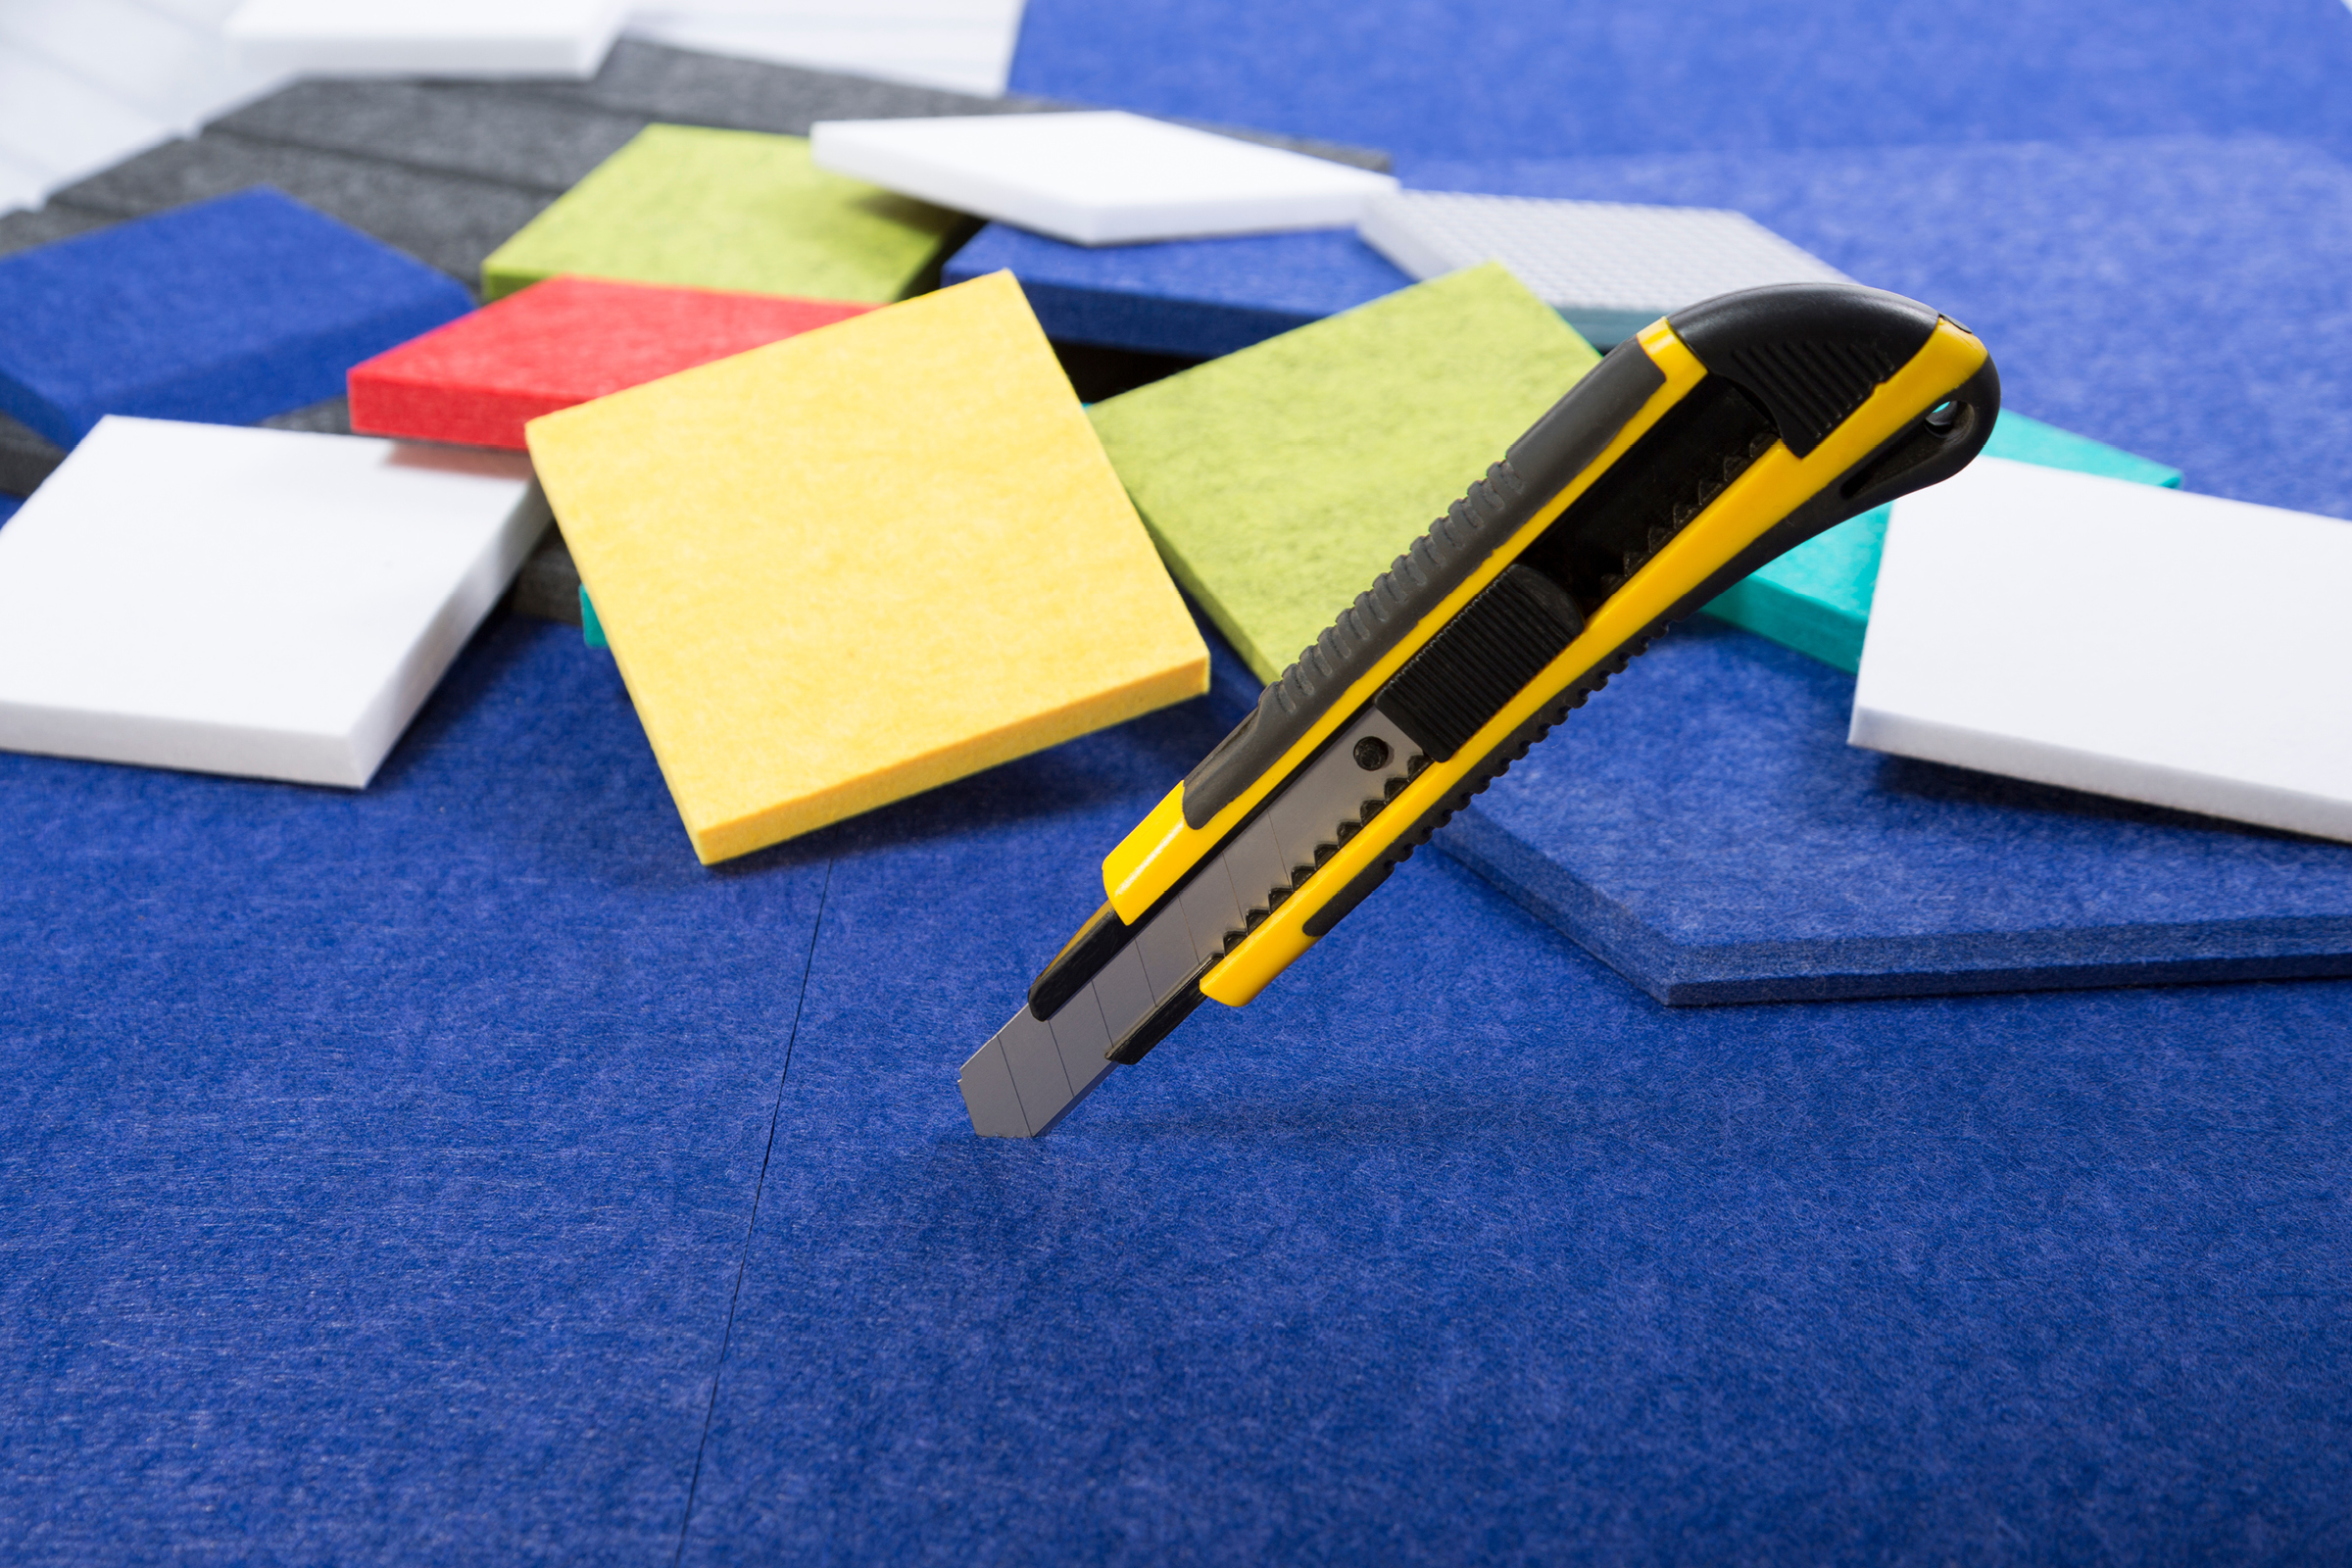
- High-Density Construction: The compressed PET fibers provide structural rigidity while maintaining lightweight handling characteristics.
- Exceptional Sound Absorption: They effectively reduce echo, reverberation, and ambient noise in commercial offices, residential home theaters, restaurants, and educational facilities.
- Eco-Friendly Manufacturing: Composed heavily of recycled content, they support green building certifications such as LEED.
- Non-Toxic Composition: Free from harmful chemical binders, formaldehyde, and irritants found in older generations of insulation materials.
Despite their robust build, PET felt panels require specific cutting methodologies to prevent fraying, jagged edges, or compressed bevels. Treating them like standard drywall or wood will yield subpar results; instead, they require specialized cutting strategies tailored to synthetic textile fibers.
Chronology: The Evolution of Acoustic Panel Installation
The methods used to install and modify architectural acoustic panels have evolved dramatically over the last few decades. Understanding this timeline highlights why modern tools like EcoScapes require specialized handling.
- Early 20th Century – The Industrial Era of Acoustics: Early acoustic treatments primarily consisted of organic materials like cane fiberboard, cork, and heavy plaster mixtures. These materials were brittle, messy to cut on-site, and often required heavy-duty masonry or woodworking tools.
- Late 20th Century – Fiberglass and Mineral Wool Ascendancy: The market shifted toward rigid fiberglass boards and mineral wool wrapped in fabric. While acoustically superior, these materials presented significant health and safety hurdles. Cutting them required heavy personal protective equipment (PPE) due to airborne glass fibers that irritated skin and lungs.
- Early 2000s – The Rise of Synthetic Textiles: The introduction of PET felt changed the interior design landscape. Designers wanted exposed, frameless acoustic solutions that didn’t require fabric wrapping. Manufacturers developed dense, decorative polyester panels that could be mounted directly to walls.
- Present Day – Precision Engineering and Customization: Modern acoustic panels like EcoScapes are treated as both functional noise-control elements and high-end design features. With the integration of electric cutters, CNC machines, and refined manual techniques, installers can now achieve factory-grade, precision-cut geometries on-site or in pre-fab environments.
Recommended Tools for Precision Cutting
Selecting the correct tool depends on the scope of your project, the thickness of the panels (typically ranging from 9mm to 12mm), and whether you are making straight cuts or complex curves.
| Tool | Best For | Professional Tips & Best Practices |
|---|---|---|
| Utility Knife / Box Cutter | Straight cuts, small adjustments, edge trimming | Always use a brand-new, ultra-sharp blade. Do not try to cut through the panel in one heavy stroke; instead, score the surface multiple times firmly along a straight metal ruler. |
| Carpenter’s Knife | DIY or small-scale localized projects | Particularly effective for standard 9 mm to 12 mm thick panels. Provides a sturdy grip for controlled downward pressure. |
| Electric Cutter | Large-scale commercial installations | Speeds up the workflow exponentially and produces exceptionally smooth edges with minimal fiber fraying. |
| Jigsaw or Circular Saw | Complex shapes, curves, and bulk cutting | Equip the tool with a fine-tooth blade. Maintain a medium, steady speed to prevent friction from melting or fusing the plastic fibers. |
| CNC Cutting Machine | Custom designs, intricate logos, and mass production | Ideal for industrial-level precision, repeating patterns, and highly complex architectural specifications. |
Step-by-Step Cutting Guide
Executing a flawless cut requires patience, preparation, and precision. Follow this four-step methodology to ensure your EcoScapes panels fit seamlessly into your space.
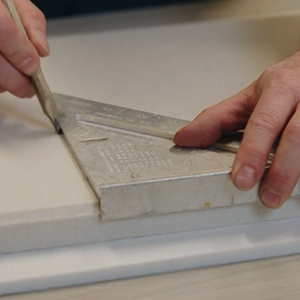
Step 1: Measure and Mark
Accurate measurements are the bedrock of any successful installation.
- Double-check all wall dimensions, corner angles, and fixture locations before putting pen to panel.
- Use a chalk line, a soft pencil, or a tailor’s chalk to mark the cut lines directly onto the face of the panel. Avoid using permanent markers that could bleed through or stain if miscalculated.
- Always measure twice and cut once. Keep in mind that acoustic panels may experience minor thermal expansion or contraction based on ambient room temperatures.
Step 2: Secure the Panel
Stability is critical to preventing jagged edges or drifting blade lines.
- Place the EcoScapes panel on a flat, clean, stable workbench or cutting table. Avoid cutting directly on concrete floors or abrasive surfaces that could scratch the finished face.
- Clamp down a heavy-duty metal straightedge or T-square directly over your pencil guideline. Ensure the clamps are tight enough to hold the material firmly without compressing or warping the PET fibers.
Step 3: Make the Cut
Depending on the tool you selected from your preparation phase, execute the cut with steady, controlled movements.
- For Manual Knives: Press firmly and draw the utility knife along the metal guide. Make 3 to 5 light-to-moderate scoring passes rather than forcing the blade through the entire thickness in one go. Forcing a single cut often causes the blade to wander, resulting in a slanted, unprofessional edge.
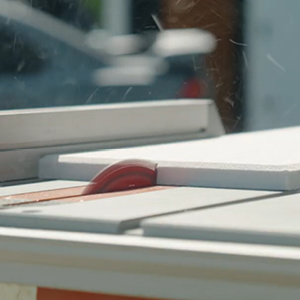
- For Power Tools (Jigsaws/Circular Saws): Guide the saw smoothly along your marked path at a medium, consistent pace. Let the teeth of the fine-tooth blade do the work; do not force or jam the saw forward, as this can overheat the synthetic fibers.
Step 4: Smooth and Finish
Even with the sharpest blades, minor fiber burrs or slight fuzzy edges can occur.
- Inspect all cut edges immediately after separation.
- Use a fine-grit sandpaper block (around 120-grit) or a clean utility blade held at a 45-degree angle to gently shave away any stray fuzz or loose surface fibers.
- Clean away dust debris with a soft brush or microfiber cloth before applying adhesive or mounting hardware.
Common Mistakes to Avoid
Even seasoned contractors occasionally run into avoidable errors when working with PET acoustic panels. Keep these pitfalls in mind to protect your materials and labor investment:
- Using Dull Blades: A dull utility knife will tear, crush, and fray the plastic fibers rather than slicing cleanly through them. Always snap off an old blade segment or replace it entirely before starting a new project.
- Rushing the Cut: Attempting to slice through a 12mm acoustic panel in a single, aggressive stroke almost always results in a warped edge. Patience during the scoring phase is mandatory.
- Skipping the Straightedge: Freehand cutting rarely yields a straight line over distances longer than a few inches. Always use a rigid aluminum or steel guide.
- Ignoring Thermal Friction with Power Saws: Running a jigsaw or circular saw at maximum RPM with the wrong blade type can generate excessive heat, causing the PET fibers to melt and clump together along the cut line. Always use fine-tooth blades at moderate speeds.
- Failing to Account for Expansion: Fitting panels too tightly wall-to-wall without leaving a microscopic expansion gap can cause buckling when humidity and temperature fluctuate within the building.
Official Responses and Industry Standards
Manufacturers and architectural testing bodies emphasize that proper installation practices directly impact both the aesthetic longevity and the acoustic ratings (NRC – Noise Reduction Coefficient) of PET panels.
According to leading acoustic engineers, “The acoustic efficiency of a PET panel relies heavily on the integrity of its surface area and edges. When panels are cleanly cut and tightly abutted, sound waves are absorbed uniformly across the installation plane. Poorly cut edges create micro-gaps that degrade the visual appeal and slightly alter edge-diffraction properties.”
Furthermore, building compliance bodies note that because EcoScapes panels are formaldehyde-free and non-toxic, they satisfy stringent indoor air quality (IAQ) requirements for schools, healthcare facilities, and corporate headquarters. Maintaining these environmental standards during installation means avoiding chemical-based lubricants or harmful solvents when cleaning up edges.
Safety Tips
While EcoScapes Acoustic Panels are exceptionally safe, user-friendly, and free from dangerous glass-fiber irritants, standard workshop safety protocols should always be observed:
- Wear Eye Protection: Safety glasses should be worn whenever cutting, scoring, or sanding panels to prevent stray fibers or debris from entering the eyes.
- Hand Protection: Cut-resistant work gloves are recommended when handling sharp utility knives or operating power saws.
- Maintain a Clean Workspace: Keep your cutting table free of clutter, loose blades, and cords to prevent tripping hazards or accidental slips.
- Ventilation: If using high-speed power tools that generate friction heat, ensure the workspace is adequately ventilated to dissipate any minor synthetic odors.
Conclusion
Mastering the art of cutting EcoScapes Acoustic Panels is a straightforward process when approached with the correct tools, proper preparation, and disciplined techniques. By respecting the material composition of compressed PET fibers—utilizing sharp blades, stable guides, and steady cutting speeds—both DIY hobbyists and seasoned professionals can achieve seamless joints, razor-sharp edges, and a polished, high-end architectural finish that transforms any environment both visually and acoustically.