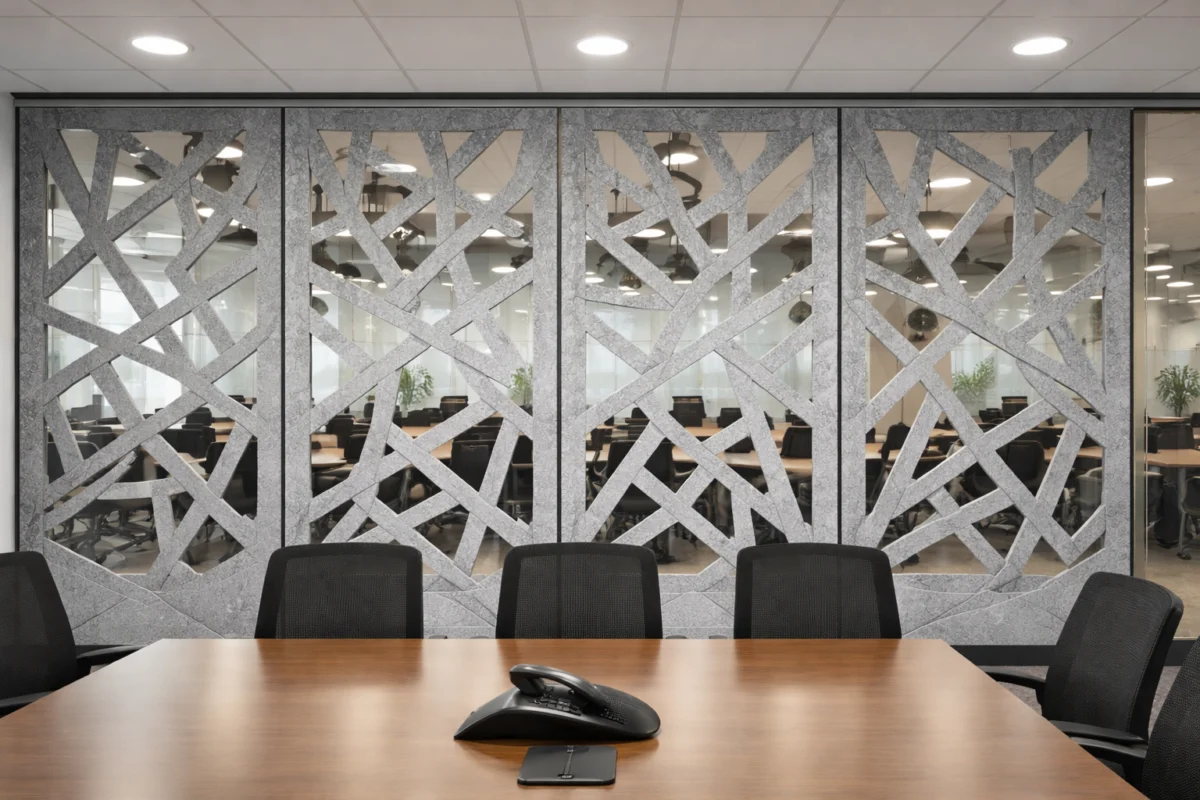
Achieving a professional-grade acoustic installation is an exercise in both art and engineering. While the primary goal of installing EcoScapes Acoustic Panels is to optimize sound absorption and enhance the aesthetic profile of a space, the true mark of a quality project lies in the details—specifically, the precision of the cuts. Whether you are navigating intricate architectural elements, trimming panels to fit flush against crown molding, or creating custom geometric shapes for a modern design statement, the ability to cut PET (Polyethylene Terephthalate) felt with accuracy is essential.
This comprehensive guide explores the professional techniques, specialized tooling, and safety protocols required to transform high-performance recycled materials into a seamless acoustic environment.
1. Understanding the Medium: What Are EcoScapes Acoustic Panels?
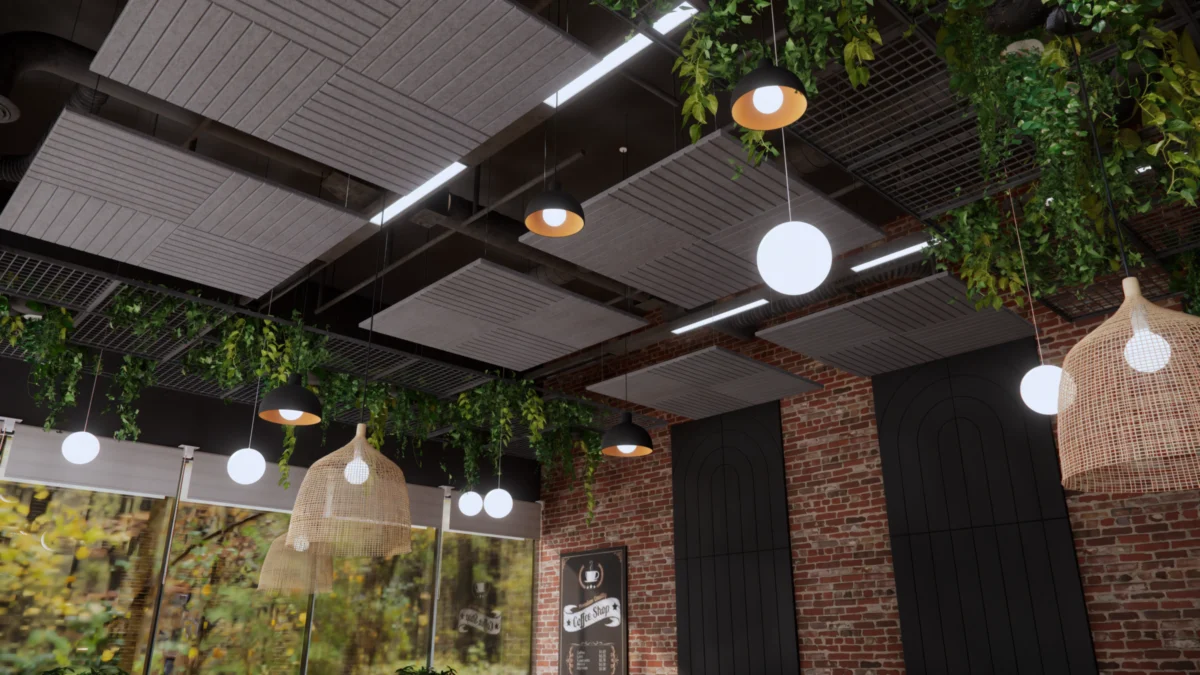
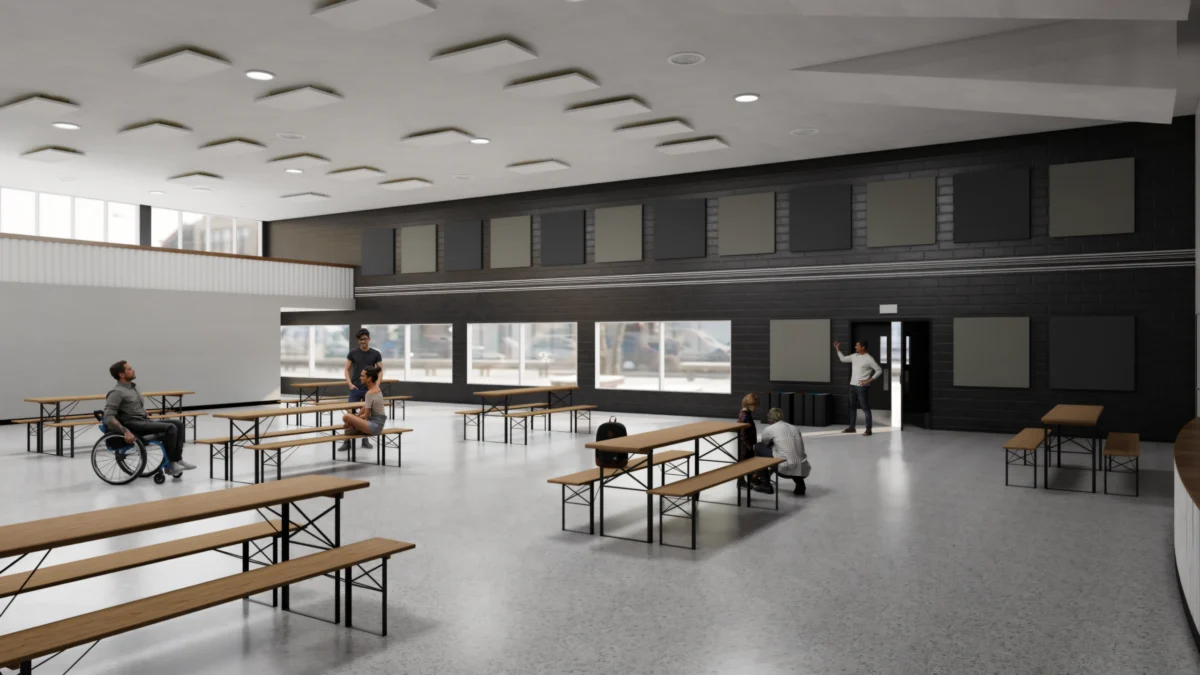
EcoScapes Acoustic Panels represent the intersection of sustainability and acoustic performance. Manufactured from high-density PET fibers—derived primarily from recycled plastic bottles—these panels are engineered to capture sound energy and reduce reverberation in environments ranging from home theaters and professional recording studios to high-traffic open-plan offices.
Why Material Integrity Matters
The unique composition of PET felt—a dense, needle-punched matting—demands a specific approach to cutting. Unlike rigid drywall or porous foam, PET felt is resilient and fibrous. If cut with dull tools or improper techniques, the material can tear, fray, or produce jagged edges that ruin the visual continuity of a wall installation. Understanding the density of your specific panel (typically ranging from 9mm to 12mm) is the first step in determining the mechanical force required for a clean separation.
2. Recommended Tools: Selecting the Right Instrument
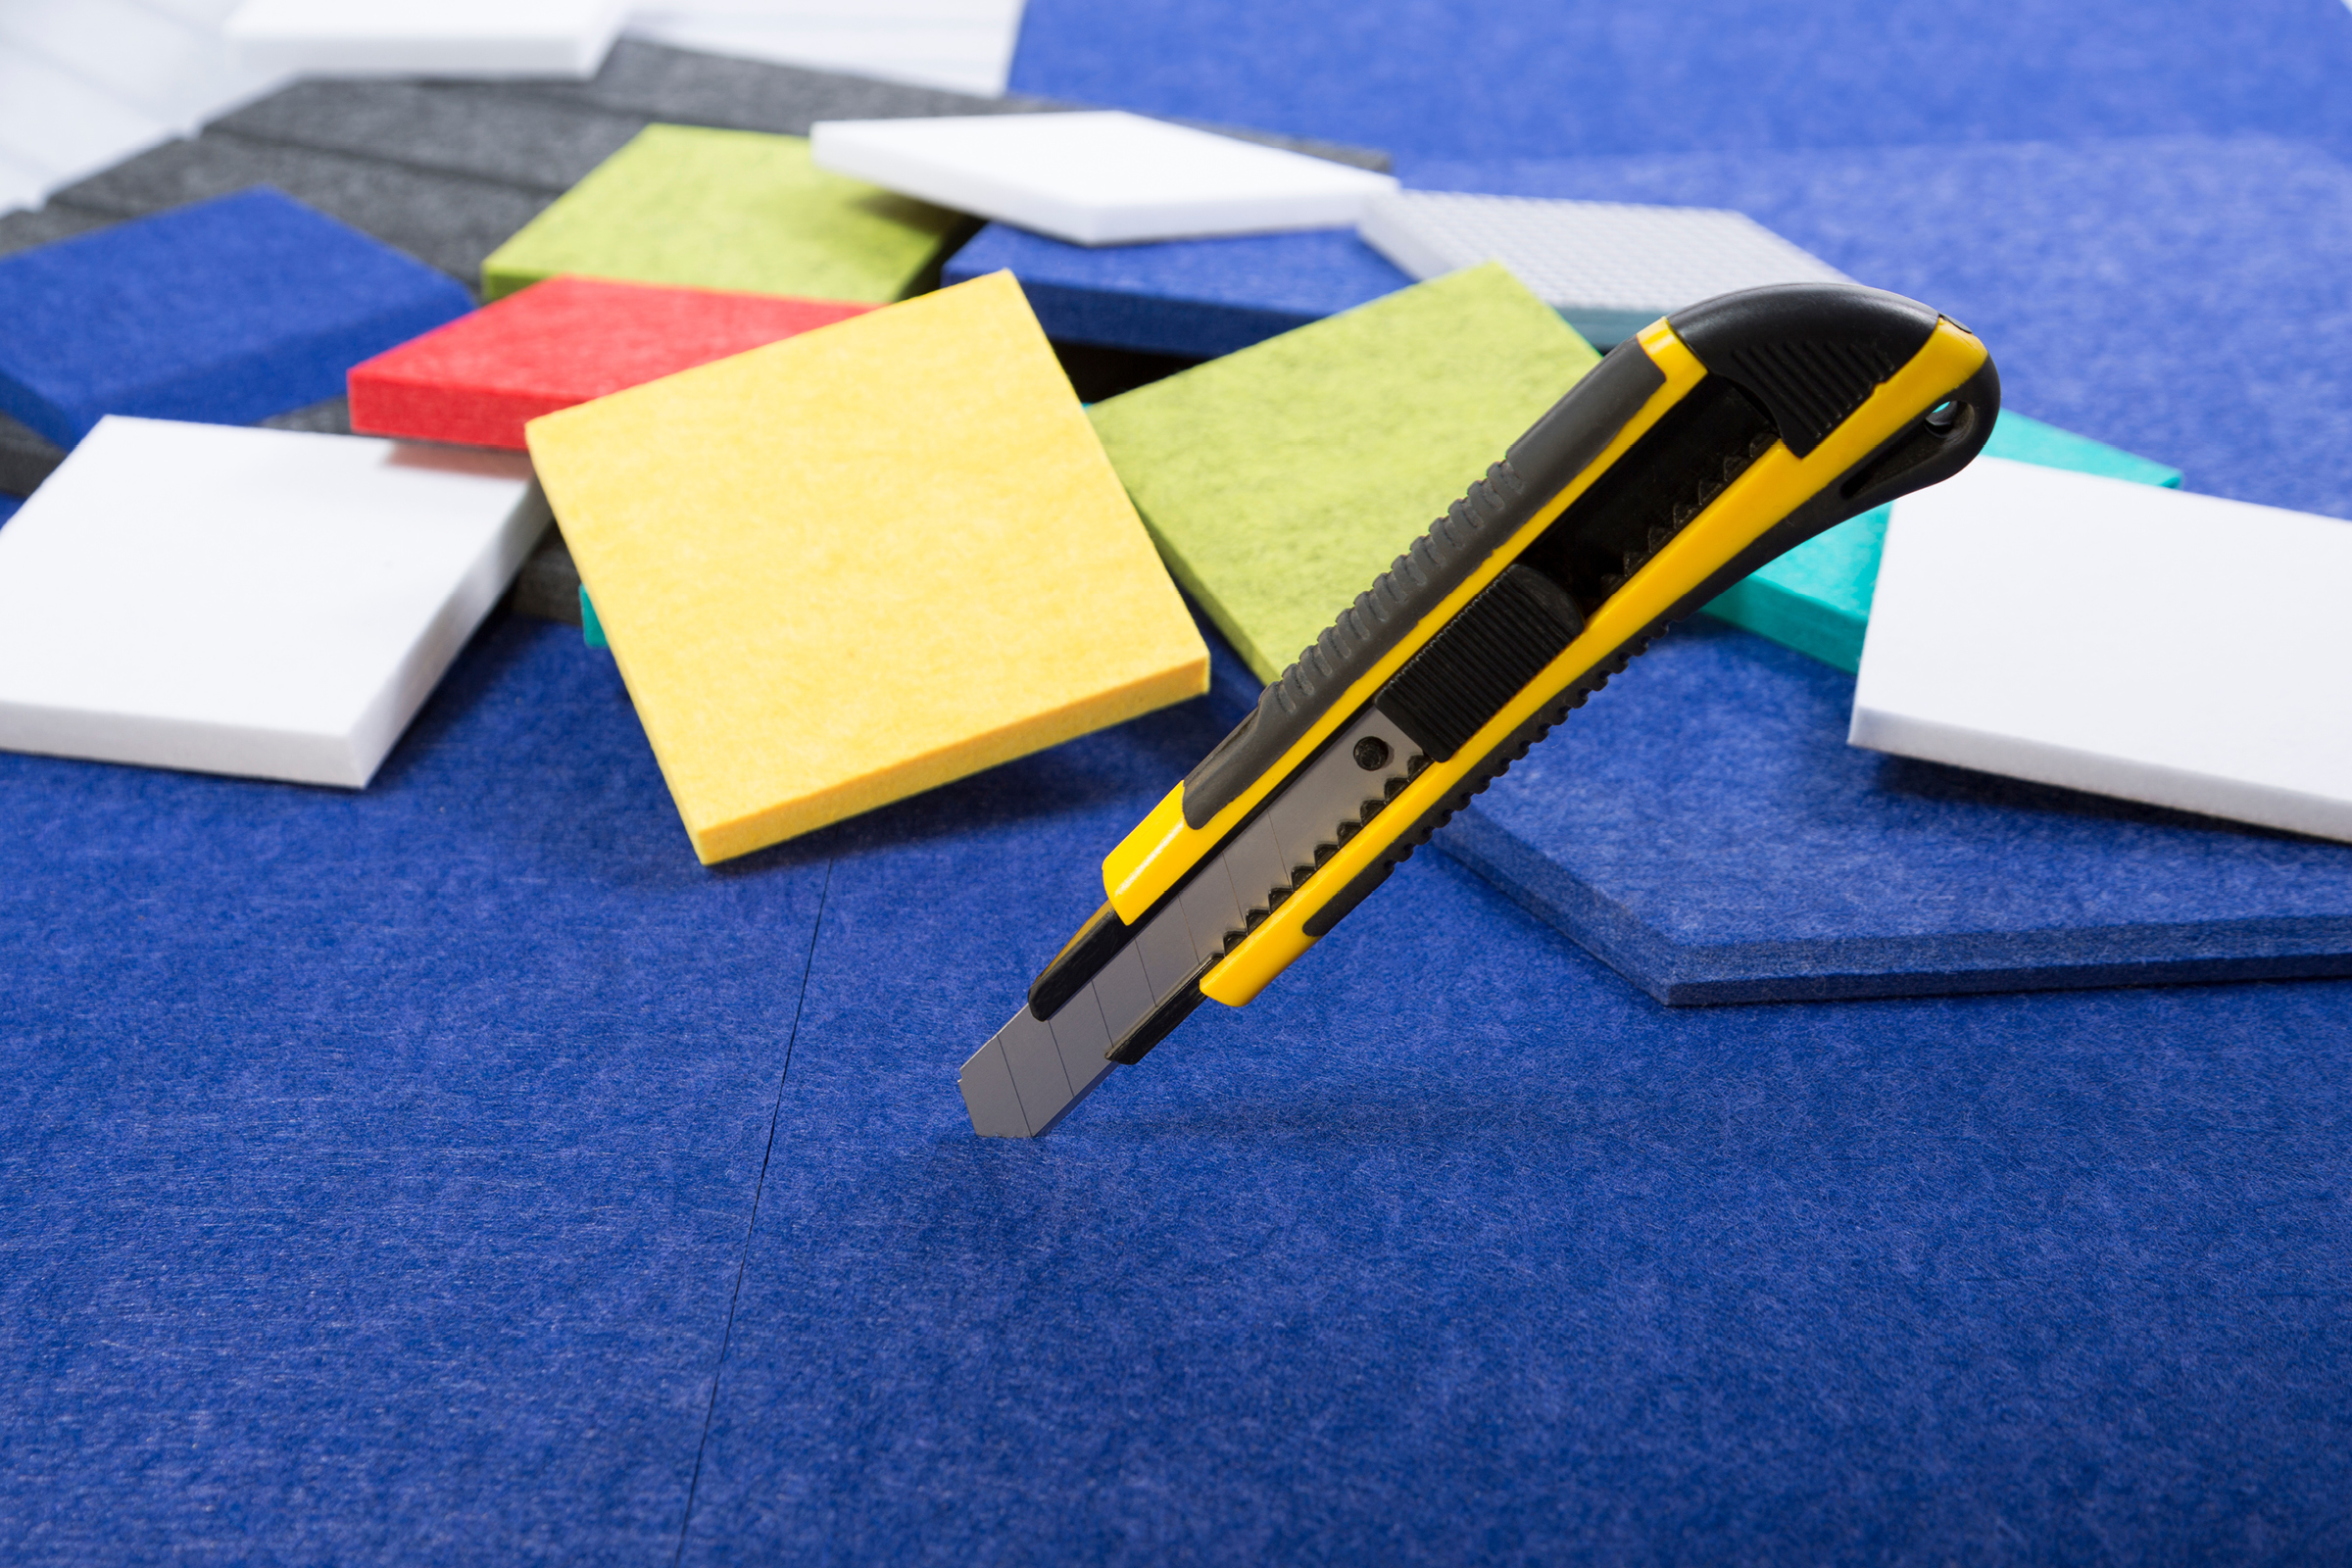
Selecting the appropriate cutting tool is not merely about convenience; it is about the structural preservation of the fiber.
| Tool | Best For | Professional Tips |
|---|---|---|
| Utility Knife / Box Cutter | Straight cuts, small adjustments | Use a heavy-duty, retractable blade. Always utilize a metal straight-edge guide to prevent "blade wander." |
| Carpenter’s Knife | DIY or small-scale projects | Ideal for 9–12mm panels; ensure the blade is extended fully to prevent the handle from dragging on the material. |
| Electric Rotary Cutter | Large-scale, high-volume installs | Reduces hand fatigue and produces a clean, friction-cut edge with minimal fraying. |
| Jigsaw or Circular Saw | Complex shapes, bulk cutting | Use a fine-tooth blade designed for plastics. Cut at a consistent, medium speed to avoid melting the plastic fibers. |
| CNC Cutting Machine | Industrial-level, custom designs | The gold standard for intricate patterns, logos, or complex geometric tiling that requires 100% repeatability. |
3. The Professional Cutting Protocol: A Step-by-Step Chronology
For installers aiming for a "factory finish," the process must be methodical. Rushing the cutting phase is the most common cause of installation errors.
Step 1: Measure and Mark with Precision
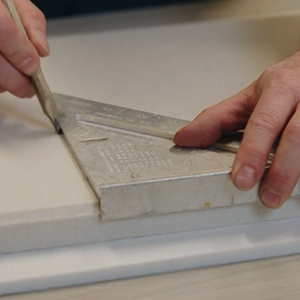
The "measure twice, cut once" mantra is vital here. When marking, use a tailor’s chalk or a fine-tip silver gel pen that contrasts with the panel color. For complex cuts around electrical outlets or HVAC registers, create a cardboard template first. Once the template fits perfectly, transfer the shape to the PET panel using a precision scribe.
Step 2: Secure the Panel
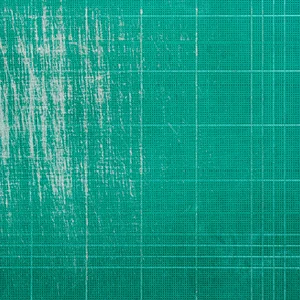
Never attempt to cut a panel while holding it in the air. Place the EcoScapes panel on a sacrificial surface—a large sheet of plywood or a high-density foam board—to ensure your blade does not damage the floor beneath. Use clamps to secure the panel to your work surface. Even a minor shift during the cutting process can result in a misaligned edge that becomes glaringly obvious once the panels are mounted.
Step 3: Executing the Cut
When using a manual utility knife, do not attempt to cut through the entire thickness of a 12mm panel in one pass. Instead, perform three to four light "scoring" passes. This technique keeps the blade tracking straight and prevents the fibers from bunching or dragging. If using power tools, keep the tool flat against the panel and let the blade speed do the work; applying too much downward pressure will cause the fibers to compress and tear.
Step 4: Smoothing and Finishing
After the cut, you may notice micro-fraying at the edge. A light pass with a fine-grit sandpaper (220-grit) or a quick blast from a heat gun can seal stray fibers and create a crisp, professional edge. If the cut edge is intended to be exposed, consider using a fabric-safe edge trim to provide a finished, architectural appearance.
4. Supporting Data: The Impact of Precision on Acoustic Performance
While visual appeal is obvious, the impact of cutting precision on acoustic performance is often overlooked. When panels are cut precisely, they form "butt joints" that are nearly invisible. These tight seams are critical for maintaining the structural integrity of the acoustic barrier. If joints are poorly cut, small gaps form, which can lead to air leakage. In high-end acoustic environments, these gaps can act as "acoustic leaks," allowing sound waves to bypass the absorption material and reflect off the hard wall surface behind the panel, significantly reducing the effective NRC (Noise Reduction Coefficient) of the installation.
5. Official Responses and Industry Best Practices
Leading acoustic designers and installation experts emphasize that EcoScapes panels are a permanent architectural feature. Therefore, the installation process should be treated with the same rigor as finish carpentry.

"The difference between a amateur installation and a professional one is entirely in the edge management," notes a lead installer for a major acoustic design firm. "When we cut, we account for the material’s ‘memory.’ PET felt has a slight elasticity. If you pull on the material while cutting, you create tension that will eventually cause the seam to open up once the material relaxes."
Implications of Poor Installation
- Visual Degradation: Jagged edges cast shadows, making seams highly visible.
- Acoustic Failure: Gaps at the joints reduce the total surface area of sound absorption.
- Material Waste: Inaccurate cuts on expensive, custom-colored panels lead to increased project costs and environmental waste.
6. Common Mistakes to Avoid
- Using Dull Blades: A dull blade is more dangerous than a sharp one because it requires more force, increasing the risk of the tool slipping. Change blades frequently—every 3 to 5 linear feet of cutting is a good rule of thumb.
- Ignoring Grain Direction: While PET panels are largely isotropic, some manufacturers have a slight directional fiber alignment. Maintain the same orientation for all panels to ensure color consistency and texture uniformity across the wall.
- Cutting Over Uneven Surfaces: Always ensure your cutting table is level and free of debris. Any bump underneath the panel will cause a deviation in the cut line.
7. Safety First: Essential Protocols
EcoScapes panels are non-toxic, formaldehyde-free, and generally safe to handle. However, the mechanical process of cutting them generates micro-fibers and dust.
- Respiratory Protection: Wear an N95 mask when cutting with power tools to avoid inhaling fine PET dust.
- Eye Protection: Always wear safety goggles, especially when using electric cutters or jigsaws, as small, sharp plastic particles can be ejected during the process.
- Blade Safety: Always cut away from your body. When using a utility knife, ensure the "off-cut" side of the panel is the one you are not holding, preventing injury if the blade slips.
- Workspace Ventilation: While the material is safe, performing work in a well-ventilated area prevents dust accumulation in your workspace.
Conclusion: The Path to Perfection
The installation of EcoScapes Acoustic Panels is a transformative process that combines environmental responsibility with high-performance design. By mastering the fundamental tools of the trade—from the humble utility knife to the precision of CNC machining—and adhering to a disciplined, multi-step cutting protocol, both DIY enthusiasts and professional contractors can ensure their acoustic projects stand the test of time.
Precision is not merely about the absence of error; it is about creating a finished environment where the sound is controlled, the aesthetic is seamless, and the quality of the craftsmanship is self-evident. By respecting the material properties of PET felt and investing the necessary time in preparation and execution, you are well on your way to achieving a professional finish that serves both the ear and the eye.