Achieving a clean, professional finish when installing acoustic treatments is the hallmark of high-end interior design. When working with EcoScapes PET (Polyethylene Terephthalate) Acoustic Panels, the difference between a "DIY look" and a sophisticated, architectural-grade installation lies entirely in the preparation and the precision of your cuts. Whether you are trimming edges for a flush wall-to-wall fit, navigating complex architectural outlets, or crafting custom geometric shapes, mastering the nuances of PET material handling is essential.
This comprehensive guide serves as the definitive resource for installers—from residential DIY enthusiasts to seasoned contractors—detailing the specific tools, safety protocols, and technical methodologies required to work with EcoScapes panels effectively.
1. Understanding EcoScapes: The Material Advantage
EcoScapes PET Acoustic Panels represent a revolution in sustainable interior acoustics. Unlike traditional foam or fiberglass panels, which can be brittle or irritating to the skin, EcoScapes are manufactured from compressed, high-density recycled plastic fibers.
Core Characteristics:
- Sustainability: Made from recycled post-consumer plastic, these panels contribute to LEED certification and sustainable building practices.
- Durability: The high-density fiber structure resists impact and wear, making it ideal for high-traffic environments like offices, schools, and recording studios.
- Acoustic Performance: By absorbing sound energy through their porous fiber matrix, they effectively reduce reverberation and ambient noise.
- Workability: Because they are made of synthetic fibers rather than mineral wool, they do not shed harmful particles, making them safer and easier to handle without specialized protective suits.
2. Chronology of a Professional Installation
To achieve a seamless result, the installation process must be treated as a methodical sequence. Skipping steps—particularly in the measuring phase—often leads to "material fatigue," where the panels are wasted due to inaccurate cutting.
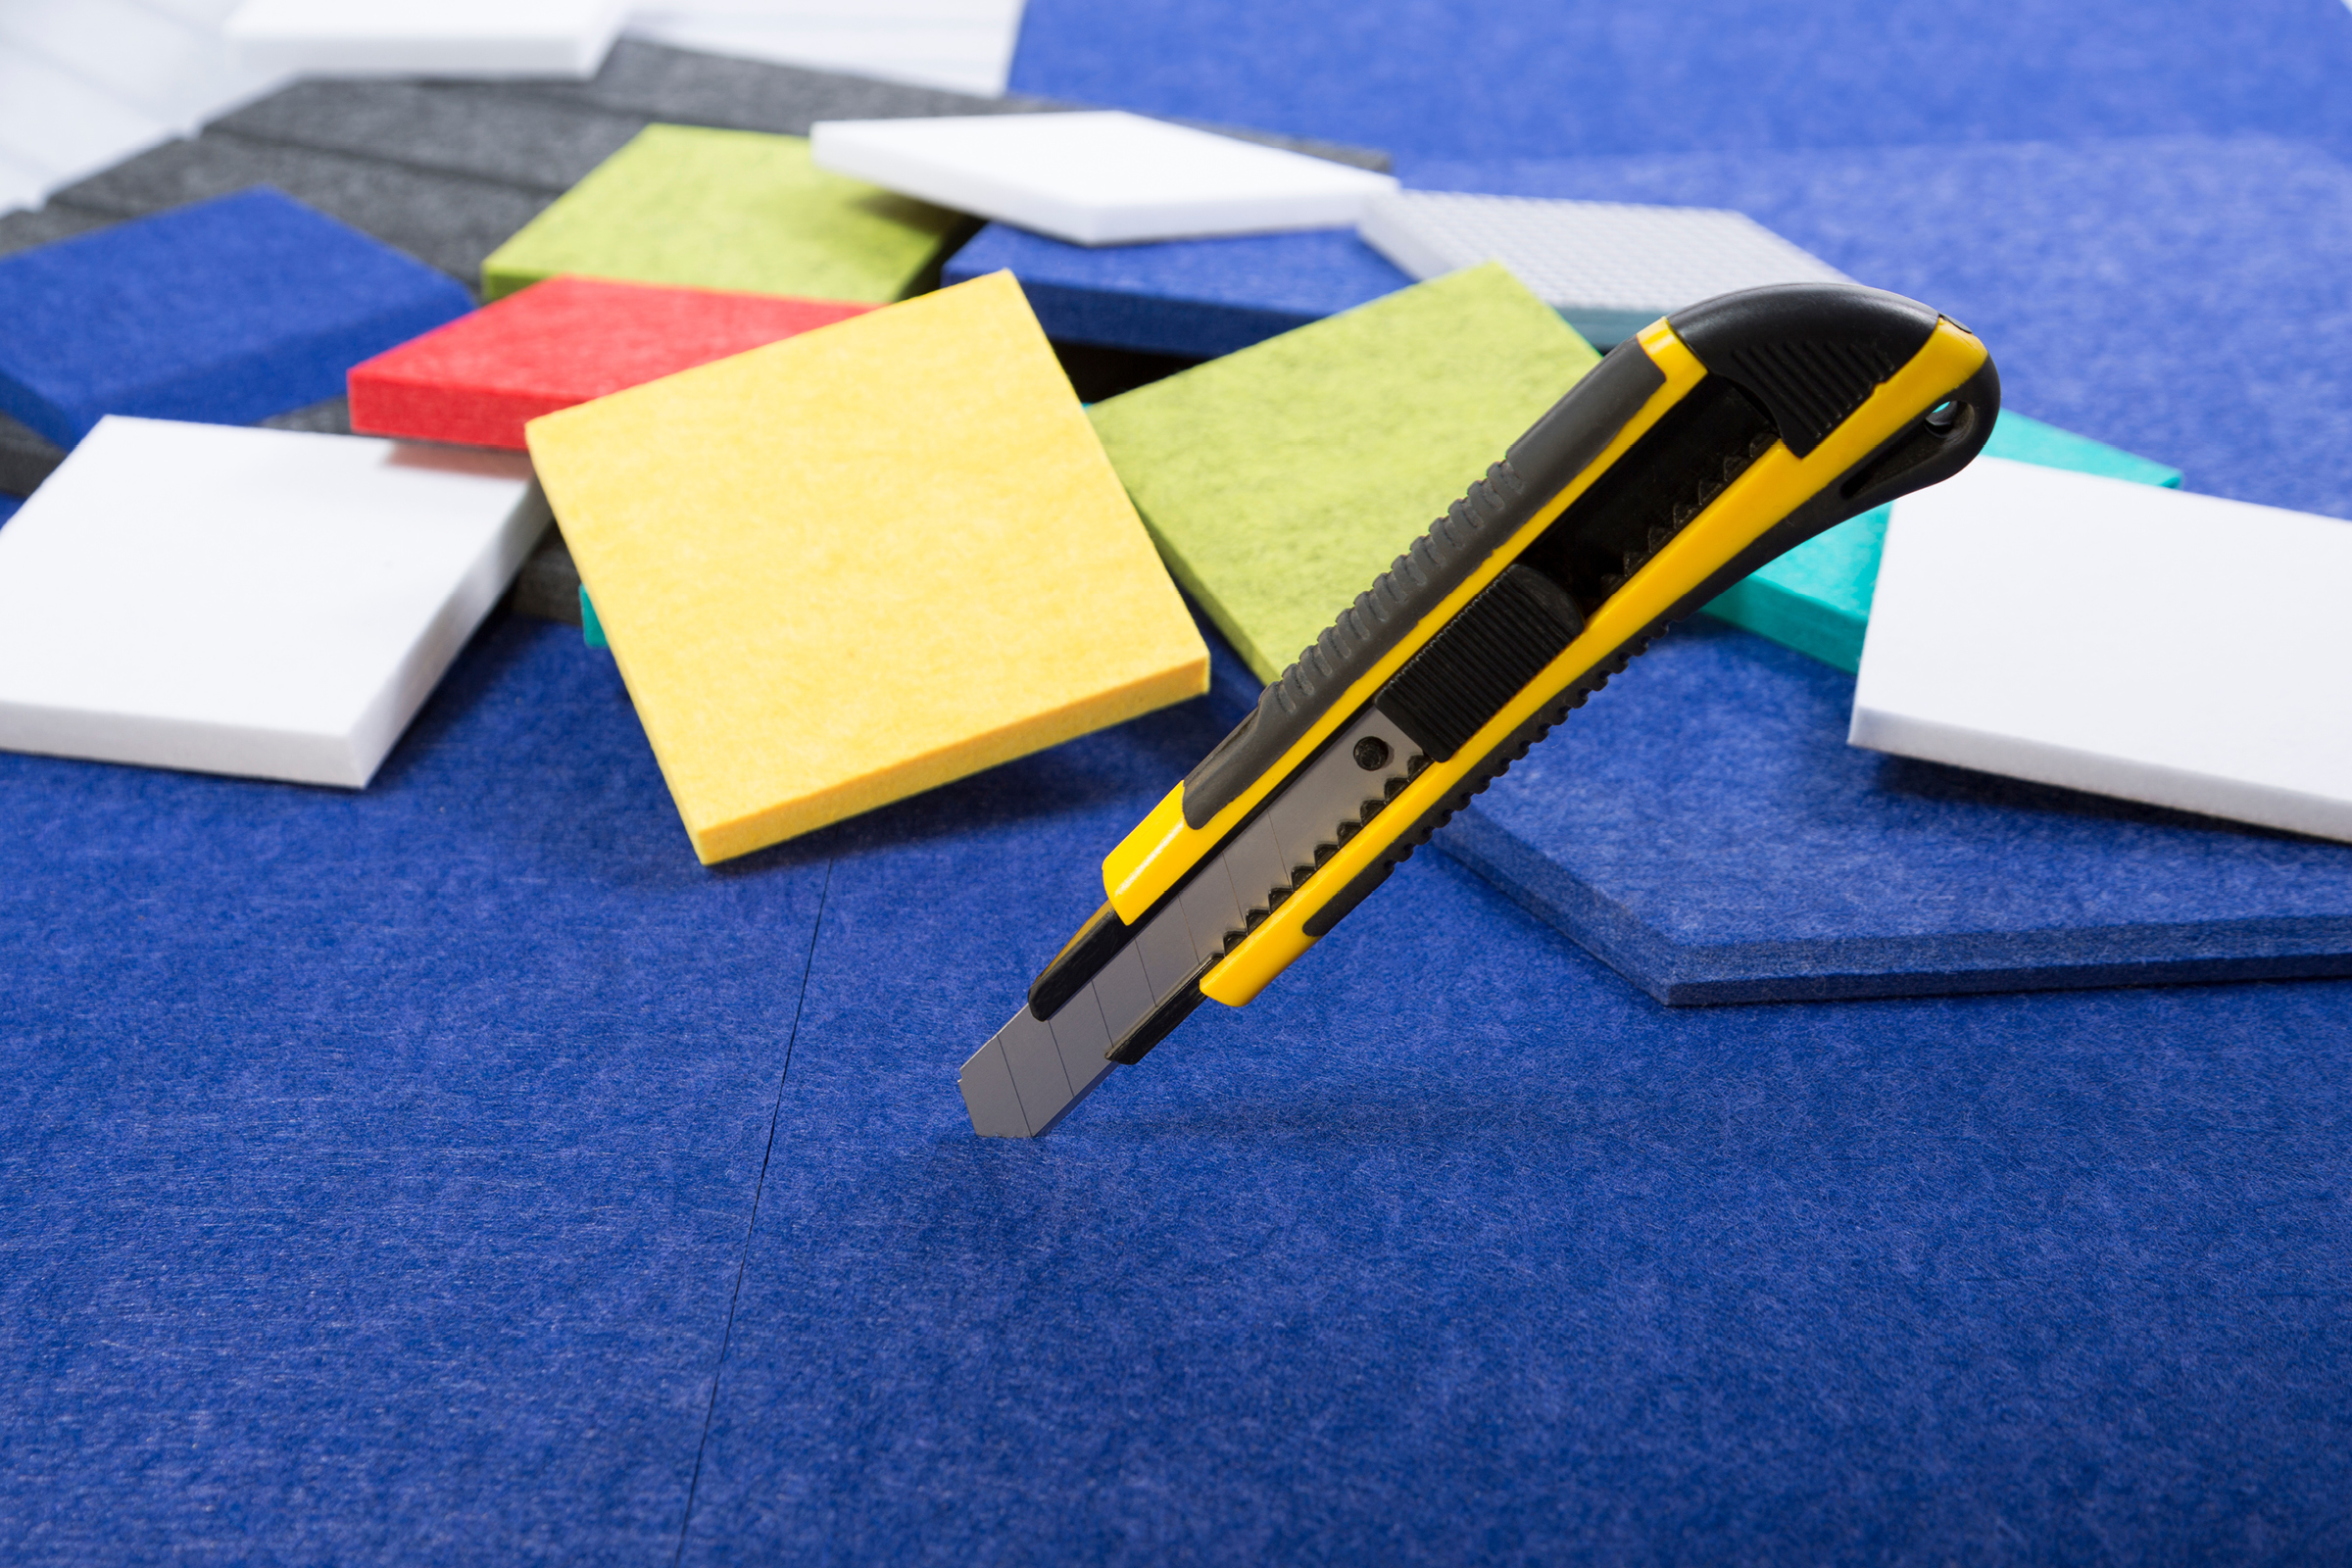
Phase I: Site Analysis and Preparation
Before a single blade touches the material, the workspace must be prepared. Ensure the environment is climate-controlled, as temperature fluctuations can cause slight variations in the expansion or contraction of synthetic fibers. Clean your work surface thoroughly; PET material can pick up dust and debris from the floor, which becomes embedded in the fibers and ruins the aesthetic finish.
Phase II: Template Creation
For complex cuts—such as those required for light switches, wall sconces, or corner pillars—do not measure directly onto the panel. Instead, create a paper or cardboard template. This allows you to test the fit against the wall surface without risking the integrity of the acoustic panel.
Phase III: The Execution
Once the template is transferred to the panel using a fine-point marking tool, the cutting process begins. The "Chronology of the Cut" involves scoring the surface before applying full pressure to ensure the blade does not wander.
3. Recommended Tools and Technical Data
The choice of tool is dictated by the scope of the project and the thickness of the panels. Below is a breakdown of the industry-standard equipment used by professionals.
| Tool | Ideal Application | Technical Tip |
|---|---|---|
| Utility Knife (Heavy Duty) | Straight cuts, minor trimming | Always use a fresh snap-off blade; a dull blade will "chew" the fibers. |
| Carpenter’s Knife | 9–12mm panel thickness | Best for manual control and precision. |
| Electric Fabric Cutter | High-volume, large installations | Produces clean, hot-sealed edges; prevents fraying. |
| Jigsaw (Fine-Tooth) | Intricate shapes, radii | Use a metal-cutting blade (high tooth count) at medium speed to avoid melting the fibers. |
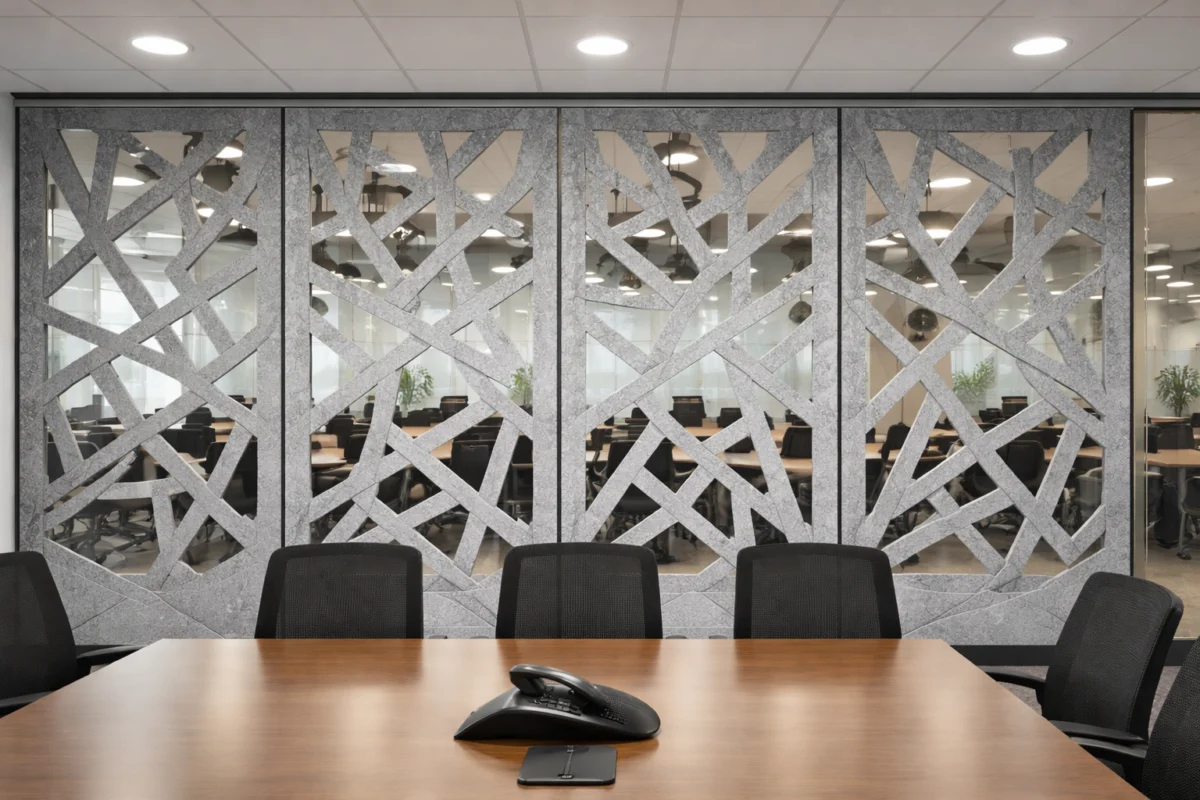
| CNC Machine | Industrial/Custom Logos | The gold standard for perfect, repeatable geometry. |
4. Step-by-Step Cutting Guide
Step 1: Measure and Mark
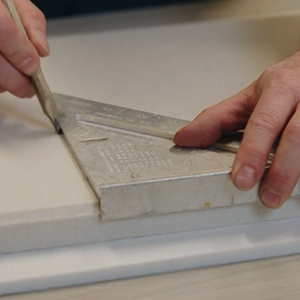
Precision begins with the measurement. Use a high-quality steel square and a tailor’s chalk or a silver marking pencil. Avoid heavy markers that might bleed into the fabric. Always measure twice and subtract the width of the blade (the "kerf") from your cutting line if the fit must be perfectly flush.
Step 2: Secure the Panel
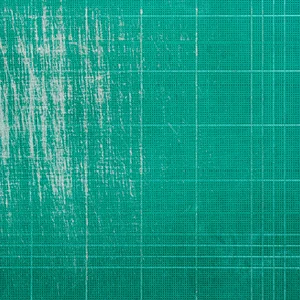
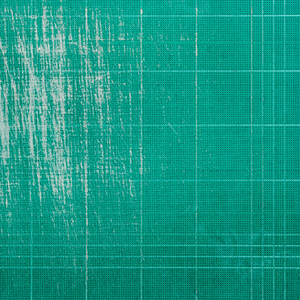
Never attempt to cut a panel while holding it in your hand. Place the EcoScapes panel on a sacrificial surface, such as a clean sheet of high-density foam or a dedicated cutting mat. Clamp the panel down using non-marring clamps. Movement during the cut is the primary cause of ragged edges.
Step 3: Make the Cut
For straight lines, place a heavy-duty metal straightedge against your mark. Hold the knife at a slight angle and apply firm, consistent pressure. For thicker panels, perform the cut in three passes:
- The "Score" (shallow).
- The "Penetration" (half-depth).
- The "Through-cut" (full-depth).
Step 4: Smoothing and Finishing
After the cut, you may notice slight "fuzz" along the edge. Do not pull at these fibers. Use a high-grit sandpaper or a specialized fabric shaver to gently buff the edge. For a truly professional finish, a light pass with a heat gun can "singe" stray fibers, locking the edge in place and preventing future fraying.
5. Implications: Why Precision Matters
The implications of poor cutting extend beyond mere aesthetics. Acoustic panels are designed to sit flush against wall surfaces to prevent sound "leaking" behind the panels. If the edges are jagged or improperly cut, you create air gaps that reduce the panel’s Sound Absorption Coefficient (NRC).
Furthermore, in high-visibility areas like corporate boardrooms, clients expect a monolithic look. Visible gaps or uneven seams detract from the perceived value of the installation. Professional-grade cutting ensures that the installation acts as a singular, cohesive design element rather than a collection of disparate parts.
6. Official Recommendations and Safety
While EcoScapes panels are non-toxic and free of formaldehyde, industry best practices dictate strict safety protocols.
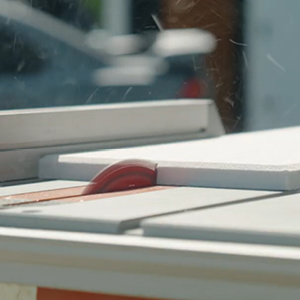
- Respiratory Health: While PET fibers are not as hazardous as fiberglass, always wear a dust mask if using power tools, as the cutting process generates fine particulate matter.
- Blade Safety: Most accidents in the installation industry occur due to dull blades. A dull blade requires more force, increasing the risk of the tool slipping. Change your blades every 5–10 feet of cutting.
- Ergonomics: When performing bulk cuts, ensure your workbench is at waist height. Repetitive motion injury is a common, yet avoidable, risk for professional installers.
7. Common Mistakes to Avoid
- The "Rush" Factor: Trying to complete a cut in one pass on thick material is the most common error. It leads to blade deflection and uneven, slanted edges.
- Using the Wrong Blade: Using a wood-saw blade on a jigsaw will tear the fibers, leaving a jagged, hairy edge that is impossible to repair. Always use fine-tooth metal blades.
- Ignoring the Grain: Like wood, PET panels have a slight orientation in their fiber density. Test a scrap piece to see if the material cuts more cleanly in one direction than another.
- Neglecting Support: Cutting over an uneven surface will result in the panel bowing under the blade, creating a concave cut that will never sit flush against a wall.
Conclusion
The installation of EcoScapes Acoustic Panels is a marriage of science and craft. By understanding the material properties of PET, respecting the chronology of professional installation, and utilizing the correct mechanical tools, you transform a simple wall covering into a high-performance acoustic solution.
Whether you are a professional interior contractor looking to optimize your workflow or a DIY enthusiast aiming for a gallery-quality home studio, the mantra remains the same: Measure twice, secure firmly, and cut with intention. With these techniques, you ensure that every EcoScapes installation provides the silence, the style, and the longevity that modern architecture demands.