Achieving a clean, precise cut is the ultimate hallmark of professional craftsmanship when executing architectural acoustic treatments. Whether you are outfitting a high-end recording studio, a sleek corporate boardroom, a dynamic educational facility, or a residential home theater, the installation of EcoScapes Acoustic Panels demands absolute precision. Trimming edges to fit flush against architectural anomalies, navigating complex electrical outlets, or fabricating bespoke geometric shapes requires more than just standard carpentry skills—it demands an understanding of material science, specialized tooling, and methodical execution.
This comprehensive guide serves as the definitive manual for installers, contractors, and advanced DIYers. Below, we break down everything you need to know about EcoScapes panels, recommended equipment, step-by-step methodologies, common pitfalls, and critical safety protocols to ensure a flawless, showroom-quality finish every single time.
1. What Are EcoScapes Acoustic Panels?
To cut a material effectively, one must first understand its composition. EcoScapes Acoustic Panels are engineered from high-density, compressed Polyethylene Terephthalate (PET) fibers, a material predominantly derived from recycled post-consumer plastics, such as water and soda bottles. This sustainable manufacturing process not only diverts thousands of tons of plastic waste from global landfills, but it also yields a rigid yet flexible architectural substrate with exceptional sound-absorption properties.
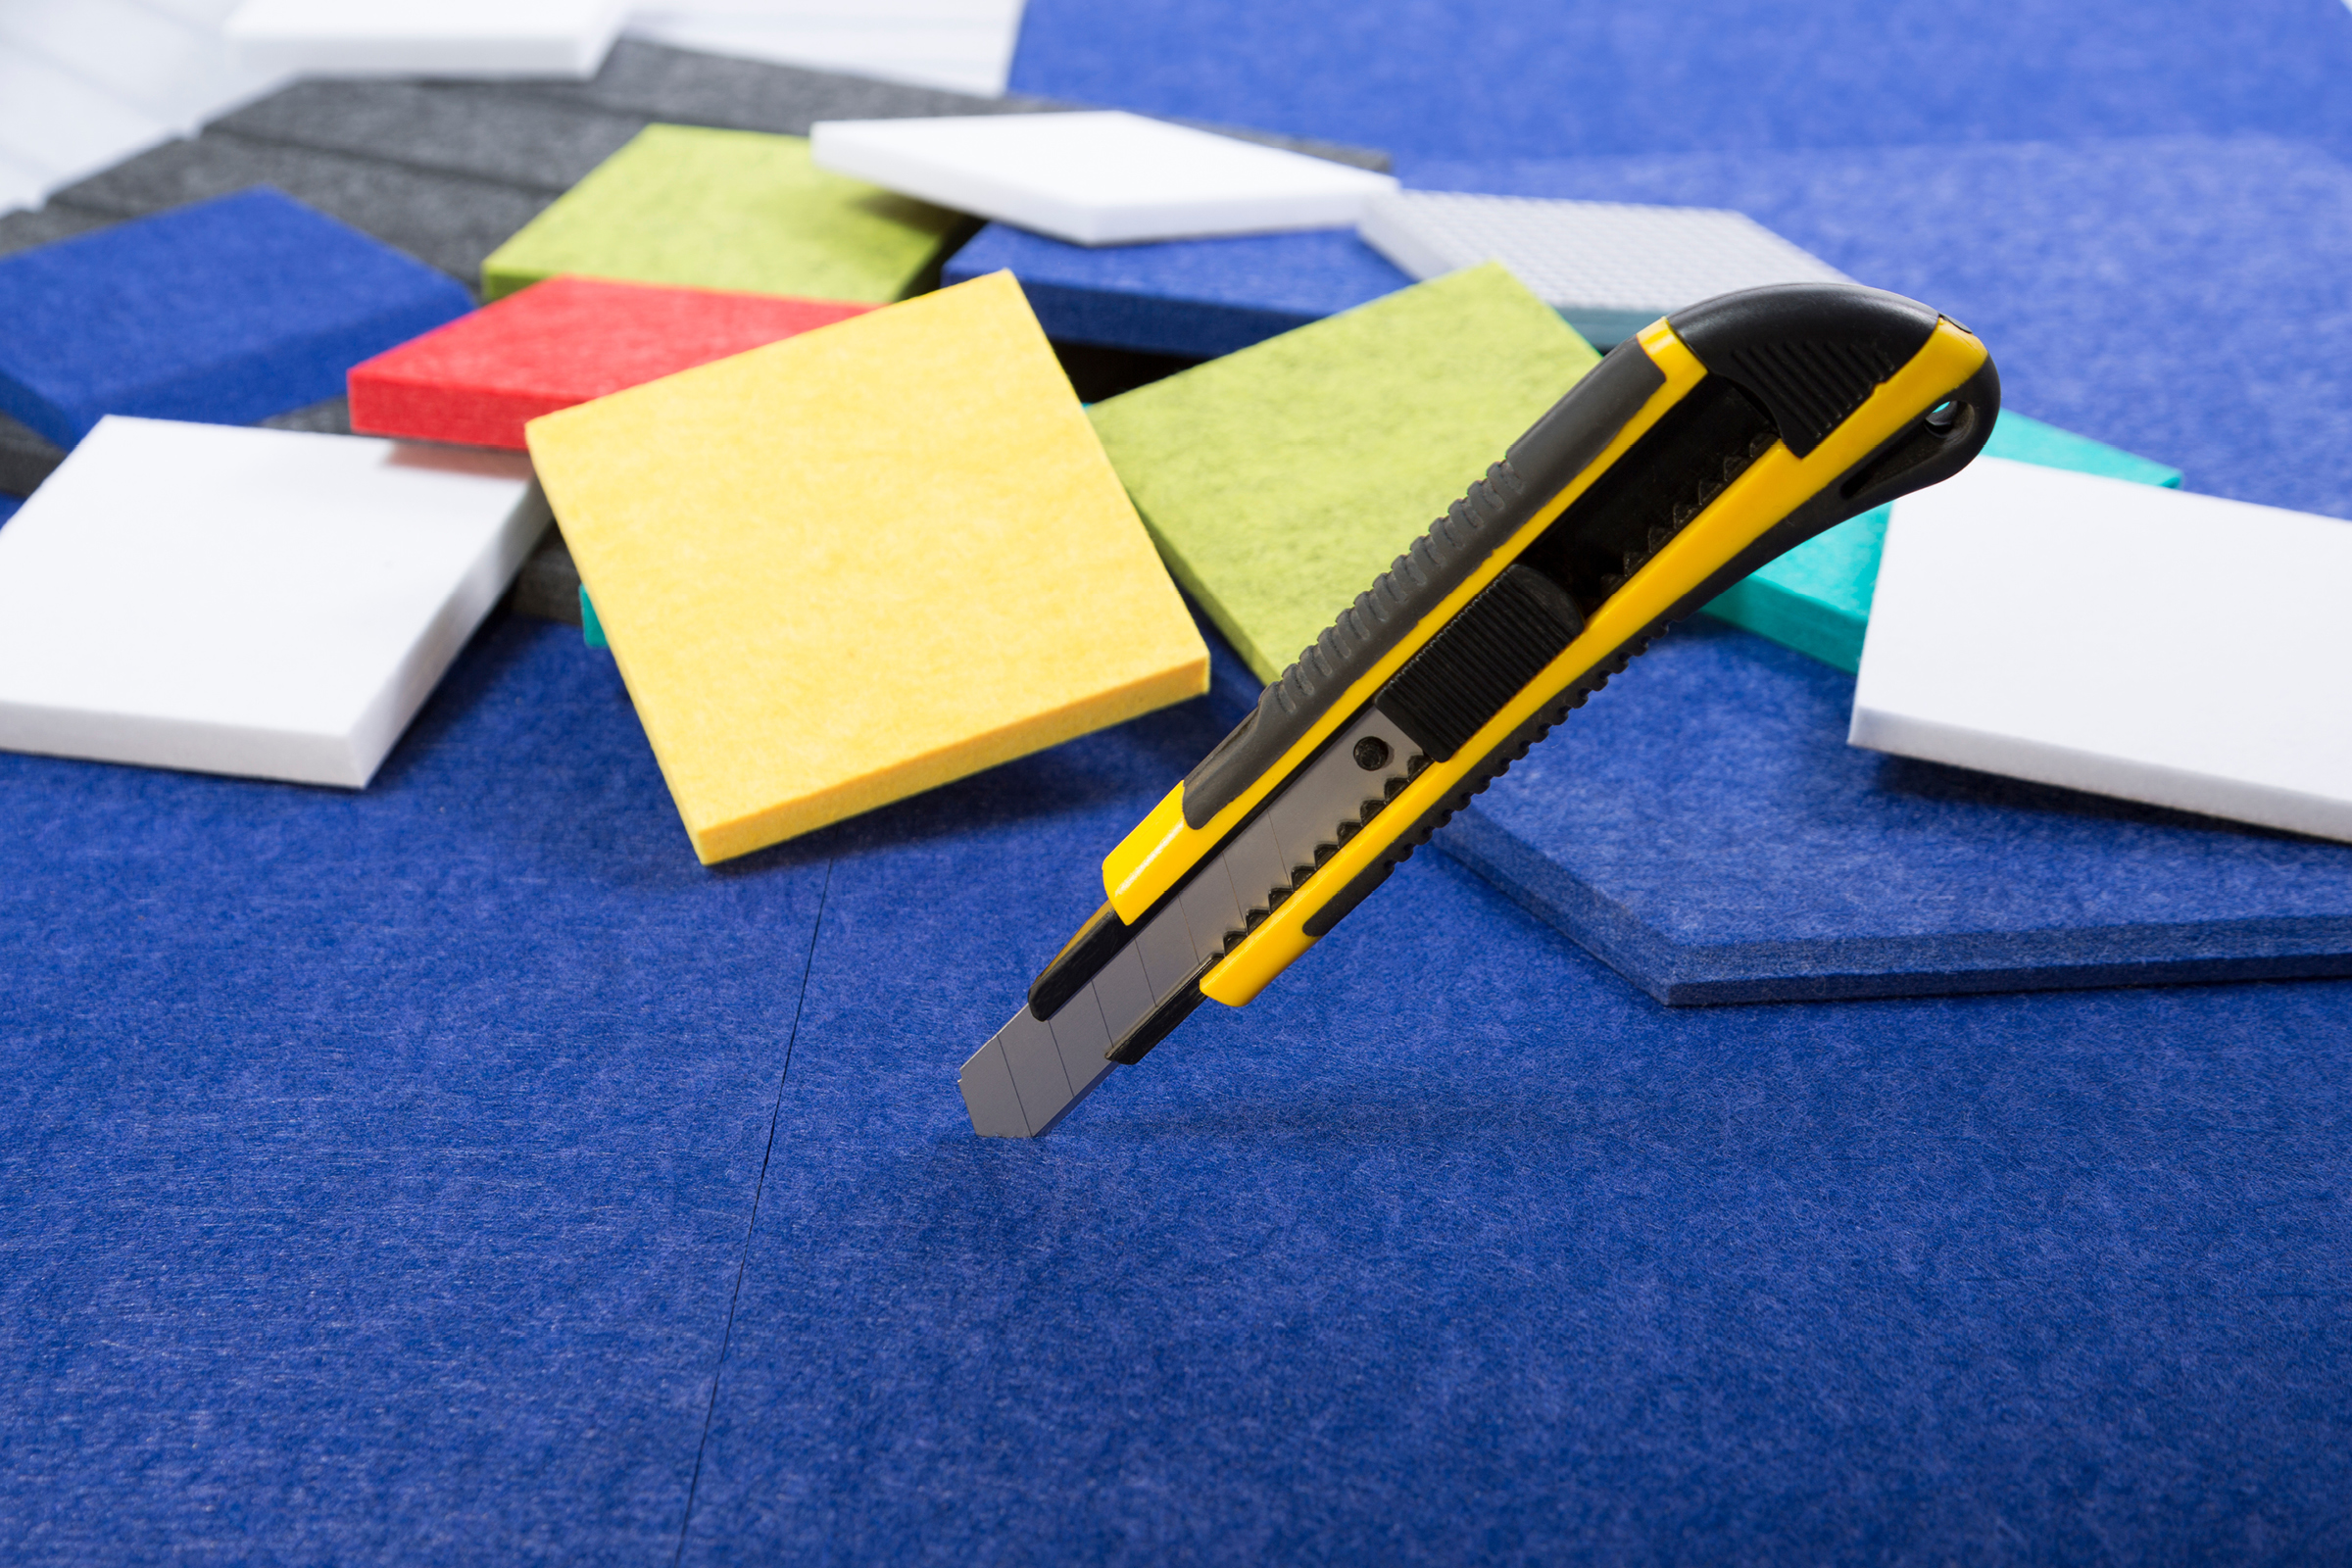
Key characteristics of EcoScapes PET panels include:
- High Acoustic Performance: The porous matrix of compressed PET fibers effectively traps airborne sound waves, significantly reducing reverberation, flutter echoes, and ambient noise within interior spaces.
- Eco-Friendly Sustainability: Composed of recycled materials, these panels align with green building certifications, including LEED (Leadership in Energy and Environmental Design) standards.
- Inherent Durability: Unlike traditional fiberglass or foam panels that can easily crumble, dent, or shed particles, PET panels are impact-resistant, resilient, and structurally stable.
- Safe Chemistry: EcoScapes panels are entirely non-toxic, free of harmful chemical binders, and formaldehyde-free, making them safe for sensitive environments like healthcare facilities, schools, and nurseries.
2. Recommended Tools for Precision Cutting
Because PET panels possess a dense, fibrous structure, standard cutting implements will often tear or fray the material rather than slice through it. Depending on the scale of your project, the thickness of the panels, and the complexity of your cuts, selecting the appropriate tool is vital for achieving clean, professional results.
| Tool | Best For | Professional Tips & Techniques |
|---|---|---|
| Utility Knife / Box Cutter | Straight cuts, quick trimmings, and small adjustments on-site. | Always equip a brand-new, ultra-sharp snap-off blade. Do not try to cut through the panel in a single pass; instead, score the surface multiple times firmly along a heavy-duty metal ruler. |
| Carpenter’s Knife | Standard DIY projects and light commercial installations. | Ideal for standard 9 mm to 12 mm thick panels. Provides a sturdier grip and greater downward force control than a standard utility blade. |
| Electric Cutter (Rotary) | Large-scale commercial installations requiring rapid linear footage. | Produces exceptionally smooth, clean edges with minimal thermal melting or fiber fraying. Great for long production runs. |
| Jigsaw or Circular Saw | Complex geometric shapes, curves, and bulk cutting operations. | Equip the saw with a fine-tooth, non-ferrous metal or plastic-cutting blade. Operate at a controlled, medium speed to prevent friction-melting the plastic fibers. |
| CNC Cutting Machine | Complex architectural custom designs, intricate patterns, or corporate logos. | The gold standard for large commercial rollouts. Ideal for precise, industrial-level batch cutting with zero margin for human error. |
3. Step-by-Step Cutting Guide
Transforming a raw EcoScapes panel into a precision-engineered architectural element requires a disciplined, four-step workflow. Rushing through any of these phases can lead to crooked lines, jagged edges, and wasted material.
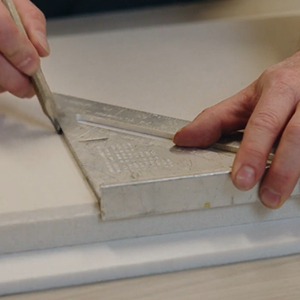
Step 1: Measure and Mark
The foundation of any successful cut begins with accurate measurements.
- Always measure twice and transfer your dimensions to the back (non-face) side of the panel whenever possible. This ensures that any accidental pencil marks, scuffs, or ruler slips will remain hidden against the wall during installation.
- Use a framing square or a heavy-duty metal straightedge to map out your cut lines clearly with a chalk pencil or fine marker.
- Account for tight corners, uneven walls, and expansion gaps if your installation specifications require them.
Step 2: Secure the Panel
Stability is critical when working with rigid PET felt.
- Lay the EcoScapes panel completely flat across a clean, stable work surface, such as a large cutting table or a clean sheet of plywood laid over workhorses.
- Clamp your metal straightedge or guide securely across the panel using heavy-duty C-clamps or spring clamps. This prevents the ruler from slipping mid-cut—a common mistake that ruins panels and poses safety hazards.
- Ensure the overhang of the panel is fully supported so it does not snap or bend under its own weight as the cut nears completion.
Step 3: Make the Cut
Execution requires patience and steady pressure.
- For Manual Knives: Press the metal straightedge firmly against the panel. Run your utility knife along the edge, using moderate, controlled pressure. Do not attempt to slice through the entire 9 mm to 12 mm thickness on your first stroke. Make 3 to 5 progressive scoring passes, allowing the blade to sink deeper into the core with each pass until it completely clears the backing.
- For Power Tools: Guide your jigsaw or electric rotary cutter smoothly along your marked vector at a steady pace. Avoid forcing the blade too quickly through the dense fibers, as this can cause the motor to bog down and create a ragged edge.
Step 4: Smooth and Finish
Even with the sharpest blades, minor micro-fibers or slight burrs may remain along the cut edge.
- Inspect the newly cut edge immediately after separation.
- Use a fine-grit sandpaper (around 120-grit to 220-grit) or a clean sanding block to gently buff away any stray fuzz or friction-raised fibers.
- For minor edge cleanups, a pair of sharp tailoring scissors can snip away stubborn micro-strands, leaving you with a crisp, razor-sharp architectural edge ready for seamless butt joints.
4. Common Mistakes to Avoid
Even seasoned contractors occasionally fall victim to avoidable errors when working with PET acoustic materials. Keep the following pitfalls in mind to save time, material, and labor costs:
- Using Dull Blades: The single most frequent cause of jagged edges is using a worn-out utility blade. As soon as you feel resistance or see the material bunching up rather than slicing, snap off the old blade segment or replace it entirely.
- Rushing the Cut in One Pass: Trying to force a utility knife through the entire thickness of an EcoScapes panel in one aggressive stroke almost always results in the blade slipping off the guide line, ruining both the panel and potentially injuring your hand.
- Failing to Support the Material: Allowing half of the panel to hang unsupported off the edge of a workbench while cutting will cause the material to prematurely hinge and snap, creating a messy, torn fracture line along the back.
- Ignoring the Face Side: Marking or measuring on the front decorative side of the panel risks leaving permanent graphite, ink, or scratch marks that cannot be easily cleaned or reversed.
5. Safety Protocols and Best Practices
While EcoScapes panels are chemically inert, non-toxic, and completely free of irritating formaldehydes or carcinogenic glass-wool fibers commonly found in older acoustic treatments, standard shop safety should never be neglected.
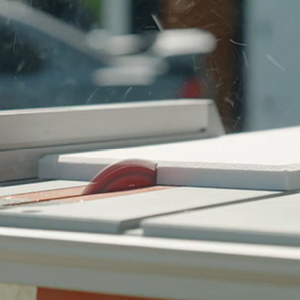
- Eye Protection: Always wear ANSI-approved safety glasses or goggles, particularly when using power tools like jigsaws, circular saws, or high-speed electric rotary cutters that can kick up tiny particulate dust or stray fibers.
- Hand Protection: When making extensive manual cuts with utility knives, consider wearing cut-resistant work gloves to protect your non-dominant hand from accidental slips.
- Clean Ventilation: While PET fibers do not emit hazardous airborne toxins when cut mechanically, working in a well-ventilated area or using a shop vacuum to immediately collect dust and trimmings keeps your workspace clean and breathable.
- Proper Tool Maintenance: Keep all blades clean, sharp, and properly secured in their respective housings before plugging in or operating any cutting machinery.
Conclusion
Achieving a clean, professional cut on EcoScapes Acoustic Panels is entirely straightforward when approached with the correct combination of preparation, professional-grade tooling, and methodical execution. By investing time in accurate measurements, utilizing sharp, purpose-driven cutting instruments, and adhering strictly to safety guidelines, both DIY enthusiasts and seasoned commercial contractors can guarantee seamless wall joints, immaculate corner alignments, and a breathtaking, high-end architectural finish that elevates any acoustic environment.