Achieving clean, precise cuts is the defining hallmark of a professional finish when installing architectural acoustic treatments. Whether you are trimming tight perimeter edges, navigating complex electrical outlets, or engineering bespoke geometric shapes to elevate an interior design scheme, understanding the nuances of material science, tooling, and execution makes all the difference. EcoScapes Acoustic Panels have rapidly become a preferred choice for architects, interior designers, and acoustic consultants seeking sustainable high-performance sound absorption.
This comprehensive technical guide covers everything you need to know to achieve factory-grade results. We explore the material composition of EcoScapes panels, recommended tooling matrices, step-by-step fabrication methods, common pitfalls to avoid, and essential safety protocols designed to streamline both large-scale commercial deployments and intricate residential installations.
Main Facts: Understanding EcoScapes Acoustic Panels
At the core of modern sustainable architectural acoustics is the EcoScapes PET (Polyethylene Terephthalate) Acoustic Panel. Engineered from densely compressed, recycled plastic fibers—predominantly post-consumer water bottles—these panels offer an extraordinary blend of environmental stewardship and high-performance sound dampening.
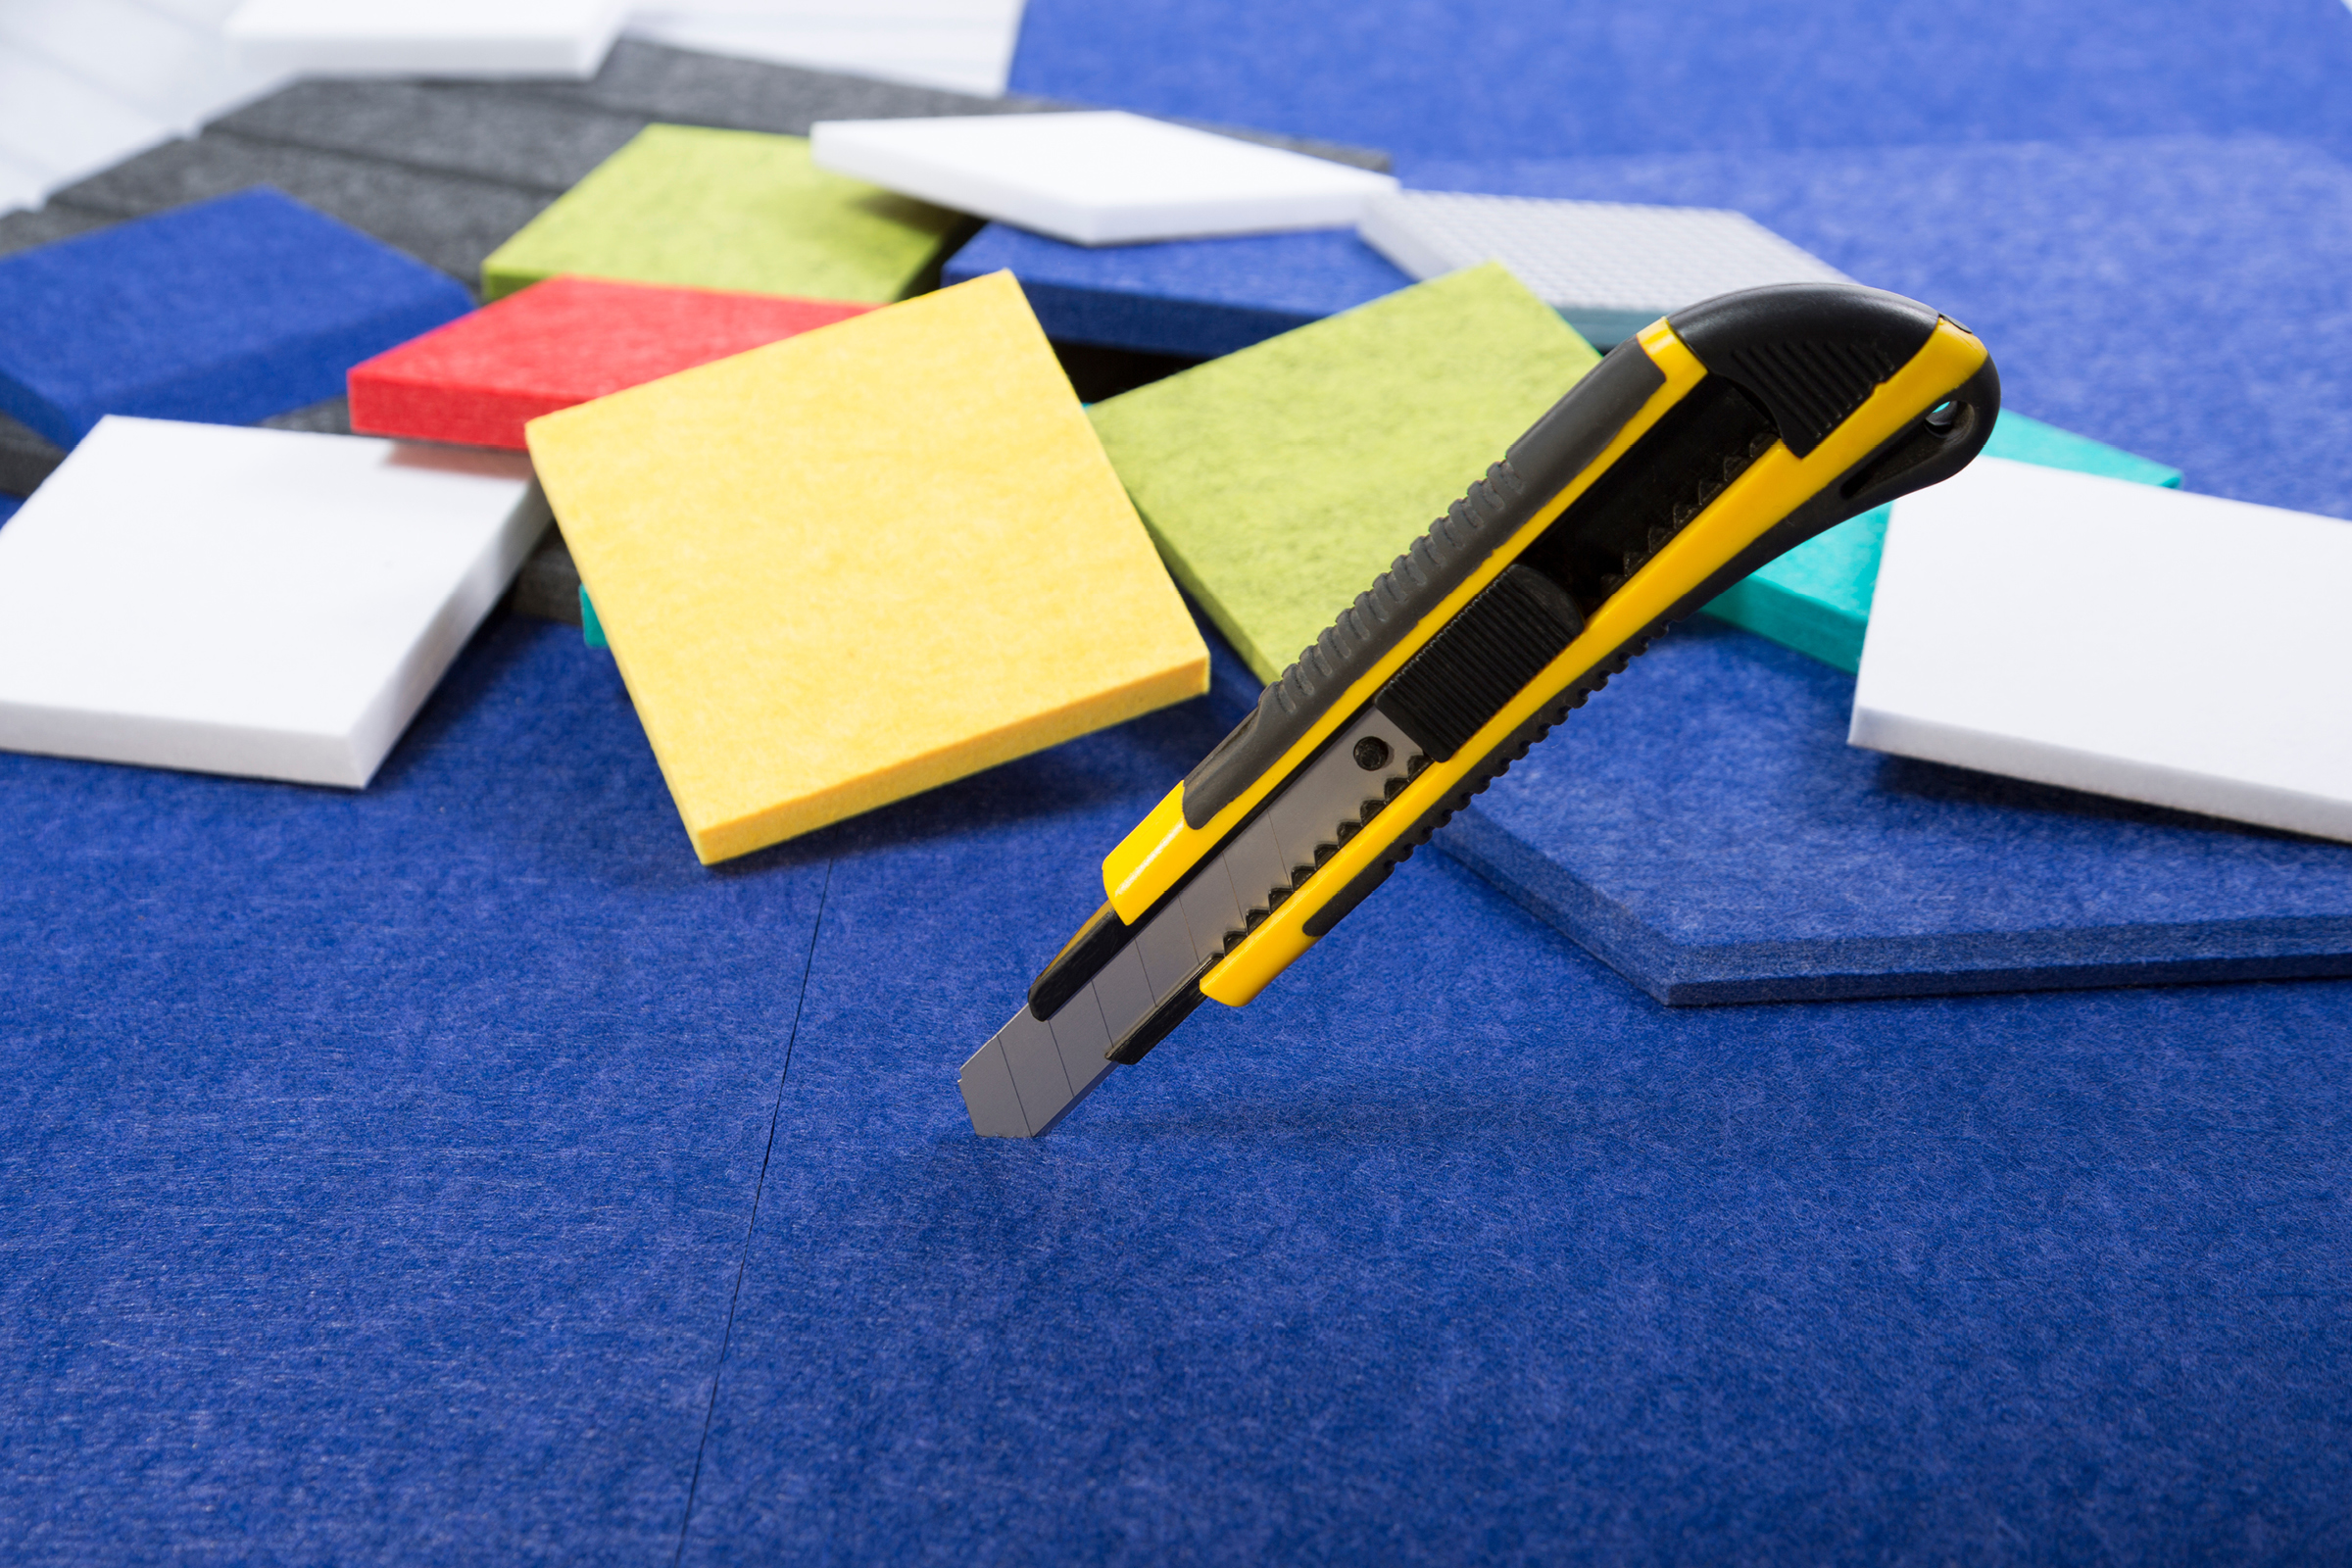
Unlike traditional fiberglass or mineral wool products, which often require encapsulated facings and specialized handling gear to mitigate airborne particulates, PET panels are structurally rigid yet remarkably versatile. They can be sawed, scored, routed, and die-cut without shedding dangerous fibers. Key physical and functional attributes include:
- High Acoustic Absorption: Excellent NRC (Noise Reduction Coefficient) ratings that effectively control reverberation and flutter echoes in open offices, boardrooms, home theaters, and educational facilities.
- Eco-Friendly Lifecycle: Manufactured using significant percentages of recycled polymer materials, diverting waste from landfills while remaining fully recyclable at the end of their lifecycle.
- Dimensional Stability: Resistance to warping, moisture degradation, and sagging over time, ensuring long-term aesthetic integrity.
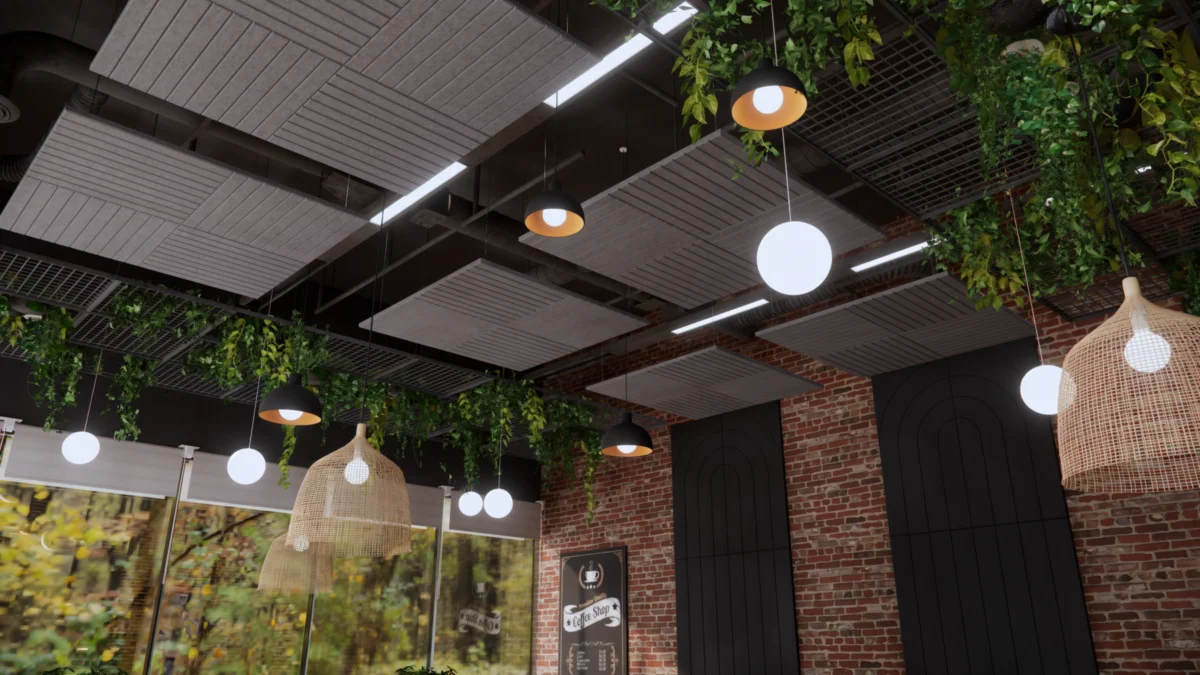
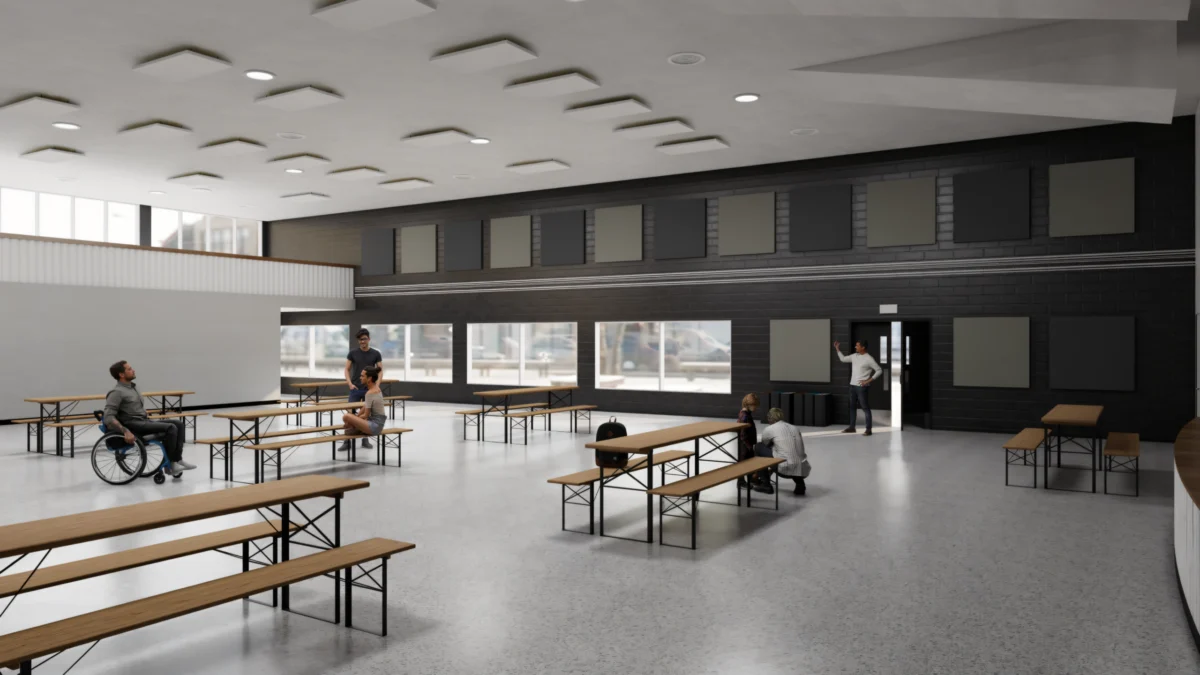
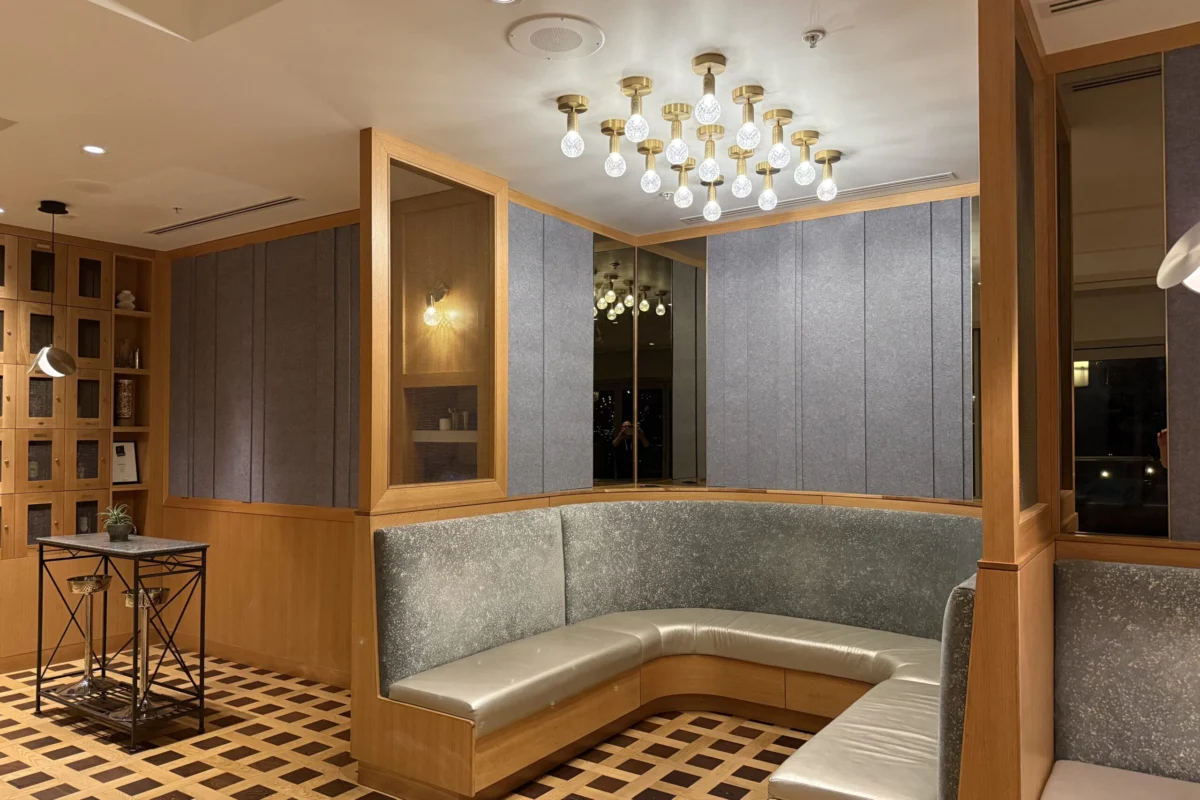
- Design Flexibility: Available in a diverse spectrum of thicknesses, surface finishes, and colors, allowing them to double as striking visual wall features.
Despite their robust nature, achieving a seamless installation requires a methodical approach to fabrication. Because acoustic panels are frequently installed in highly visible, design-forward environments, even minor misalignments or frayed edges can compromise the visual standard of the entire space.
Chronology: The Evolution of Acoustic Panel Installation Techniques
The methodology of installing architectural sound-control panels has undergone a significant transformation over the past three decades. Understanding this timeline helps contextualize why modern tools like electric cutters and CNC routers have largely replaced crude hand-sawing methods.
- Early 1990s—The Era of Raw Mineral Wool: Early acoustic treatments relied heavily on exposed or fabric-wrapped fiberglass and mineral wool boards. Cutting these materials required rudimentary hacksaws or serrated kitchen knives, resulting in massive amounts of airborne skin irritants, imprecise edges, and labor-intensive framing requirements.
- Early 2000s—Introduction of Semi-Rigid Boards: As commercial offices shifted toward open-plan layouts, manufacturers introduced semi-rigid mineral boards. Installers routinely utilized standard utility knives with frequent blade changes, though tearing and jagged edges remained common problems along cut lines.
- 2010s—The Rise of PET Polymer Technology: The introduction of compressed PET felt revolutionized the market. These panels offered structural rigidity, eliminating the need for rigid frames and allowing installers to treat them almost like dense textiles or soft woods.
- Present Day—Precision Fabrication & Digital Integration: Today, installation has evolved into a high-precision trade. The integration of electric rotary cutters, fine-tooth jigsaw blades, and automated CNC routing systems allows fabricators to achieve sub-millimeter tolerances, custom bevels, and intricate corporate logos directly into the panel face.
Supporting Data & Recommended Tools Matrix
Selecting the correct instrument for the specific thickness and scale of your EcoScapes installation directly dictates the speed and quality of your work. Relying on a dull blade or an improper saw will inevitably lead to material distortion, melted edges from friction heat, or frayed fibers.
The following data matrix outlines the optimal cutting implements for various project scopes:
| Tooling Category | Best Application | Technical Tips & Best Practices |
|---|---|---|
| Utility Knife / Box Cutter | Straight cuts, minor on-site adjustments, trimming perimeters | Always utilize a fresh, ultra-sharp snap-off blade. Never attempt to slice through the entire 9mm to 12mm thickness in a single pass; instead, score the material multiple times firmly along a heavy metal straightedge. |
| Carpenter’s Knife | DIY hobbyist builds, small office updates, tight spaces | Yields optimal control when sizing standard 9mm–12mm thick architectural panels. Keep a sharpening stone nearby to maintain a razor edge. |
| Electric Rotary Cutter | Large-scale commercial corridors, extensive wall arrays | Highly recommended for high-volume jobs. Produces exceptionally smooth, clean edges with minimal mechanical fraying and significantly reduces hand fatigue. |
| Jigsaw or Circular Saw | Complex geometric cutouts, bulk fabrication, utility penetrations | Equip with fine-tooth, non-melting blades (such as high-tpi wood or specialized plastic blades). Operate at a medium, consistent speed to avoid generating excessive frictional heat that can fuse the PET fibers together. |
| CNC Cutting Machine | Custom architectural designs, corporate logos, radius corners | The gold standard for industrial-level precision. Ideal for pre-fabricating complex modular layouts off-site before final delivery to the job site. |
Step-by-Step Cutting Guide
To achieve an immaculate, professional finish every time, installers should adhere to a strict four-step fabrication workflow.
Step 1: Measure and Mark
Precision begins long before the blade touches the panel.
- Always measure your wall surfaces twice, accounting for expansion gaps, wall irregularities, and corner plumbness.
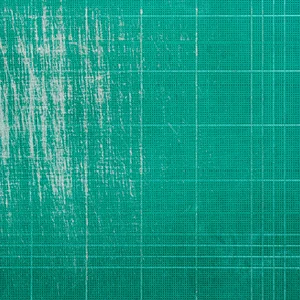
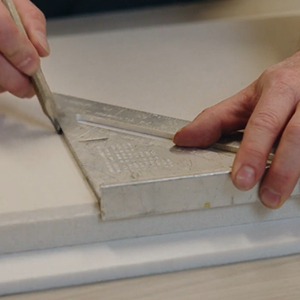
- Transfer your dimensions directly onto the back (non-face) side of the EcoScapes panel using a fine-tipped chalk pencil or a contrasting marker. By marking the rear surface, any accidental ink bleed or surface smudging remains entirely hidden once the panel is mounted to the wall.
- Double-check diagonal measurements to ensure squareness before proceeding to the cutting stage.
Step 2: Secure the Panel
Movement during cutting is the primary cause of wavy lines and jagged edges.
- Lay the EcoScapes panel flat on a clean, stable, and expansive workbench or cutting table.
- Position a heavy-duty, slip-resistant metal straightedge directly over your marked cut line.
- Clamp the straightedge—and the panel itself—firmly to the work surface using C-clamps or spring clamps. This prevents the PET fibers from shifting or lifting as the blade passes through.
Step 3: Make the Cut
The execution phase requires patience and steady pressure.
- If using a utility knife, hold the blade perpendicular (at a strict 90-degree angle) to the panel surface.
- Execute multiple light-to-moderate scoring passes rather than forcing the blade through in one heavy stroke. The first pass defines the channel, while subsequent passes cleanly sever the compressed core fibers.
- If utilizing power tools such as a jigsaw or circular saw, guide the machine smoothly along a clamped guide rail, maintaining a steady forward momentum without forcing the motor.
Step 4: Smooth and Finish
Even with optimal tooling, minor fiber burrs can occasionally occur along the cut edge.
- Inspect all freshly cut edges under proper job-site lighting.
- Gently run a fine-grit sanding block (120 to 180 grit) or a sharp utility blade held at a 45-degree angle along the edge to deburr any loose stray fibers.
- Wipe down the finished panel with a clean, dry microfiber cloth to remove any residual polymer dust prior to final adhesive or mechanical mounting.
Common Mistakes to Avoid
Even seasoned contractors occasionally fall victim to common installation errors when working with PET acoustic media. Avoiding these pitfalls will save both time and material costs:
- Using Dull Blades: Attempting to cut dense acoustic felt with a worn-out utility blade forces the user to apply excessive downward pressure. This bends the fibers, stretches the material, and results in a ragged, torn edge that cannot be easily hidden.
- Rushing Single-Pass Hand Cuts: Trying to slice a 12mm acoustic panel in one aggressive swipe inevitably causes the blade to wander off your layout line. Always commit to a multi-pass scoring technique for manual cuts.
- Ignoring Thermal Friction: When utilizing high-speed power saws, cutting too rapidly or using coarse blades can generate intense frictional heat. This heat can melt the thermoplastic PET fibers, leaving hard, glassy, discolored edges that ruin the soft aesthetic of the panel.
- Failing to Acclimatize Materials: Bringing cold panels directly from an unconditioned truck into a climate-controlled interior can lead to slight dimensional instability during installation. Allow panels to acclimate to room temperature for at least 24 hours prior to cutting and mounting.
- Measuring from the Wall Face Incorrectly: Forgetting to account for baseboards, crown molding, or corner trim thickness will result in panels that are cut too wide or too narrow, forcing frustrating on-site patchwork.
Official Responses & Industry Implications
As architectural sustainability standards tighten globally, building product manufacturers and interior acoustic engineers face mounting pressure to deliver materials that balance high environmental credentials with uncompromising functional performance.
According to leading acoustic design consultants, the shift toward recyclable PET materials has fundamentally altered commercial interior specifications. "Clients no longer want performance at the expense of indoor air quality or environmental ethics," notes a prominent commercial acoustician. "EcoScapes panels bridge that gap. However, the onus is on the installation team to respect the material. Because these panels are often left exposed without fabric wrapping or aluminum framing trim, the cut edge is the finished detail. Clean fabrication is no longer just a nice-to-have skill—it is an absolute design requirement."
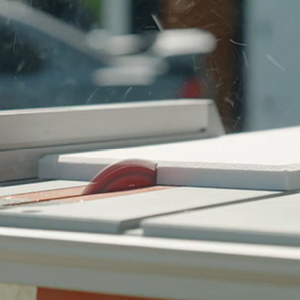
From an economic perspective, mastering efficient cutting techniques directly impacts project profitability. In large commercial office fit-outs comprising thousands of square feet of acoustic wall treatment, minimizing material waste through precise pre-planning and utilizing rapid-cutting electric tools can reduce labor overhead by up to 25%. Furthermore, eliminating costly callbacks due to frayed edges or misaligned outlet cutouts protects contractor reputations and ensures client satisfaction.
Conclusion
Cutting and installing EcoScapes Acoustic Panels cleanly is an entirely straightforward endeavor when approached with the correct combination of preparation, tooling, and technique. Whether you are an ambitious DIY enthusiast tackling a home recording studio or a professional commercial contractor managing a sprawling corporate headquarters, respecting the structural nature of compressed PET fibers ensures flawless joints and a polished, high-end finish. By following the meticulous steps, tooling matrices, and safety protocols outlined in this guide, you guarantee that your acoustic installation performs at the highest level while elevating the visual aesthetics of any architectural space.